Multiple Monitors
Multiple Monitors
supports two to six touchscreen displays for one system. PenMount
drivers for Windows 2000, XP 32/64bit, and 2003 support
Multiple Monitors
. This
function supports from two to six touchscreen displays for one system. Each monitor
requires its own PenMount touchscreen control board, either installed inside the displayor
in a central unit. The PenMount control boards must be connected to the computer COM
ports via the RS-232 interface. Driver installation procedures are the same as for a single
monitor. Multiple Monitors supports the following modes:
Windows Extends Monitor Function
Matrox DualHead Multi-Screen Function
nVidia nView Function
NOTE:
The Multiple Monitor function is for use with multiple displays only. Do not use this
function if you have only one touch screen display. Please note once you turn on this
function the rotating function is disabled.
Requirements
Before using the
Multiple Monitors
function you need the following:
*
A display card that supports multiple monitors such as the Matrox, nVidia, ATI, etc.
*
(Two or more display cards supported by Windows are also ok.)
*
Two or more touchscreens
*
Two or more Serial Ports or USB ports.
*
Two or more PenMount 6000 control boards such as 6200x, 6202x,6300 or 6500.
*
The PenMount Windows Universal Driver (for 2000/XP/2003/VISTA/7).
Before using
Multiple Monitors
you must have two or more monitors that are in
extension
mode
. For display cards that support multiple monitors, we suggest you consider Matrox,
nVidia, or ATI cards and inquire about operation and usability issues.
Note:
Before you can use multiple monitors you need to map each monitor.
Enable the multiple display function as follows:
Step 1
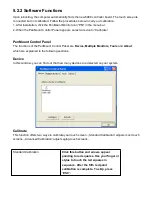
.In PenMount
Control Panel
, under
Multiple Monitors
tag, check the
“
Multiple
Monitor Support
” box. Then click “
Map Touchscreens
” to
assign touch controllers to
displays.
Summary of Contents for PC8719
Page 8: ...1 2 Dimensions Figure 1 1 Dimensions of PC 8719...
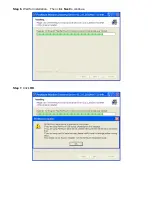
Page 58: ...Step 5 Click Next Step 6 Click Continue Anyway...
Page 59: ...Step 7 Click Continue Anyway Step 8 Click Next...
Page 60: ...Step 9 Select Yes I want to restart this computer now Click Finish...
Page 64: ......
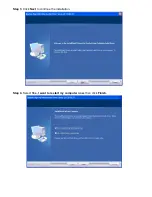
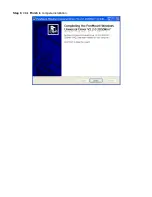
Page 68: ...Step 3 Click Exit to complete the installation...
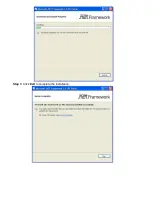
Page 72: ...Step 6 Wait for installation Then click Next to continue Step 7 Click OK...
Page 73: ...Step 8 Click Finish to compete installation...
Page 78: ...Setting...
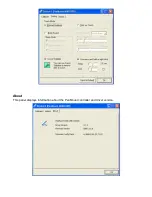
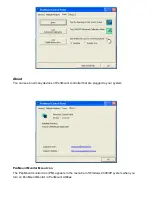
Page 79: ...About This panel displays information about the PenMount controller and driver version...
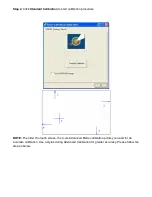
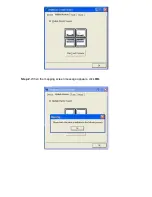
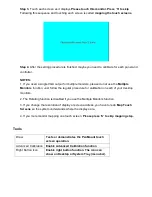
Page 81: ...Step 2 When the mapping screen message appears click OK...
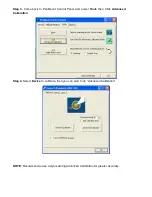
Page 85: ...NOTE The Rotate function is disabled if you use Monitor Mapping...

