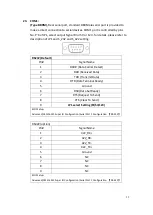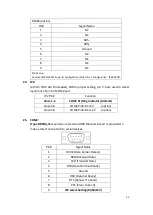
42
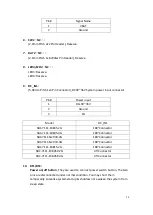
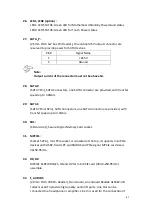
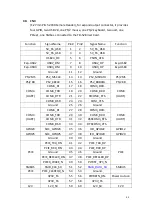
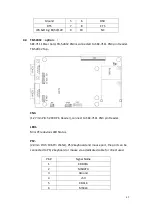
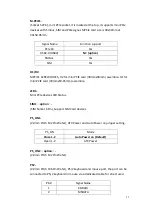
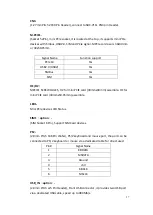
external audio source via a Line in cable. MIC is the port for microphone input
audio.
Signal Name
Pin#
Pin#
Signal Name
+5V
1
2
GND_AUD
LINE-OUT-L
3
4
LINE-OUT-R
FRONT_JD
5
6
LINE1_JD
LINE_IN-L
7
8
LINE-IN-R
MIC-IN-L
9
10
MIC-IN-R
GND-AUD
11
12
MIC1_JD
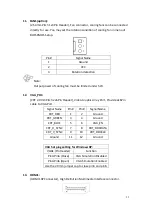
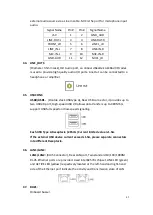
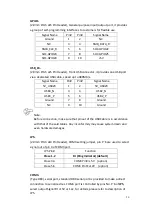
34.
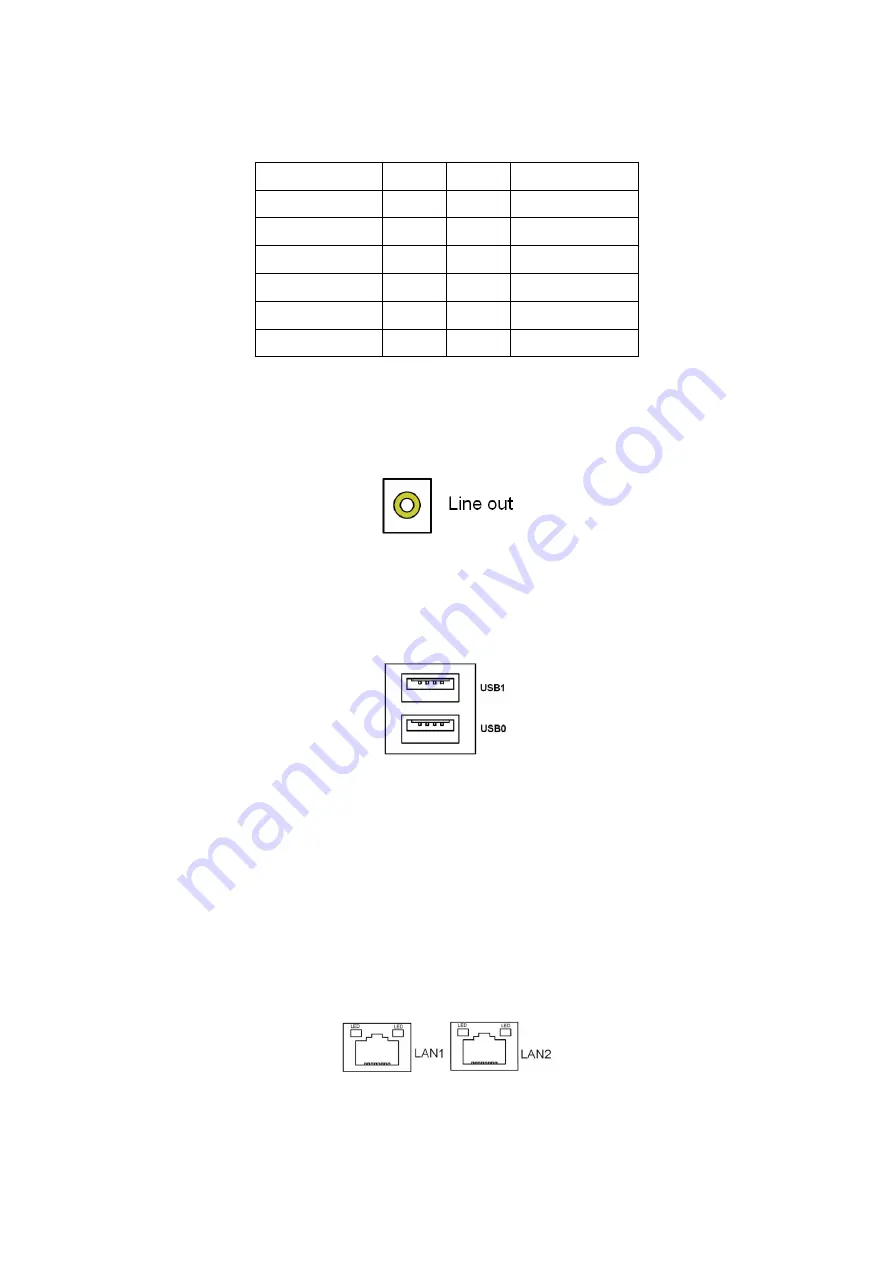
LINE_OUT1:
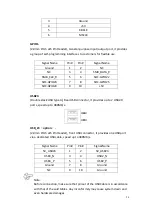
(Diameter 3.5mm Jack), HD Audio port, an onboard Realtek ALC662-VD codec
is used to provide high quality audio I/O ports. Line Out can be connected to a
headphone or amplifier.
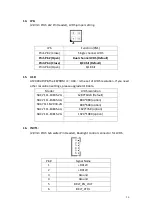
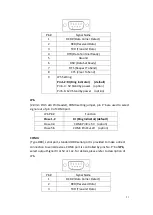
35. USBCON1:
USB0/USB1
:
(Double stack USB type A), Rear USB connector, it provides up to
two USB2.0 port, High-speed USB 2.0 allows data transfers up to 480 Mb/s,
support USB full-speed and low-speed signaling.
Each USB Type A Receptacle (2 Ports) Current limited value is 1.5A.
If the external USB device current exceeds 1.5A, please separate connectors
into different Receptacle.
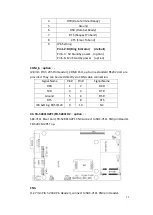
36.
LAN1/LAN2:
LAN1/LAN2:
(RJ45 Connector), Rear LAN port, Two standard 10/100/1000M
RJ-45 Ethernet ports are provided. Used intel 82574L chipset, LINK LED (green)
and ACTIVE LED (yellow) respectively located at the left-hand and right-hand
side of the Ethernet port indicate the activity and transmission state of LAN.
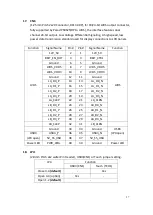
37.
BUZ1:
Onboard buzzer.
Summary of Contents for PC9 A Series
Page 12: ...11 1 3 Dimensions Figure 1 1 Dimensions of PC9070 Figure 1 2 Dimensions of PC9080...
Page 13: ...12 Figure 1 3 Dimensions of PC9101 Figure 1 4 Dimensions of PC9120...
Page 14: ...13 Figure 1 5 Dimensions of PC9150A Figure 1 6 Dimensions of PC9156A Resistive Touch...
Page 16: ...15 Figure 1 9 Dimensions of PC9185A Figure 1 10 Dimensions of PC9215A Resistive Touch...
Page 17: ...16 Figure 1 11 Dimensions of PC8215A Projected Capacitive Touch...
Page 19: ...18 Figure 1 13 Rear View of PC9170 9180 Figure 1 14 Rear View of PC9101...
Page 20: ...19 Figure 1 15 Rear View of PC9120 Figure 1 16 Rear View of PC9150A...
Page 21: ...20 Figure 1 17 Rear View of PC9156A Figure 1 18 Rear View of PC9170A...
Page 22: ...21 Figure 1 19 Rear View of PC9185A Figure 1 20 Rear View of PC9215A...
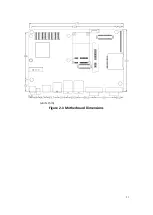
Page 32: ...31 units mm Figure 2 1 Motherboard Dimensions...
Page 83: ...82 Step 3 Read license agreement Click Yes Step 4 Click Next...
Page 84: ...83 Step 5 Click Install Step 6 Click Install...
Page 85: ...84 Step 7 Click Next Step 8 Click Yes I want to restart this computer now Then click Finish...
Page 88: ...87 Step 5 Click Install to begin the installation Step 6 Click Finish to exit the wizard...
Page 92: ...91 Step 3 Read the license agreement Then click Yes to continue Step 4 Click Next to continue...
Page 95: ...94 Step 2 Select Resistive Touch Step 3 Click Next to continue...
Page 97: ...96 Step 6 Wait for installation Then click Next to continue Step 7 Click Continue Anyway...
Page 99: ...98 Step 2 Select Projected Capacitive Step 3 Click Next to continue...
Page 102: ...101 Step 9 Go to C Program Files eGalaxTouch Click Next Step 10 Click Next...
Page 109: ...108 About This panel displays information about the PenMount controller and driver version...
Page 120: ...119 Hardware Saturn Hardware Configuration...
Page 121: ...120 About To display information about eGalaxTouch and its version...

