68
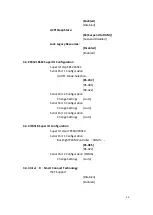
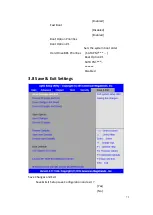
High Precision Timer
[Enabled]
[Disabled]
Boot Timer with HPET Timer
[Disabled]
[Enabled]
PCI Express Dynamic Clock Gating
[Disabled]
[Enabled]
OS Selection
Use the
OS Selection
option to select an operating system for the system.
Note:
Users must go to this item to select the OS mode before installing corresponding
OS driver, otherwise problems will occur when installing the driver.
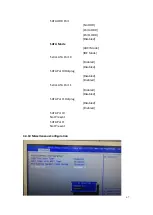
3.4.11 LPSS & SCC Configuration
LPSS & SCC Configuration
[ACPI Mode]
SCC Configuration
SCC eMMC Support
[eMMC AUTO MODE]
SCC eMMC 4.5 DDR50 Support [Enabled]
SCC eMMC 4.5 HS200 Support [Disabled]
eMMC Secure Erase
[Disabled]
SCC SDIO Support
[Enabled]
SCC SD Card Support
[Enabled]
SDR25 Support for SDCard
[Disabled]
SDR50 Support for SDCard
[Enabled]
MIPI HSI Support
[Disabled]
LPSS Configuration
LPSS DMA #1 Support
[Enabled]
LPSS DMA #2 Support
[Enabled]
LPSS I2C #1 Support
[Enabled]
LPSS I2C #2 Support
[Enabled]
LPSS I2C #3 Support
[Enabled]
LPSS I2C #4 Support
[Enabled]
Summary of Contents for PC9 A Series
Page 12: ...11 1 3 Dimensions Figure 1 1 Dimensions of PC9070 Figure 1 2 Dimensions of PC9080...
Page 13: ...12 Figure 1 3 Dimensions of PC9101 Figure 1 4 Dimensions of PC9120...
Page 14: ...13 Figure 1 5 Dimensions of PC9150A Figure 1 6 Dimensions of PC9156A Resistive Touch...
Page 16: ...15 Figure 1 9 Dimensions of PC9185A Figure 1 10 Dimensions of PC9215A Resistive Touch...
Page 17: ...16 Figure 1 11 Dimensions of PC8215A Projected Capacitive Touch...
Page 19: ...18 Figure 1 13 Rear View of PC9170 9180 Figure 1 14 Rear View of PC9101...
Page 20: ...19 Figure 1 15 Rear View of PC9120 Figure 1 16 Rear View of PC9150A...
Page 21: ...20 Figure 1 17 Rear View of PC9156A Figure 1 18 Rear View of PC9170A...
Page 22: ...21 Figure 1 19 Rear View of PC9185A Figure 1 20 Rear View of PC9215A...
Page 32: ...31 units mm Figure 2 1 Motherboard Dimensions...
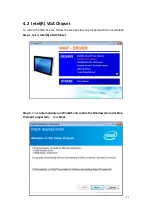
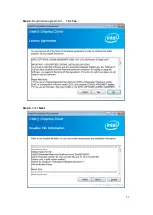
Page 83: ...82 Step 3 Read license agreement Click Yes Step 4 Click Next...
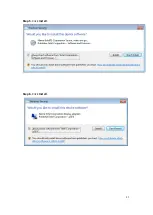
Page 84: ...83 Step 5 Click Install Step 6 Click Install...
Page 85: ...84 Step 7 Click Next Step 8 Click Yes I want to restart this computer now Then click Finish...
Page 88: ...87 Step 5 Click Install to begin the installation Step 6 Click Finish to exit the wizard...
Page 92: ...91 Step 3 Read the license agreement Then click Yes to continue Step 4 Click Next to continue...
Page 95: ...94 Step 2 Select Resistive Touch Step 3 Click Next to continue...
Page 97: ...96 Step 6 Wait for installation Then click Next to continue Step 7 Click Continue Anyway...
Page 99: ...98 Step 2 Select Projected Capacitive Step 3 Click Next to continue...
Page 102: ...101 Step 9 Go to C Program Files eGalaxTouch Click Next Step 10 Click Next...
Page 109: ...108 About This panel displays information about the PenMount controller and driver version...
Page 120: ...119 Hardware Saturn Hardware Configuration...
Page 121: ...120 About To display information about eGalaxTouch and its version...

