93
This chapter describes how to install drivers and other software that will allow your
touch screen work with different operating systems.
5.1
Windows XP/2003/Vista/WIN7 Universal Driver
Installation for PenMount 6000 Series
Before installing the Windows XP/2003/Vista/WIN7 driver software, you must have
the Windows XP/2003/Vista/WIN7 system installed and running on your computer.
You must also have one of the following PenMount 6000 series controller or control
boards installed: PM6500, PM6300.
5.1.1 Installing Software(Resistive Touch)
If you have an older version of the PenMount Windows WIN7 driver installed in your
system, please remove it first. Follow the steps below to install the PenMount
DMC6000 Windows WIN7 driver.
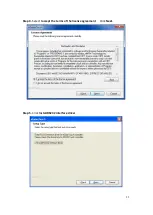
Step 1.
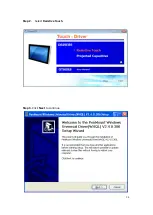
Insert the product CD, the screen below would appear. Click
Touch Panel
Driver.
Summary of Contents for PC9 A Series
Page 12: ...11 1 3 Dimensions Figure 1 1 Dimensions of PC9070 Figure 1 2 Dimensions of PC9080...
Page 13: ...12 Figure 1 3 Dimensions of PC9101 Figure 1 4 Dimensions of PC9120...
Page 14: ...13 Figure 1 5 Dimensions of PC9150A Figure 1 6 Dimensions of PC9156A Resistive Touch...
Page 16: ...15 Figure 1 9 Dimensions of PC9185A Figure 1 10 Dimensions of PC9215A Resistive Touch...
Page 17: ...16 Figure 1 11 Dimensions of PC8215A Projected Capacitive Touch...
Page 19: ...18 Figure 1 13 Rear View of PC9170 9180 Figure 1 14 Rear View of PC9101...
Page 20: ...19 Figure 1 15 Rear View of PC9120 Figure 1 16 Rear View of PC9150A...
Page 21: ...20 Figure 1 17 Rear View of PC9156A Figure 1 18 Rear View of PC9170A...
Page 22: ...21 Figure 1 19 Rear View of PC9185A Figure 1 20 Rear View of PC9215A...
Page 32: ...31 units mm Figure 2 1 Motherboard Dimensions...
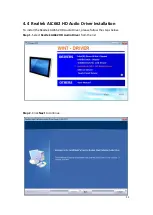
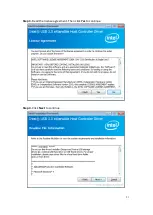
Page 83: ...82 Step 3 Read license agreement Click Yes Step 4 Click Next...
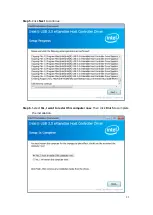
Page 84: ...83 Step 5 Click Install Step 6 Click Install...
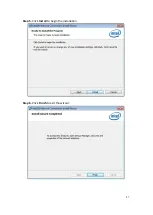
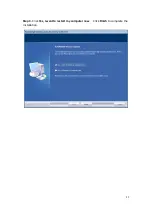
Page 85: ...84 Step 7 Click Next Step 8 Click Yes I want to restart this computer now Then click Finish...
Page 88: ...87 Step 5 Click Install to begin the installation Step 6 Click Finish to exit the wizard...
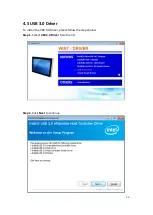
Page 92: ...91 Step 3 Read the license agreement Then click Yes to continue Step 4 Click Next to continue...
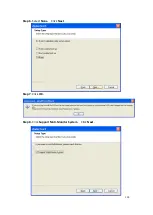
Page 95: ...94 Step 2 Select Resistive Touch Step 3 Click Next to continue...
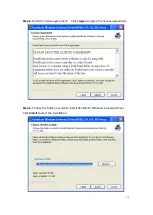
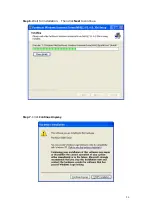
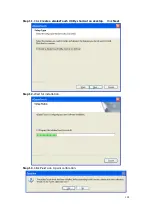
Page 97: ...96 Step 6 Wait for installation Then click Next to continue Step 7 Click Continue Anyway...
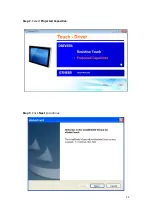
Page 99: ...98 Step 2 Select Projected Capacitive Step 3 Click Next to continue...
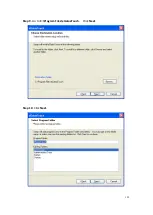
Page 102: ...101 Step 9 Go to C Program Files eGalaxTouch Click Next Step 10 Click Next...
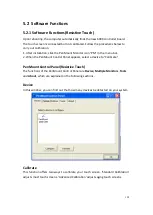
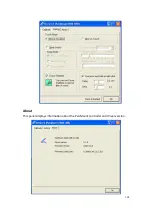
Page 109: ...108 About This panel displays information about the PenMount controller and driver version...
Page 120: ...119 Hardware Saturn Hardware Configuration...
Page 121: ...120 About To display information about eGalaxTouch and its version...


