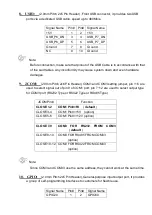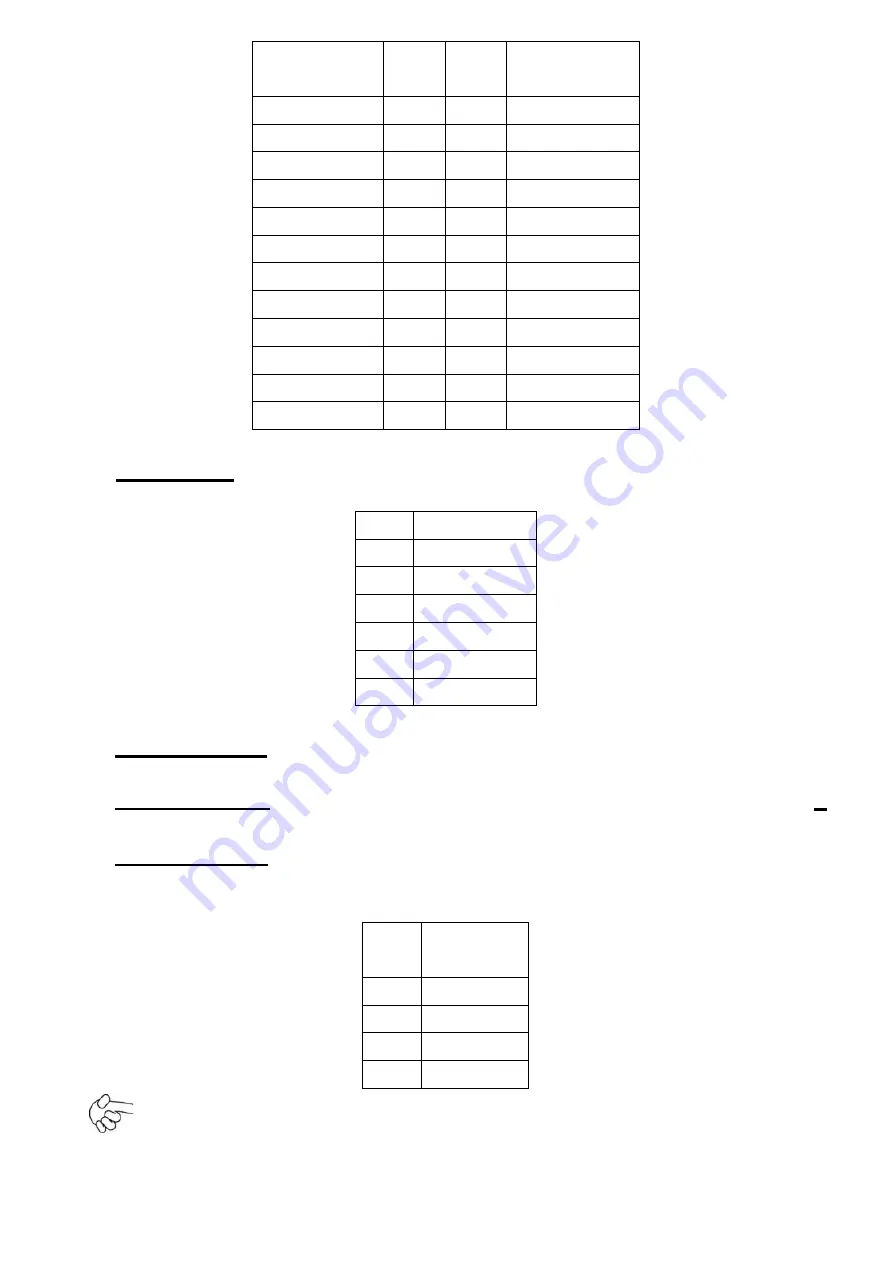
LVDS1_VDD3
3
5
6
LVDS1_VDD3
3
LADATAN0
7
8
NC
LADATAP0
9
10
NC
LADATAN1
11
12
NC
LADATAP1
13
14
NC
LADATAN2
15
16
NC
LADATAP2
17
18
NC
LACLKN
19
20
NC
LACLKP
21
22
NC
LDDC_CLK
23
24
NC
LBKLT_EN
25
26
BKLT_CTRL
Ground
27
28
Ground
+V12S
29
30
+V12S
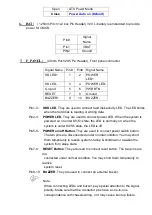
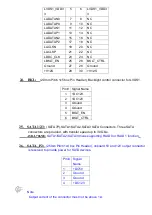
24. BKL:
(2.0mm Pitch 1x5 box Pin Header), Backlight control connector for LVDS1.
Pin#
Signal Name
1
+DC12V
2
+DC12V
3
Ground
4
Ground
5
BKLT_EN
6
BKLT_CTRL
25. SATA1/2/3:
(SATA 7P),SATA1,SATA2,SATA3 SATA Connectors. Three SATA
connectors are provided, with transfer speed up to 3.0Gb/s.
ASB-L706NE:
SATA1/SATA2/SATA3 drives supporting RAID 0 or RAID 1 function
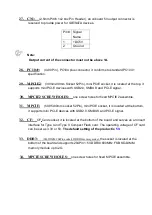
26. SATA_P2:
(2.5mm Pitch 1x4 box Pin Header), onboard 5V and 12V output connector
is reserved to provide power for SATA devices.
Pin#
Signal
Name
1
+DC5V
2
Ground
3
Ground
4
+DC12V
Note:
Output current of the connector must not be above 1A.
Summary of Contents for PCH3582
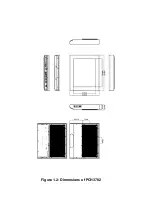
Page 8: ...1 2 Dimensions Figure 1 1 Dimensions of PCH3582...
Page 9: ...Figure 1 2 Dimensions of PCH3782...
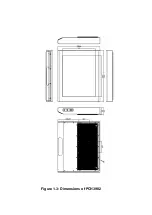
Page 10: ...Figure 1 3 Dimensions of PCH3982...
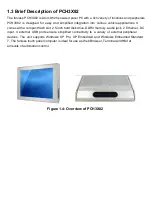
Page 33: ...1 4...
Page 64: ...Step 5 Click Next Step 6 Click Next to continue...
Page 68: ...Step 5 Click Install to begin the installation Step 6 Click Finish to compete the installation...
Page 70: ...Step 3 Click Yes to continue the installation Step 4 Wait for installation...
Page 71: ...Step 5 Select Yes I want to restart my computer now then click OK...
Page 75: ...Step 6 Wait for installation Then click Next to continue Step 7 Click OK...
Page 76: ...Step 8 Click Finish to compete installation...
Page 81: ...Setting...
Page 82: ...About This panel displays information about the PenMount controller and driver version...

