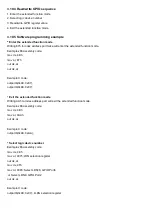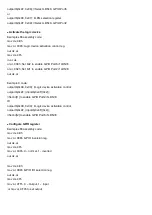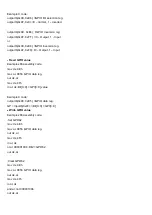
out dx, al
Example C code:
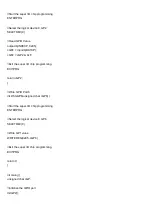
outportb(0x4E, 0xE6); //GPIO I/O selection reg.
outportb(0x4F, 0x0); //0
–
normal, 1
–
inverted
outportb(0x4E, 0xE4); //GPIO inversion reg.
outportb(0x4F, 0xFF); //0
–
Output, 1 - Input
or
outportb(0x4E, 0xE4); //GPIO inversion reg.
outportb(0x4F, 0xF0); //0
–
Output, 1
–
Input
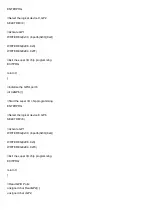
Read GPIO value
Example x86 assembly code:
mov dx, 4Eh
mov al, 0E5h ;GPIO data reg.
out dx, al
mov dx, 4Fh
in al, dx ;Bit[3::0] = GPI[3::0] value
Example C code:
outportb(0x4E, 0xE5); //GPIO data reg.
GP = inportb(0x4F); //Bit[3::0] = GPI[3::0]
Write GPIO value
Example x86 assembly code:
;Set GPO62
mov dx, 4Eh
mov al, 0E5h ;GPIO data reg.
out dx, al
mov dx, 4Fh
in al, dx
or al, 00000100b ;Bit2 = GPO62
out dx, al
;Clear GPO62
mov dx, 4Eh
mov al, 0E5h ;GPIO data reg.
out dx, al
mov dx, 4Fh
in al, dx
and al, not 00000100b
Summary of Contents for PCH3582
Page 8: ...1 2 Dimensions Figure 1 1 Dimensions of PCH3582...
Page 9: ...Figure 1 2 Dimensions of PCH3782...
Page 10: ...Figure 1 3 Dimensions of PCH3982...
Page 33: ...1 4...
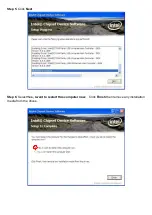
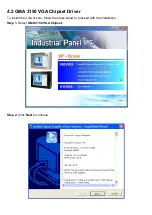
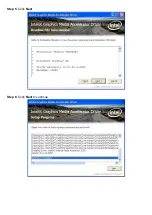
Page 64: ...Step 5 Click Next Step 6 Click Next to continue...
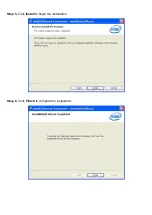
Page 68: ...Step 5 Click Install to begin the installation Step 6 Click Finish to compete the installation...
Page 70: ...Step 3 Click Yes to continue the installation Step 4 Wait for installation...
Page 71: ...Step 5 Select Yes I want to restart my computer now then click OK...
Page 75: ...Step 6 Wait for installation Then click Next to continue Step 7 Click OK...
Page 76: ...Step 8 Click Finish to compete installation...
Page 81: ...Setting...
Page 82: ...About This panel displays information about the PenMount controller and driver version...


