5.2.2 Software Functions
Upon rebooting, the computer automatically finds the new 6000 controller board. The touch screen is
connected but not calibrated. Follow the procedures below to carry out calibration.
1. After installation,
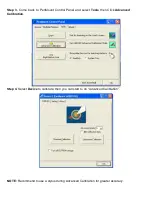
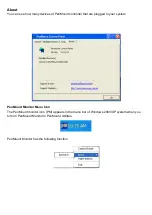
click the PenMount Monitor icon “PM” in the menu bar.
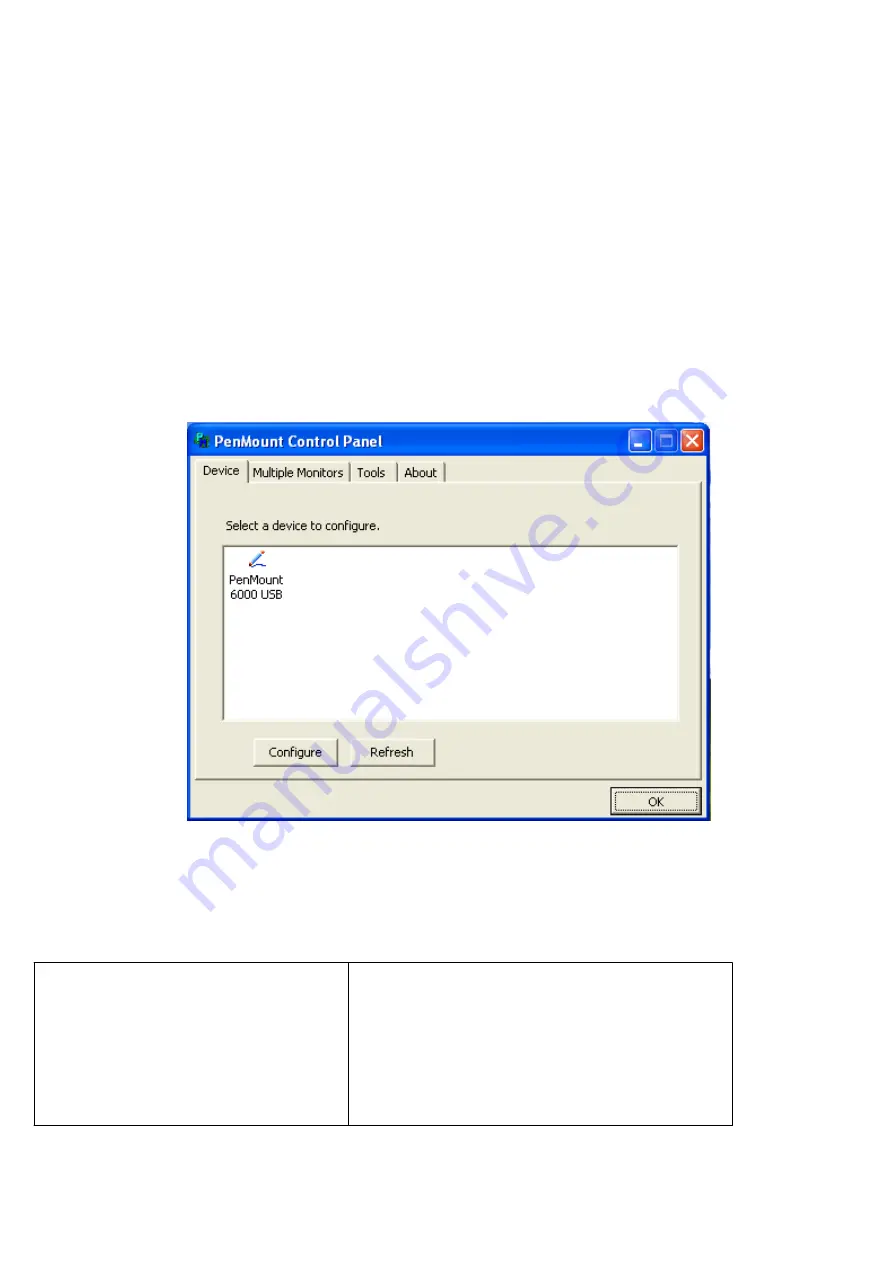
2. When the PenMount Control Panel appears, select a device to “Calibrate.”
PenMount Control Panel
The functions of the PenMount Control Panel are
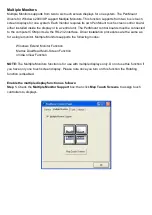
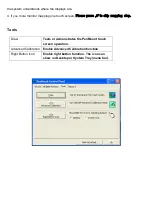
Device, Multiple Monitors, Tools
and
About
,
which are explained in the following sections.
Device
In this window, you can find out that how many devices are detected on your system.
Calibrate
This function offers two ways to calibrate your touch screen. „Standard Calibration‟ adjusts most touch
screens.
„Advanced Calibration‟ adjusts aging touch screens.
Standard Calibration
Click this button and arrows appear
pointing to red squares. Use your finger or
stylus to touch the red squares in
sequence. After the fifth red point
calibration is complete. To skip, press
„ESC‟.
Summary of Contents for PCH3582
Page 8: ...1 2 Dimensions Figure 1 1 Dimensions of PCH3582...
Page 9: ...Figure 1 2 Dimensions of PCH3782...
Page 10: ...Figure 1 3 Dimensions of PCH3982...
Page 33: ...1 4...
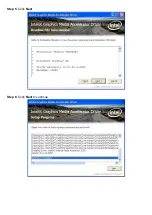
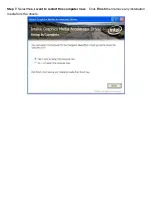
Page 64: ...Step 5 Click Next Step 6 Click Next to continue...
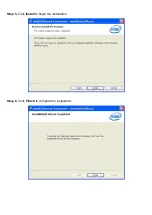
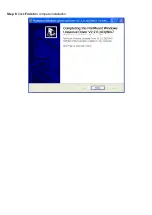
Page 68: ...Step 5 Click Install to begin the installation Step 6 Click Finish to compete the installation...
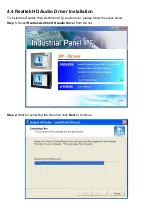
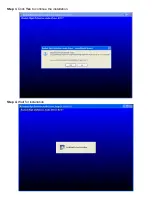
Page 70: ...Step 3 Click Yes to continue the installation Step 4 Wait for installation...
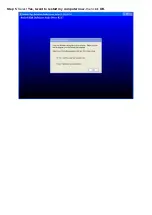
Page 71: ...Step 5 Select Yes I want to restart my computer now then click OK...
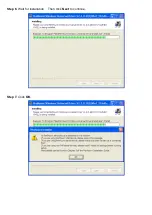
Page 75: ...Step 6 Wait for installation Then click Next to continue Step 7 Click OK...
Page 76: ...Step 8 Click Finish to compete installation...
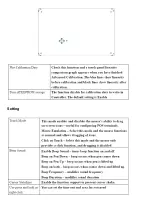
Page 81: ...Setting...
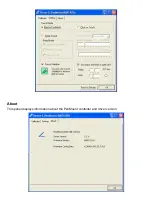
Page 82: ...About This panel displays information about the PenMount controller and driver version...


