20
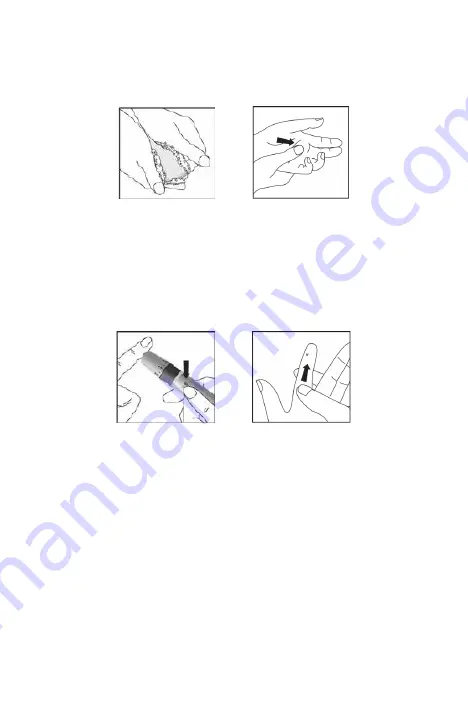
6. Prior to testing, wipe your hands with an alcohol swab or wash your hands with
soap. Use warm water to increase blood flow in your fingers if necessary. Dry
your hands thoroughly. Massage the hand from the wrist up to the fingertip a
few times to encourage blood flow.
7. Hold the lancing device against the side of the finger to be lanced with the cover
resting on the finger. Push the release button to prick your fingertip. You should
hear a click as the lancing device activates. Gently massage from the base of
the finger to the tip of the finger to obtain the required amount of blood. Avoid
smearing the drop of blood.
Note:
For the greatest reduction in pain, lance on the sides of the fingertips.
Rotation of sites is recommended. Repeated punctures in the same spot can
make your fingers sore and callused.
Forearm and Palm Testing
The forearm and palm areas have less nerve endings than the fingertip, for that
reason, you may find that obtaining blood from these sites is less painful than from
the fingertip. The procedure for forearm and palm sampling is different. You need
the clear cap to draw blood from these sites. The clear cap is not adjustable for
puncture depth.
IMPORTANT:
There are important differences among forearm, palm and fingertip
samples that you should know. Important information about forearm and palm
glucose testing:
You should consult your healthcare professional before choosing to perform
forearm or palm testing.
When blood glucose levels are changing rapidly such as after a meal, an insulin
dose or exercise, blood from the fingertips may show these changes more
rapidly than blood from other areas.


