Chapter 2: Programming
Chapter 2: Programming
22
Chapter 2
5. To add additional commands, repeat steps 3-4.
6. Press SETUP/SHIFT to save the macro.
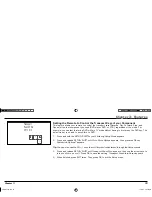
Save Macro #?
appears.
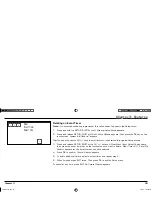
You now have 4 options:
• To save, press OK on the touchscreen.
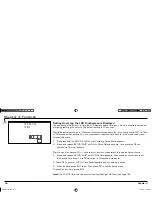
Macro # Saved
appears. Then
Change Macro # Name?
appears, allowing you to change the name.
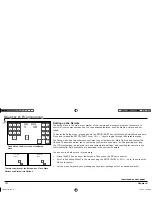
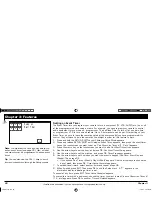
• To add a delay between the commands, press DELAY on the touchscreen.
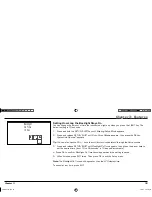
Key Delay
appears. Use the up and down arrows on the touchscreen
to adjust the desired delay, and press OK to go to the next command. The default is .5 seconds between each key press.
Save Delay Changes
appears after the last key press. Press OK to confi rm.
Macro # Saved
appears. Then
Change Macro # Name?
appears, allowing you to change
the name.
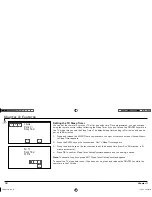
• To test the macro, point the remote at your components and press TEST on the touchscreen.
Macro # Running...
appears. After the macro
runs, press OK on the touchscreen.
Macro # Saved
appears. Then
Change Macro # Name?
appears, allowing you to change the name.
7. You may now change the name or keep it the same.
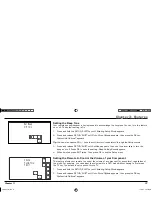
• To change the name, press OK.
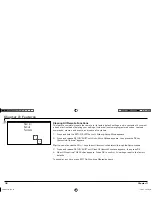
Macro # Name?
appears. Use the up and down arrow keys to choose the fi rst letter, and the left and right
arrows to move to the next letter. When fi nished naming the macro, press OK.
Save Changes?
appears. Press OK again.
Changes saved
appears.
• To keep the same name, press EXIT.
Macro # Name Not Changed
appears.
ARR1540 IB.indd 22
ARR1540 IB.indd 22
11/16/04 5:55:05 PM
11/16/04 5:55:05 PM

