ACP, Inc. REV. 1
225 – 49TH Avenue Drive SW
DATE: 9-6-12
Cedar Rapids, IA 52404 PART #: 16200051
Page 6 OF 6
8. New Base Installation
a) Remove rear handles from old base and install on new base.
b) Install kit supplied hinge bracket and screws and attach to new base - see figure 13.
9. Oven Test
a) Place oven into service test.
b) Confirm proper operation, reinstall back and side panels.
• Oven should be preheated to max temperature.
• Door should open/close without binding.
• If not, the door choke may need to be realigned with the cavity opening.
• Test unit at max preheat to assure interlock switches are properly set.
Base
Figure 14
Frame Mounting
Screws
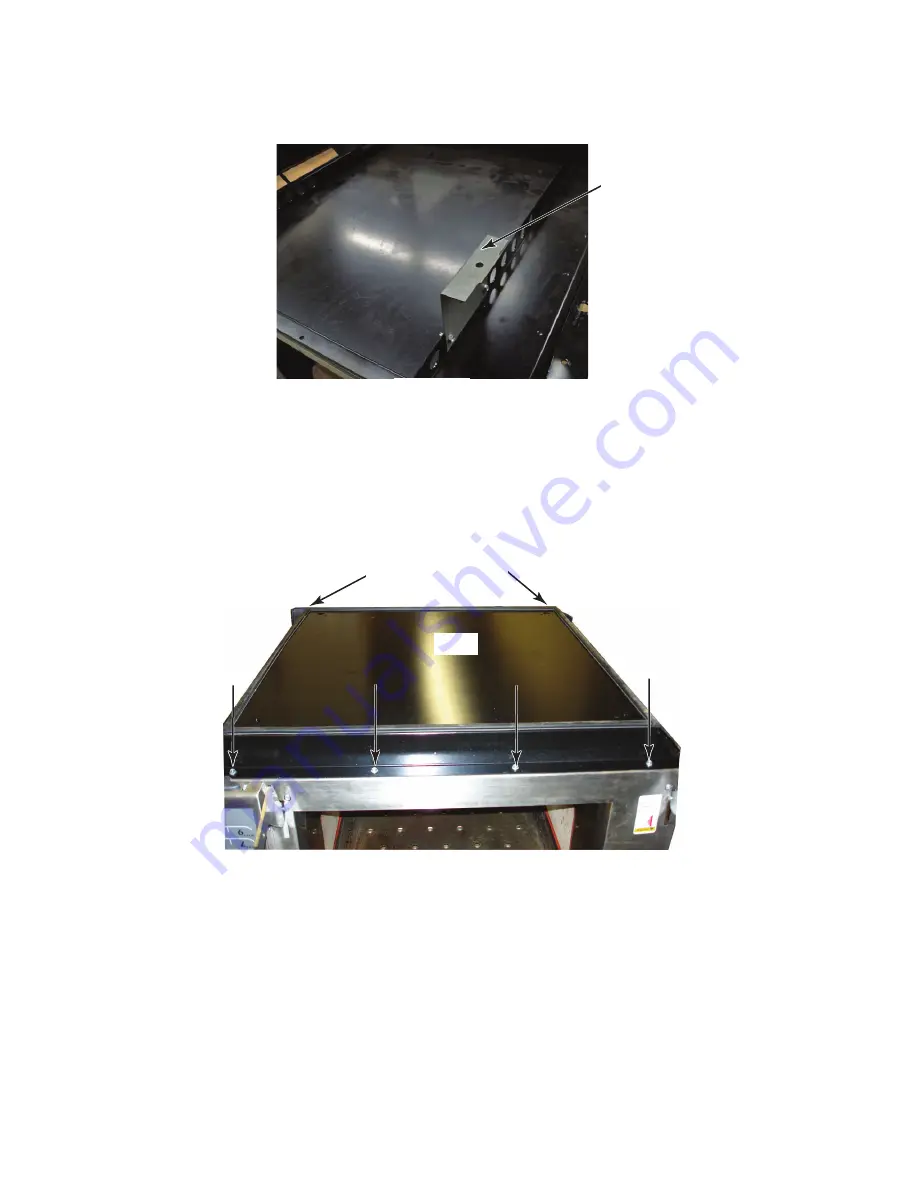
b) Place new base over LH & RH support frames.
c) Install LH & RH frame mounting screws. Do Not Tighten.
d) Install 4 screws along front of base. Do Not Tighten.
e) Install both of the rear cavity support brackets- see figure 12.
f) Tighten screws on LH & RH support frames - see figure 14.
g) Turn oven on to its base and complete the reassembly of the oven.
Figure 13
Hinge Bracket
h) Test door for proper operation and then tighten all screws.


