BusWorks Model XT1533-000
4 CH Current 4 CH Digital I/O w/USB & Profinet
Acromag, Inc. Tel: 248-295-0880
- 16 -
http://www.acromag.com
- 16 -
http://www.acromag.com
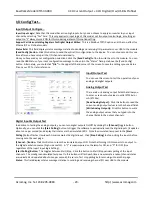
Quick Overview
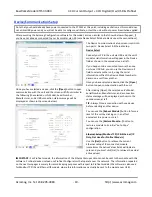
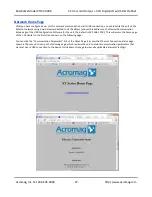
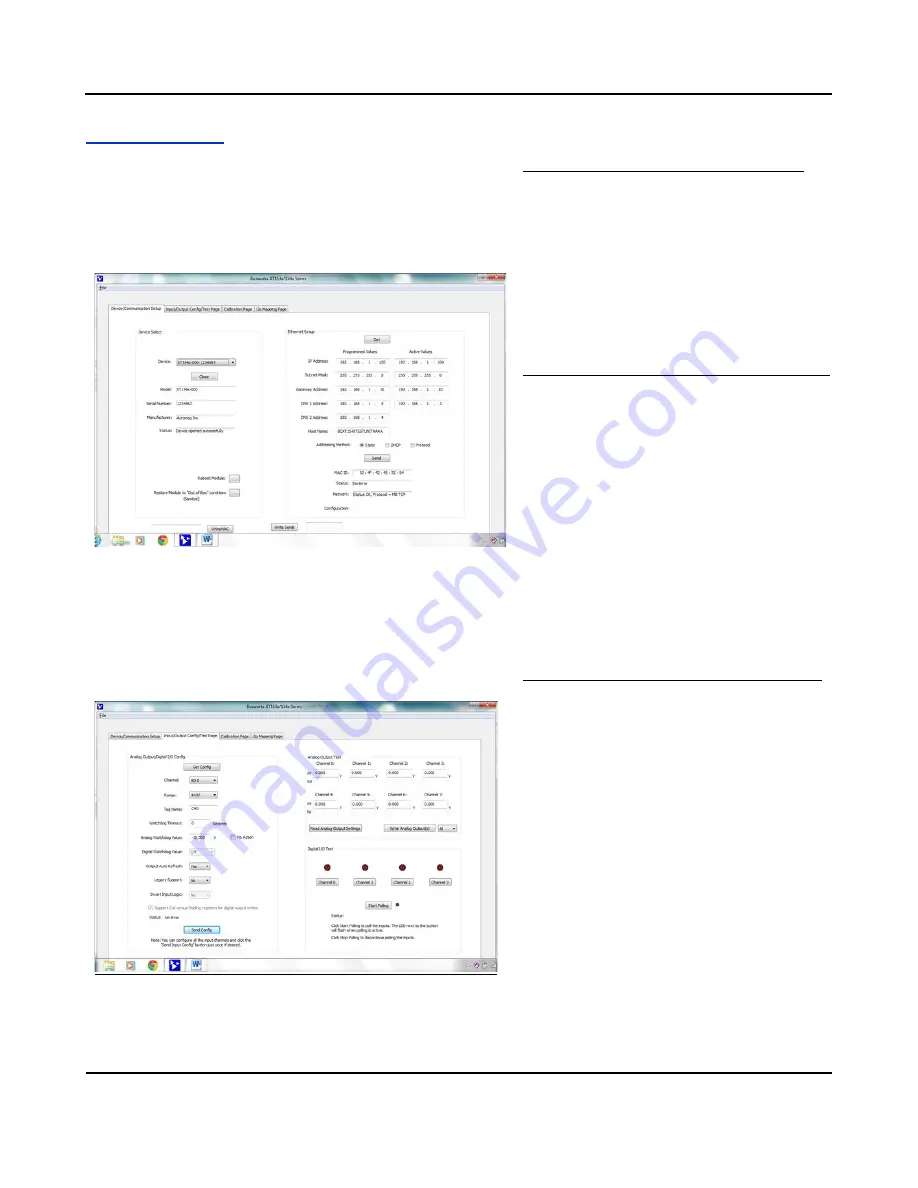
After booting the Configuration software for this model, the
Device/ Communication Setup page shown below will appear. This
screen is used to selectively connect units over USB, and to
configure the Ethernet parameters necessary to communicate over
an Ethernet network. Once you Select a device and click
“Open”
to
connect to an XT1533-000, your screen will look similar to:
IMPORTANT:
Delay clicking [Open] immediately after power up
until the unit has established its Ethernet connection (wait ~30
seconds after powering-it up to give it time to initialize), or you
may encounter data transfer or timeout errors. To remedy, simply
turn power off to the unit, close the software, then turn power
back on to the unit and reboot the software after the unit has
powered up.
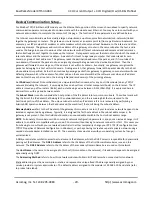
Device Select (First Connect to the Unit Here)
•
Select from connected modules and Open or
Close communication with them.
•
Display the Model, Serial Number, and
Manufacturer of the connected module and
report the status of the USB connection.
•
Reboot a module to force a system reset to the
power-up state.
•
Restore a module to its initial “out
-of-
box”
state.
Ethernet Setup (Setup your Network Parameters)
(This section has no effect on Profinet Models)
•
Retrieve a connected module
’
s current
network configuration with [Get].
•
Set the Network IP address required for
Ethernet communication on your network.
•
Set the subnet mask, gateway, and/or domain
name server addresses for your network.
•
Write your parameters to the connected unit
with [Send] and read back the USB
communication status.
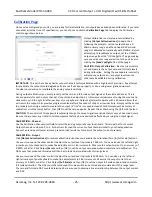
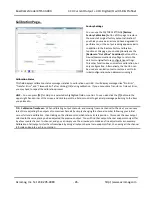
Two other screens can be selected by clicking their
tabs, the I/O Config/Test Page, and the Calibration
Page. A short description of the controls of each of
these pages follows:
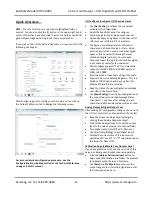
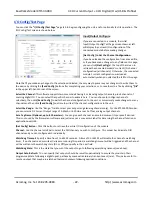
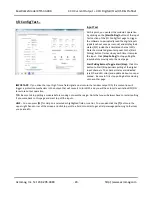
I/O Config/Test Page (Configure Your Unit Here)
After connecting to your unit and setting up its
network parameters, click the I/O Config/Test Page
tab to display the screen at left.

