Chapter 3. Installing the Appliance
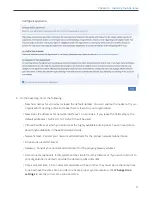
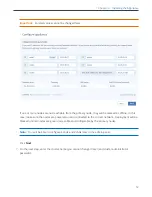
6. On the next step, enter the following:
• New host names for all nodes (or leave the default names). You can rename the nodes to fit your
organization’s naming policies or make them relevant to your organization.
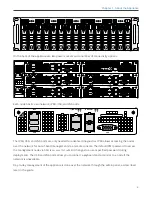
• New static IP addresses for network interfaces 1 on all nodes. If you leave the fields empty, the
default addresses 10.20.20.11 to 10.20.20.15 will be used.
• Virtual IP address at which you will access the highly available admin panel. You can read more
about high availability in the
Administrator’s Guide
.
• Network mask. Consult your network administrator for the proper network/subnet mask.
• At least one local DNS server.
• Gateway. Consult your network administrator for the proper gateway address.
• Domain name (optional). If this system will be visible from the Internet or if you wish to bind it to
your organization’s domain, provide the domain prefix and suffix.
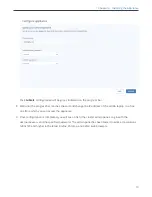
• Time zone and time. Since nodes communicate with each other, they must be on the same time
zone and have the same time in order to ensure proper synchronization. Click
Change time
settings
to set the correct time zone and time.
11


