40 © Acronis, Inc
can slow down the deployment. If you choose to save the agent’s log, the log will be available on
the deploy server in:
\Documents and Settings\All Users\Application Data\Acronis\DeployServer\AgentsLogs.
3.
Select the type of bootable media to create. You can:
-
create CD, DVD, diskettes or other bootable media such as USB flash drive if the hardware BIOS
allows for boot from such media
-
build an ISO image of a bootable disc to burn it later onto a blank disc
-
upload the selected components to the PXE server. The previously uploaded components will be
deleted from the PXE server before uploading the newly selected ones.
When using 3.5” diskettes, you will be able to write only one component at a time on a diskette
(or a set of the diskettes) — for example, Acronis Snap Deploy Agent. To write another
component, start the Bootable Media Builder once again.
4.
To create physical media, insert the blank disk, so the program can determine its capacity, or
attach the flash drive.
To create a bootable disk ISO image, specify the ISO file name and the folder in which to place it.
To upload the components to a PXE server, specify the server and provide the user name and
password to access it.
5.
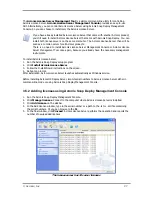
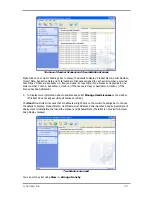
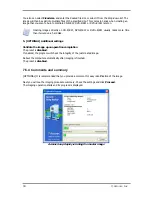
The components being uploaded to the PXE server can be protected with a password to prevent
the components from unauthorized execution. The password prompt will come up before
displaying the Acronis boot menu.
Protecting the boot menu with a password
6.
Next, the program will calculate how many blank disks are required (in case you have not chosen
ISO or PXE) and give you time to prepare them. When you have finished, click
Proceed
.
After you create a boot disk, mark it and keep it in a safe place.
Summary of Contents for SNAP DEPLOY 3 - FOR WORKSTATION
Page 1: ......

