7.0
Unpacking, inspection and operating check
ATTENTION!
Note the following before unpacking any components or adding water to the ALCOSIM simulator:
Ensure that the ALCOSIM simulator is unplugged and switched off until instructed
Ensure that the CS is switched to “pump disabled” and is disconnected from a power source until instructed
Ensure that the power supply is disconnected until instructed
If the ALCOSIM was powered on, wait 15 minutes for the components to cool off before removing the top housing
Never open the ALCOSIM top housing when the simulator is switched on or plugged in
Failure to follow these instructions may result in injury or may damage the devices
7.1
Inspecting the ALCOSIM simulator
1. Carefully unpack and visually inspect the unit.
2. Disassemble the solution jar from the top housing by turning the top housing counter-clockwise.
3. Carefully lift the top housing so that the internal components (e.g., the propeller) do not touch the jar.
4. Place 500 ml of tap water into the container and replace the top housing. Do not over-tighten.
5. Connect plastic tubing to the air outlet
(side)
and the air inlet
(top)
.
6. Cover the air outlet tube with your thumb and blow into the air inlet tube.
It should not be possible to blow into the ALCOSIM simulator and cause bubbling of air through the solution. If air can be
freely blown into the ALCOSIM simulator, the rubber "O" ring seal is either damaged or misaligned. In this case, remove
the top housing and reposition the seal. Replace the seal if it is worn or damaged.
7. Check that the ALCOSIM simulator power rating conforms to the local supply rating.
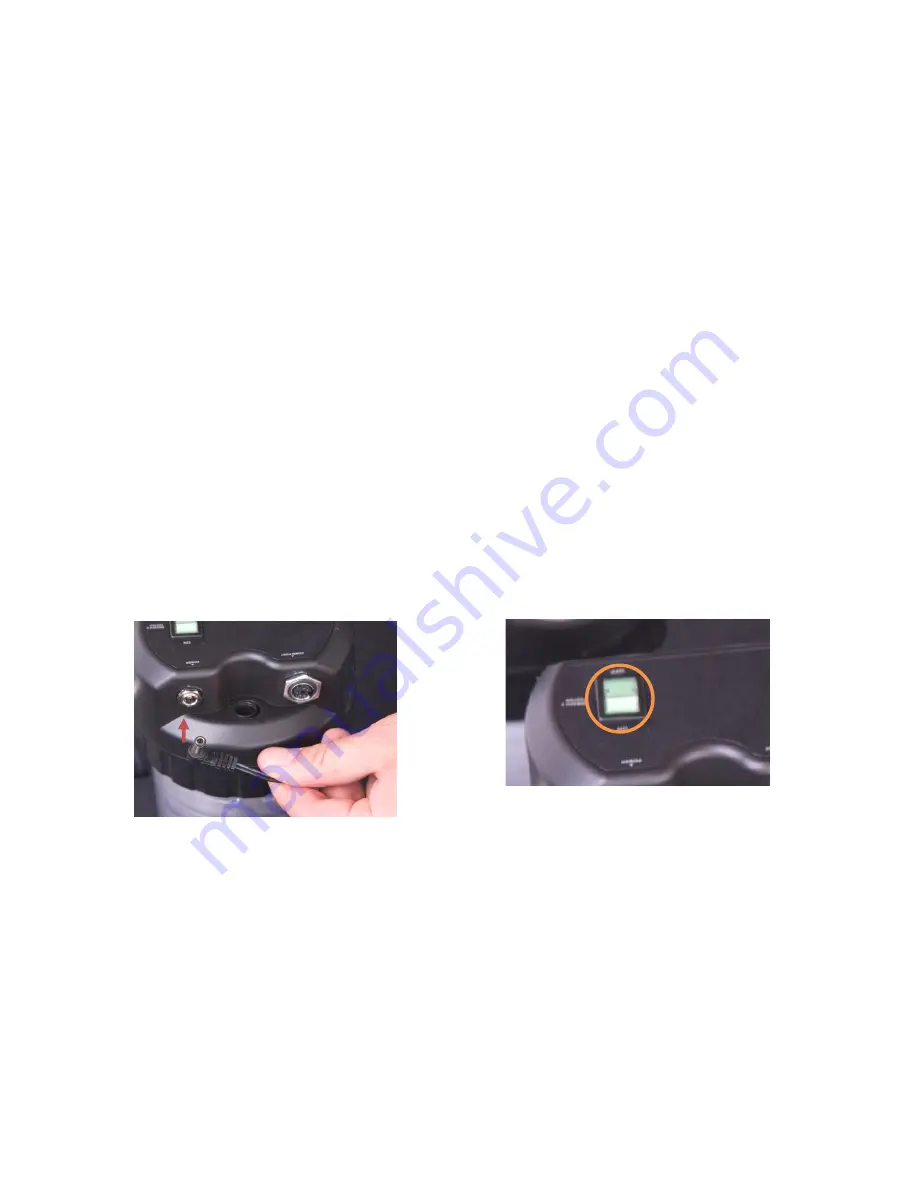
8. Connect the power cord to the ALCOSIM power input and to the AC wall port and switch on the ALCOSIM simulator.
ALCOSIM power input:
The ALCOSIM heaters and mixing propellers
automatically
activate. The ALCOSIM simulator begins heating the solution
to 34°C. This takes up to 20 minutes. The ALCOSIM screen displays the solution temperature.
9. If the ALCOSIM simulator operates correctly, turn the power switch off and disconnect the power. Wait 15 minutes for the
components to cool off.
10. Remove top housing from the container. Discard water, dry out the container and tubing and wipe off components attached
to the top housing. Reassemble the top housing for storage.
7.2
Inspecting the CS
Unpack the CS and check for physical damage. Check all electrical and tube connections. Connect to power supply and check
functionality.
7.3
Inspecting the ECU
Unpack the ECU and check for physical damage. Check the electrical connector. Connect to the CS, switch power on and
check for normal ECU functionality. Disconnect and switch off the CS when finished.
ALCOSIM power switch:
Summary of Contents for Alcolock WR2
Page 1: ...WR2 Calibration Station Instruction Manual ...
Page 4: ......
Page 8: ...5 0 ALCOSIM breath alcohol simulator diagram ...
Page 23: ...IRM ENG 60 000337 A 2012 ...


