28
Action
tec USB/Ethernet DSL Gateway User Manual
29
Chapter 2
Setting Up the Gateway
5.
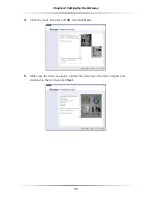
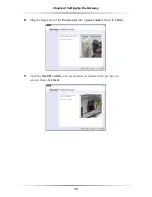
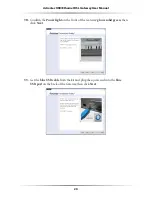
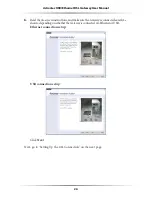
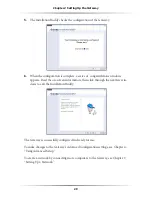
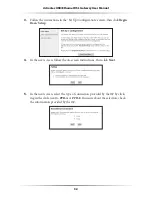
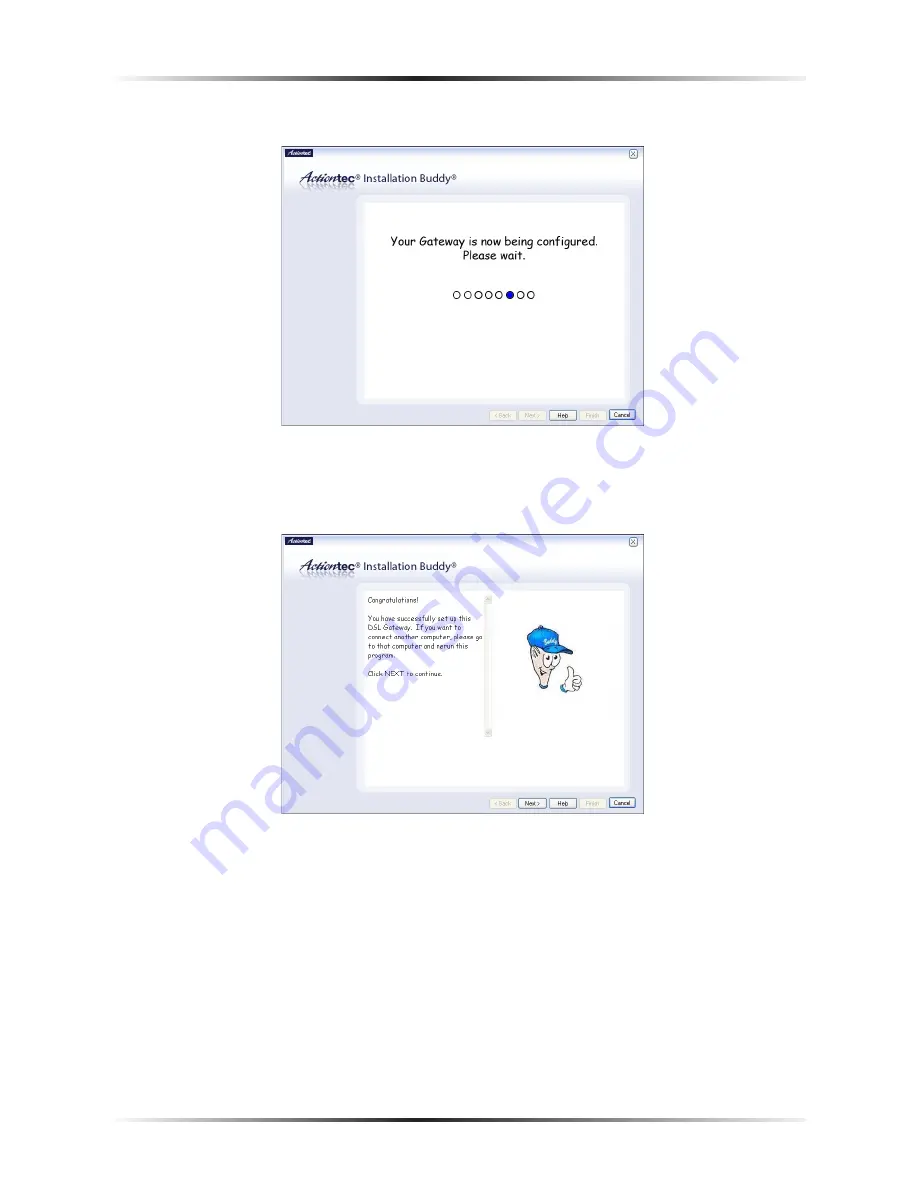
The Installation Buddy checks the configuration of the Gateway.
6.
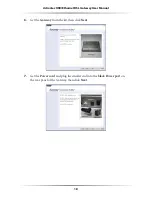
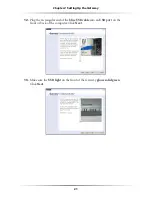
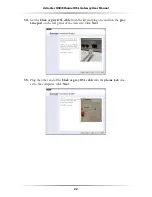
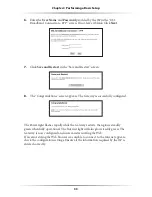
When the configuration is complete, a series of congratulations windows
appears. Read the on-screen information, then click through the next few win-
dows to exit the Installation Buddy.
The Gateway is successfully configured and ready for use.
To make changes to the Gateway’s Advanced Configuration settings, see Chapter 4,
“Using Advanced Setup.”
To create a network by connecting more computers to the Gateway, see Chapter 7,
“Setting Up a Network.”
Summary of Contents for DSL GATEWAY GT704
Page 33: ...30 Actiontec USB Ethernet DSL Gateway User Manual This page left intentionally blank ...
Page 55: ...52 Actiontec USB Ethernet DSL Gateway User Manual This page left intentionally blank ...
Page 79: ...76 Actiontec USB Ethernet DSL Gateway User Manual This page left intentionally blank ...
Page 101: ...98 Actiontec USB Ethernet DSL Gateway User Manual This page left intentionally blank ...
Page 107: ...104 Actiontec USB Ethernet DSL Gateway User Manual This page left intentionally blank ...

