108
Actiontec USB/Ethernet DSL Modem User Manual
109
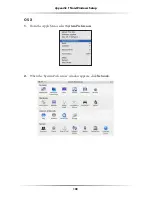
Appendix f
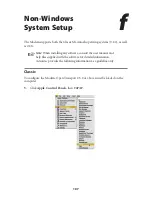
Non-Windows Setup
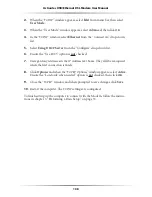
2.
When the “
TCP/IP
” window appears, select
Edit
from menu bar, then select
User Mode
.
3.
When the “User Mode” window appears, select
Advanced
, then click
OK
.
4.
In the “
TCP/IP
” window, select
Ethernet
from the “Connect via” drop-down
list
.
5.
Select
Using
DHCP
Server
from the “Configure” drop-down list.
6.
Ensure the “Use 802.3” option is
not
checked.
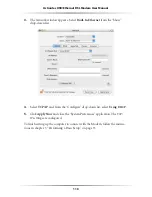
7.
Disregard any addresses in the
IP
Address text boxes. They will be reacquired
when the first connection is made.
8.
Click
Options
and when the “
TCP/IP
Options” window appears, select
Active
.
Ensure the “Load only when needed” option is
not
checked, then click
OK
.
9.
Close the “
TCP/IP
” window and when prompted to save changes, click
Save
.
10.
Restart the computer. The
TCP/IP
settings are configured.
To finish setting up the computer to connect with the Modem, follow the instruc-
tions in chapter 3, “Performing a Basic Setup,” on page 33.
Summary of Contents for GT701A
Page 61: ...58 Actiontec USB Ethernet DSL Modem User Manual This page left intentionally blank ...
Page 81: ...78 Actiontec USB Ethernet DSL Modem User Manual This page left intentionally blank ...
Page 103: ...100 Actiontec USB Ethernet DSL Modem User Manual This page left intentionally blank ...
Page 109: ...106 Actiontec USB Ethernet DSL Modem User Manual This page left intentionally blank ...

