Page 15/54
•
Date:
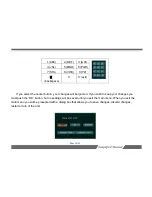
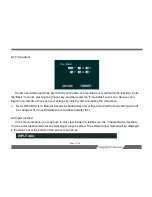
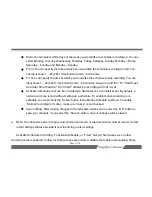
You can select which days of the week you would like to schedule recording on. You can
select Monday, Tuesday, Wednesday, Thursday, Friday, Saturday, Sunday, Monday – Friday,
Saturday – Sunday, and Monday – Sunday.
•
From:
You can specify the time at which you would like the schedule recording to start. You
can input hours 1 – 24 (24hr Time Format) and 0 - 59 minutes.
•
To:
You can specify the time at which you would like the schedule to stop recording. You can
input hours 1 – 24 (24hr Time Format) and 0 - 59 minutes.
Keep in mind the “To” field must
be a later time than the “From field” otherwise recording will not occur.
•
Activate:
a Motion event can be considered a Normal event, or an Alert event. By default, a
normal event can record without setting up a schedule. To enable motion recording on a
schedule you must check the “Active” button in the Motion Schedule submenu. To enable
“Normal” recording for motion, make sure “Active” is not checked.
•
Save setting:
After making changes to the schedule, make sure to select the “OK” button to
save your changes, if you select the “Cancel” button, all your changes will be erased.
u
Note:
If a channel is set for timing record and normal record, or alert record and normal record, normal
record settings will take president over the timing or alert settings.
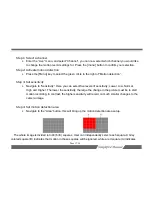
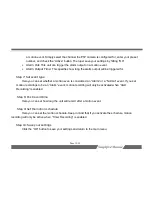
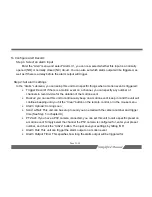
Activate Schedule recording:
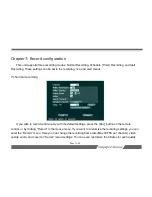
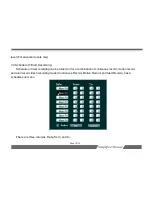
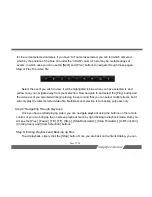
To activate Schedule, or “Timer” Record, first make sure no other
recording mode is enabled. If other recording modes are enabled, disable them before proceeding. Press


