Page 16/54
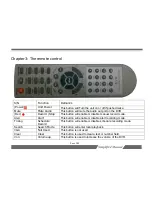
the
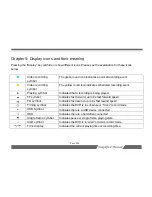
[Timing]
button on remote control, or click “Timer” in the mouse menu to start schedule recording. The
schedule or timing symbol “
“ will be displayed on the monitor
De-Activate schedule recording:
To de-activate Schedule Record press the
[Timing]
button on
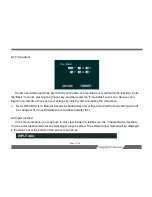
remote control, or click “Timer Stop”. If you have password protection enabled, the “Input Password”
dialogue box will popup. Enter a valid password (Default password: 88888888) to stop “Timer record”. The
schedule symbol “
“ will no longer be displayed on screen once schedule record has been de-activated.
If password protection is disabled, Pressing the
[Timing]
button or clicking “Timer Stop” will disable
schedule Record without any prompt.
u
Note
: Manual recording mode will be disabled when using “Timer Record”.
7.3 Motion detection recording
When motion detection is enabled, this unit can detect movement or changes in the cameras image.
Once motion is detected, this unit can perform different tasks depending upon how the user configures
motion recording. Keep in mind that light change, video interference, or unstable video signals will be
registered as motion events because the input from the camera is changing significantly. All motion
detection settings can be configured in the “Live” menu.
To Configure Motion Record:

