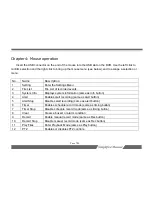
Page 17/54
Step 1: Select a channel
•
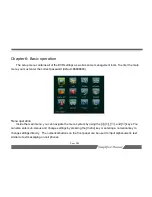
Enter the “Live” menu, and select “Channel”, you can now select which channel you would like
to change the motion record settings for. Press the
[menu]
button to confirm your selection.
Step 2: Activate motion detection
•
Press the
[Menu]
key to select the green circle to the right of “Motion detection”.
Step 3: Set sensitivity
•
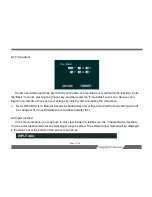
Navigate to “Sensitivity”. Here you can select five levels of sensitivity; Lower, Low, Normal,
High and Higher. The lower the sensitivity, the large the change in the picture must be to start
motion recording, in contrast, the higher sensitivity will record on much smaller changes to the
camera image.
Step 4: Set motion detection area
•
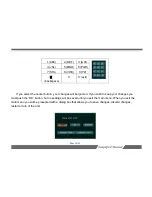
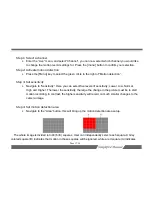
Navigate to the “Area” button, this will bring up the motion detection area setup:
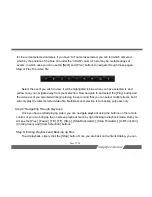
The whole image is divided into 48 (6×8) squares. User can independently select each square. A Grey
colored square (B) indicates that motion in these squares will be ignored, while a red square (A) indicates

