Page 34/54
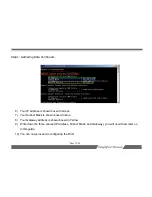
to view them for your reference.
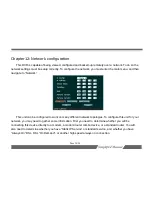
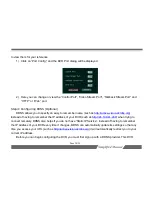
1) Click on “Port Config”, and the DVR Port dialog will be displayed
2) Here you can change or view the “Control Port”, “Video Stream Port”, “Talkback Stream Port” and
“HTTP” or “Web” port.
Step 4: Configuring DDNS (Optional)
DDNS allows you to specify an easy to remember name (such as
http://active-vision.dvrdns.org
)
instead of having to remember the IP address of your DVR (such as
http://24.188.41.249
) when trying to
connect remotely. DDNS also helps if you do not have “Static IP Service”. Instead of having to remember
the IP address of your DVR every time it changes, DDNS can automatically update its settings so that any
time you access your URL (such as
http://active-vision.dvrdns.org
) it will automatically redirect you to your
current IP address.
Before you can begin configuring the DVR, you must first sign up with a DDNS provider. This DVR


