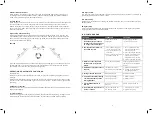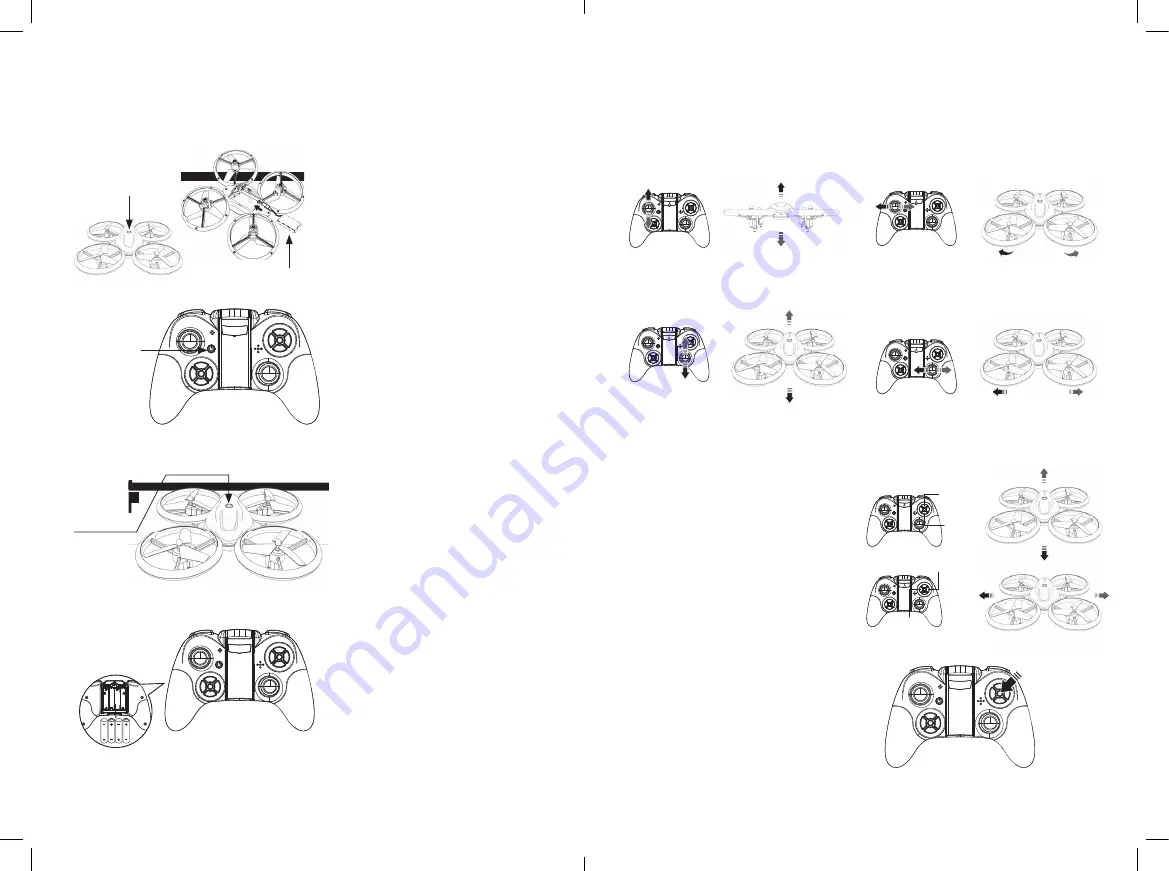
PAIRING DEVICES
Step 1
Place the device on a fl at surface and insert
the battery into the craft. Do not move
until the blinking LED light switches from
fast to slow. Only when the light is slow-
fl ashing can the control can be connected
with drone.
Step 2
Turn on the remote control and push the
throttle stick to the top, then the bottom.
When the drone’s light stops fl ashing, they
have been successfully connected.
Press for 3 seconds to power off. The
indicator light will turn off when the device
is successfully powered off.
Step 3
Press Power Switch for 3 seconds and the
light will turn off, this indicates the drone
has powered off.
Warning:
Failure to remove the battery
when the device is not in use for an
extended period may result in damage due
to leakage and may become a fi re hazard.
Step 4
Turn off the remote control. If not in use for
an extended period of time, remove the
batteries.
Warning:
If batteries are left in the
transmitter, leakage could occur resulting
in damage and potential fi re hazard.
FLIGHT ADJUSTMENTS AND SETTINGS
Read and follow all instructions prior to fi rst use.
1. Place the drone in a clear open fi eld and point the tail of drone to yourself.
2. Practice operating the remote control and all functions prior to fi rst fl ight.
Forward and Backward Trimming
1. When the aircraft is starting to take off and it
drifts forward/backward, adjust the Trim button
in desired direction until balanced.
Left and Right Trimming
2. When the aircraft is starting to take off and it
drifts left/right, adjust Trim button in desired
direction until balanced.
Recalibration
If the trim buttons do not correct a fl ight issue,
place the drone on a fl at surface and recalibrate
as follows.
Simultaneously, press both control keys to the
lower left or to the lower right for 4 seconds
(pic) - the drone light will rapidly fl ash. When
successfully recalibrated, the light will stop
fl ashing.
Trim Adjustment
Slowly raise the throttle control stick to take off and if it moves to a different orientation, use the
Trim Button to correct.
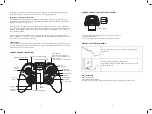
3.7V Li-Po Batteries
Press once
and the light
turns on,
it means
power on.
Press for 3
seconds and
the light turns
off, it means
power off.
Power Switch
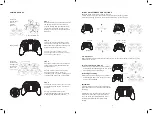
Up
Forward
Turn Left
Move
Left
Move
Right
Down
Backward
Turn Right
Forward
trimming
Right trimming
Left trimming
Backward
trimming
6
7


