28
Operation Manual - Hercules CP10 Commercial Control Interface
Doc. No. 0525-022
Ver. 5 190314
ALARM HISTORY (Read Only Menu)
Esc
Prg
Return Temp.: 18.4
o
C
Supply fan1 offline
Supply Temp.: 18.9
o
C
Alarm History AL28
No 015 15:32 06 / 09 / 12
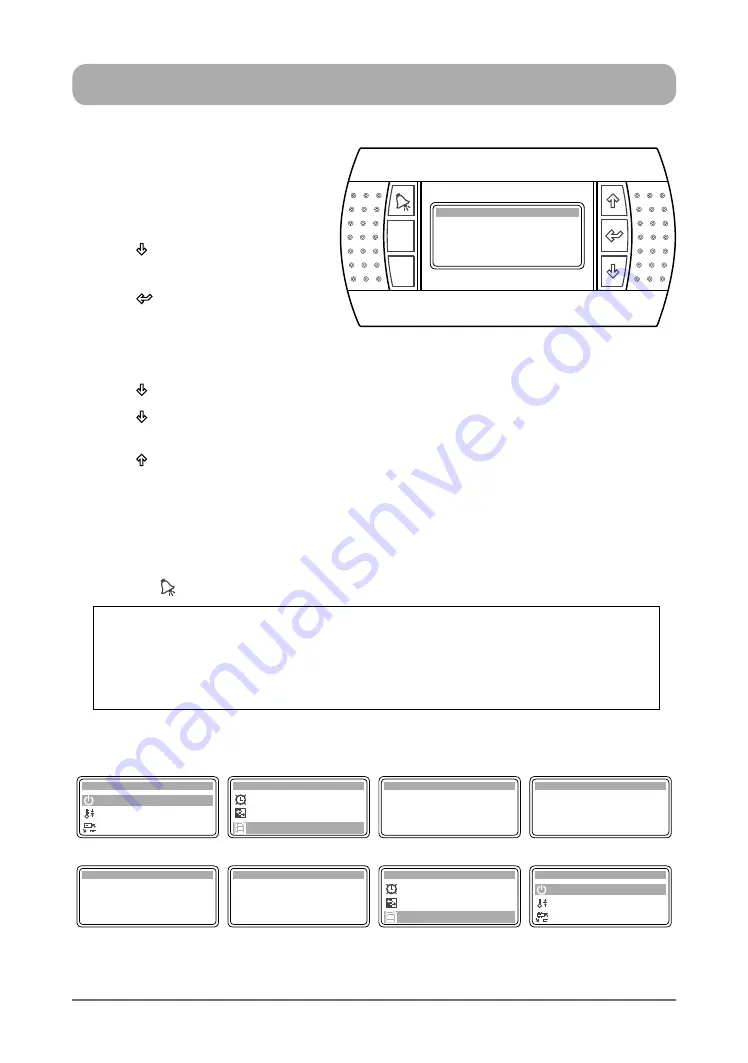
1. Press
“
Prg
”
Button to get into the
Main Menu. Display will show Main
Menu and highlighted Sub-Menu
A.
On / Off Unit
.
2. Press
“ ”
Button to scroll down into
F. Alarm History
sub-menu.
3. Press
“ ”
Button to lock-in
F. Alarm
History
sub-menu. Display will show
the first screen under this sub-menu.
Note
: Alarm History is time & date
stamped.
4. Press
“ ”
Button to scroll down into the second screen and view the alarm history.
5. Press
“ ”
Button repeatedly to scroll down into the next succeeding screens and view the other
alarm log.
6. Press
“ ”
Button to scroll up and to view the previews alarm history screens.
TO RETURN TO THE MAIN MENU
7. Keep
pressing
“
Esc
”
(Escape/Return) Button until you get to the Main Menu screen. Otherwise
press
“
Prg
”
Button.
TO RESET THE ALARM
8. Press the “ ” Button twice to reset or clear the alarm.
Display Progression
A. On / Off Unit
B. Setpoint
Main Menu A
C. Mode of Operation
F. Alarm History
Main Menu F
D. Clock / Scheduler
E. Status
Alarm History No 028
15:32 06 / 04 / 16 AL037
Outdoor fan 1 offline
1 : OFF
Return : 25.8
O
C 2 : OFF
Supply : 22.6
O
C 0L/s
LP1 : -2.1B LP2 : -1.8B
HP1 : -5.8B HP2 : -5.8B
Alarm History No 030
19:32 06 / 04 / 16 AL039
Outdoor fan 3 offline
1 : OFF
Return : 25.8
O
C 2 : OFF
Supply : 22.6
O
C 0L/s
LP1 : -2.1B LP2 : -1.8B
HP1 : -5.8B HP2 : -5.8B
Step 1
Step 2
Step 3
Step 4
Alarm History No 029
18:32 06 / 04 / 16 AL038
Outdoor fan 2 offline
1 : OFF
Return : 25.8
O
C 2 : OFF
Supply : 22.6
O
C 0L/s
LP1 : -2.1B LP2 : -1.8B
HP1 : -5.8B HP2 : -5.8B
Alarm History No 030
19:32 06 / 04 / 16 AL039
Outdoor fan 3 offline
1 : OFF
Return : 25.8
O
C 2 : OFF
Supply : 22.6
O
C 0L/s
LP1 : -2.1B LP2 : -1.8B
HP1 : -5.8B HP2 : -5.8B
F. Alarm History
Main Menu F
D. Clock / Scheduler
E. Status
A. On / Off Unit
B. Setpoint
Main Menu A
C. Mode of Operation
Step 5
Step 6
Step 7
Important Note
:
All alarm fault conditions must be investigated and rectified before proceeding to reset or
clear the alarm. If the cause of the fault condition has not been eliminated, the alarm fault
conditions will be reported and logged in again on next data cycle.
Repeated resetting and
restarting can cause damage to the unit and may render your warranty null & void.


