9
Using the Weather Station
OPERATION
Menu
Records
Display
Sensor
Setup
Factory Reset
Units
Alarms
Calibrate
press to exit menu
1
5
2
6
3
7
4
8
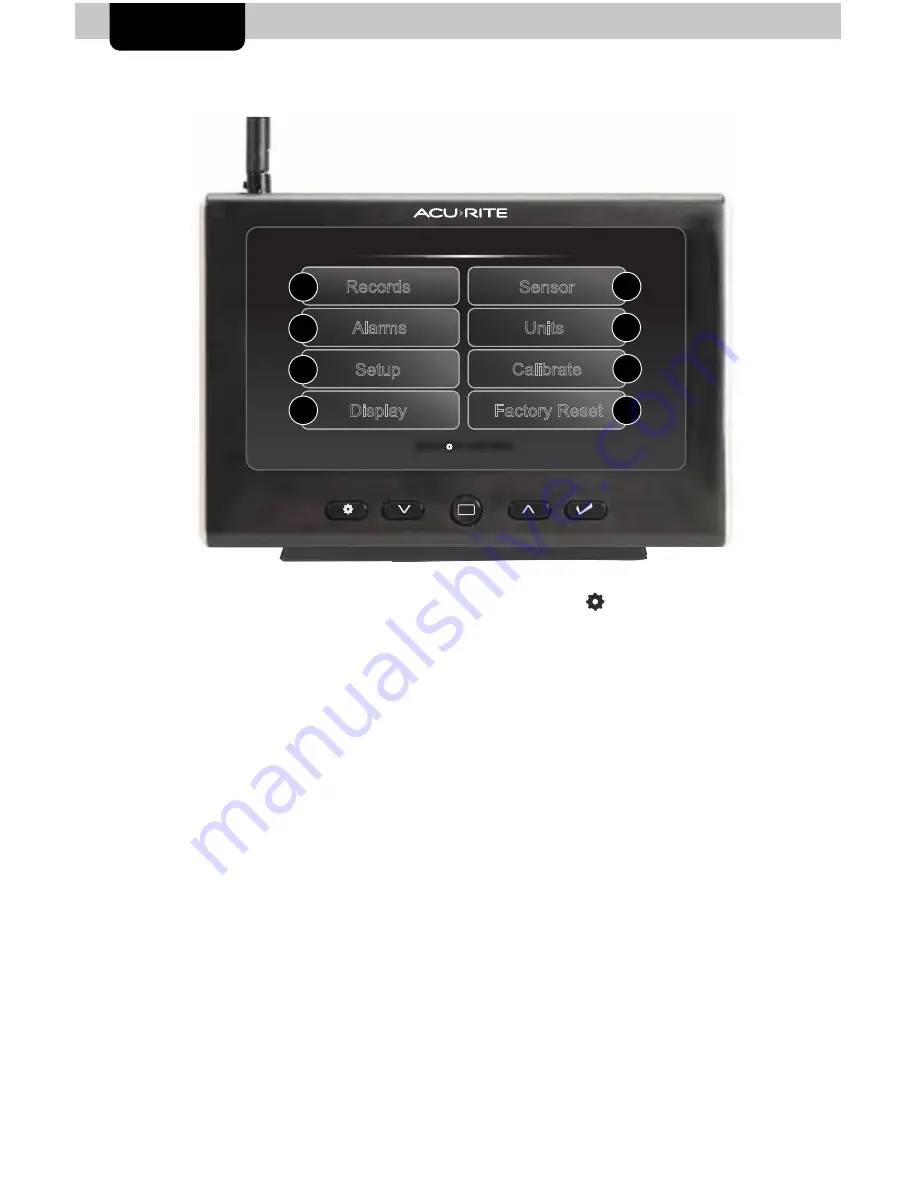
Navigate to the main menu at any time by pressing the “ ” button. From the main
menu, you can view records, set alarms, setup an additional sensor and more.
1. Records
Access the “Records” sub-menu to view high and low values recorded
for each location by date and view trends for the sensor’s readings on a
graphic chart.
2. Alarms
Access the “Alarms” sub-menu to set and edit alarm values, including
temperature, humidity, wind speed and rainfall. The display also includes
an alarm clock feature (time alarm) and storm alarm (activated when
barometric pressure drops).
3. Setup
Access the “Setup” sub-menu to enter the initial setup process.
4. Display
Access the “Display” sub-menu to adjust display settings (brightness, contrast,
tint), display mode (screen cycle) and backlight (auto dim, sleep mode).
When auto dim mode is activated in display setup, the backlight automatically
dims the brightness based on the time of day. When “Sleep Mode” is
activated, the display automatically dims during the timeframe you choose
and shows only the most important readings for at-a-glance viewing.


