103
GB
the 230V connection, check the follow-
ing troubleshooting chart:
Note: You may hear a faint buzzing at
the charging station transformer. This
is completely normal.
STARTING AND TESTING
THE INSTALLATION
Once the LED is lighting green con-
stantly, it's time to test the robotic
mower:
1.
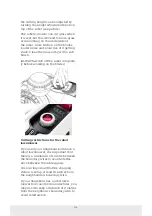
Adjust the cutting height to the
maximum height (60 mm)
2.
You may need to remove the
blades to avoid cutting the bound-
ary wire if it is not laid flat/tight on
the lawn
3.
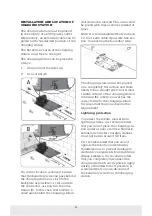
Place the robot inside the lawn
area and at least 2 m away from the
charging station
4.
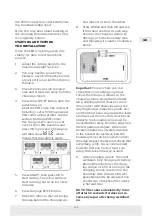
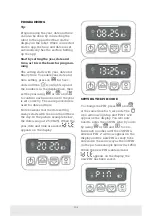
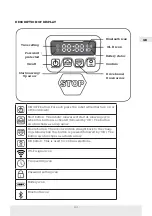
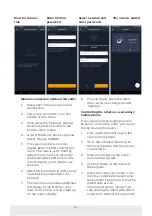
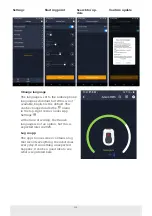
Press the ON/OFF button until the
robot turns on.
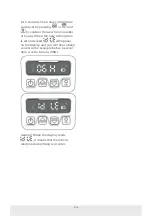
Enter the PIN code. The code will
be factory-set at 0000 (a personal
PIN code can be set later, see the
section ‘Setting a PIN code’).
Use the up/down arrows to set
each of the 4 PIN numbers and
press OK to proceed. The display
will then show
, which
means that the robot is ready.
5.
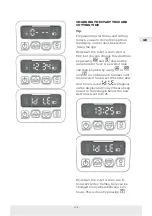
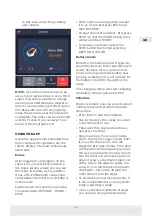
Press START, then press OK to
start cutting. The robot will now
start running. Let it run for a few
minutes.
6.
Press the large STOP button.
7.
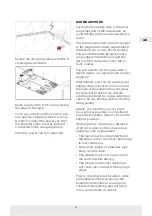
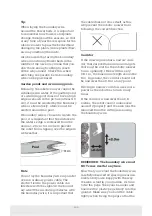
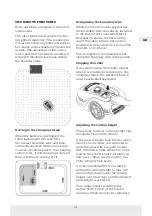
Move the robot so that it is facing
the area behind the charging sta-
tion (about 1 m from the cable).
8.
Press HOME and then OK and see
if the robot can find its own way
home to the charging station by
driving out to the boundary wire
and following it counter-clockwise
home.
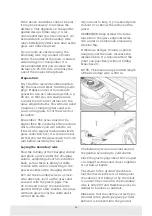
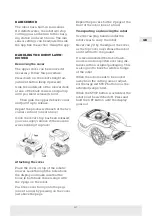
Important:
This is where you can
check that your cabling is optimal.
Follow the robot as it returns to the
charging station along the boundary
wire, checking that it does not come
into contact with obstacles along the
way (high edges, branches, plants etc.)
and that the wheels stay inside the lawn
at all times. If the robot hits/touches an
obstacle, the boundary wire must be
moved further away from the edge and
the test performed again. If there are
several centimetres of safety distance
to the nearest obstacle/soil bed, the
boundary wire can be moved closer to
the edge. Repeat the test and check that
everything is OK. It is recommended
however that you have at least 1 cm
safety distance all the way around.
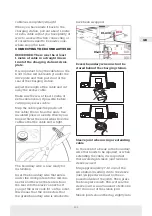
9.
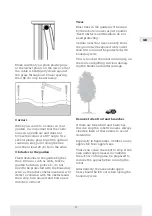
At the charging station, the robot
will begin fully charging its battery.
Should the robot miss the charg-
ing station or hit it at an angle, the
charging station location (or the
boundary wire in front of it) will
probably need to be adjusted. You
should also check that the surface
is flat and firm.
NOTE: The robot automatically turns
off after 30 seconds if it does not re-
ceive any input after being switched
on.

