background image


ELECTRICAL INSTALLATION FOR 

ASENTO


1.

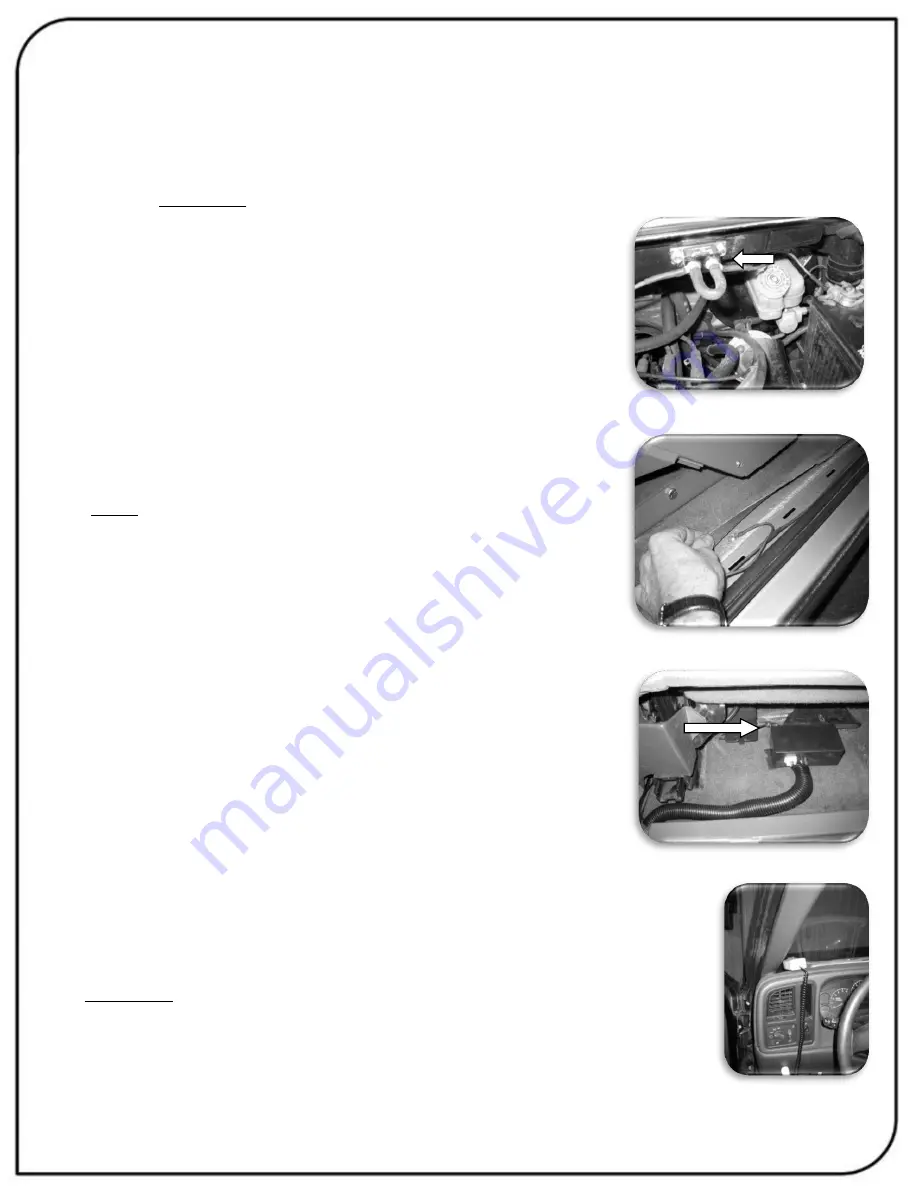
 Thread the lead power cable (red +) under the doorstep moulding and through the 

firewall.  WARNING:  Pass  through  a  grommet  in  the  firewall  to  prevent  the  cable  from 
chaffing.  


2.

  Install  the  circuit  breaker  near  the  battery  and  then 

connect the battery to the circuit breaker. 


3.

  Attach  the  ground  wire  (black  -

) to the vehicle’s frame, 

under  the  doorstep  moulding  using  a  self-tapping  screw. 
(NOTE: It is preferable to locate it in a spot where the sheet 
metal is doubled-up to insure a better ground.) 


4.

  Connect  the  power  cable  (red+)  and  the  ground  cable 

(black  -)  to  the  electronic  module  (black  box).    Place  the 
electronic  module  under  the  seat  and  secure  it  in  place 

using  “Velcro”.  Secure  all  the  wires  in  a  loom.  Reconnect 

the battery. 


5.

  Thread  the  flat  hand  held  control  wire  (black  telephone  wire)  under 

the doorstep molding and up under the dash. Secure the wire in place 
under the dash with a tie wrap and secure the hand held control on the 

dash using “Velcro”. 


WARNING: Place the hand held control in a safe place so that the door 
does not risk cutting off the wire. 


Summary of Contents for ASENTO EV-ACA17R

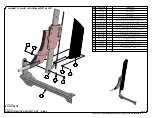
Page 1: ...ASENTO INSTALLATION MANUAL EV ACA17R GMC ACADIA 2017 UP PASSENGER SIDE...

Page 2: ...lated 1 4 20 x 1 11 PRD 341 103P 2 Flat Washer Zinc Plated I D 3 16 USS 12 PRD 400 289 1 Nylon Insert Locknut Stainless 10 24 13 PRD 400 583 1 Pan Head Machine Screw Phillips Stainless 10 24 x 5 8 14...

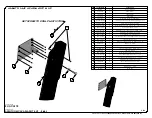
Page 3: ...12 PRD 341 103P 2 Flat Washer Zinc Plated I D 3 16 USS 13 PRD 400 289 1 Nylon Insert Locknut Stainless 10 24 14 PRD 400 583 1 Pan Head Machine Screw Phillips Stainless 10 24 x 5 8 15 PRD 192 153 1 Sp...

Page 4: ...nc plated 1 4 x 9 16 7 PRD 333 107M 1 Nylon Insert Locknut 5 16 18 Thin 8 PRD 337 194P 3 Socket Head Cap Screw Zinc Plated 1 4 20 UNC x 7 8 9 PRD 333 105 1 Nylon Insert Locknut 1 4 20 10 PRD 338 169P...

Page 5: ...RD 338 169P 1 Flat Head Socket Cap Screw Zinc Plated 1 4 20 x 1 11 PRD 341 103P 2 Flat Washer Zinc Plated I D 3 16 USS 12 PRD 400 289 1 Nylon Insert Locknut Stainless 10 24 13 PRD 400 583 1 Pan Head M...

Page 6: ...400 583 1 Pan Head Machine Screw Phillips Stainless 10 24 x 5 8 14 PRD 192 153 1 Spring Tension Pin 1 4 x 1 15 SN 190 025 1 Binder Slot Head Post Screw Black 250 x Lg 16 EV300 01R 1 Safety Arm Right...

Page 7: ...t 5 16 18 Thin 5 EV300 01R 1 Safety Arm Right 6 EV400 01R 1 Transfert Platform Right 7 XLS430B 01R 1 Transfer Plate Cushion Right Black 8 EV600B 01 1 Pillar Trim Black 9 EV ACA17R 01 1 Floor Adapter R...

Page 8: ...eat bolts on both sides Remove the lower brackets and plastic trims from the seat rail Keep the OEM bolts for reinstallation of the ASENTO floor adapter 2 Cut a notch in the carpet at the right hand s...

Page 9: ...3 Install the ASENTO floor adapter EV ACA17R 01 using the OEM bolts 4 Remove the lower b pillar trim...

Page 10: ...per b pillar trim 6 Install the b pillar adapter EV ACA17R 02 to the b pillar using the eight provided pop rivets NOTE drill slowly high strength steel Then install the pointed allen screw into the b...

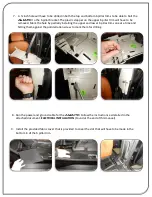
Page 11: ...nstalling the upper and lower b pillar trims one at a time and hitting them against the pointed allen screw to mark them for drilling 8 Run the power and ground cable for the ASENTO Follow the instruc...

Page 12: ...trim will have to be modified to allow clearance for the ASENTO Use the provided stencil to cut out the hole Now install the lower trim and mark the hole to be drilled reinstall the rims and remove th...

Page 13: ...11 On vehicles with a manual seat the recline lever will have to be replaced with the one provided EV TER18R 03 and the seat belt retention elastic installed to hold the seat belt in place...

Page 14: ...12 Install the ASENTO to the floor adapter and b pillar adapter Use the 3 8 16x1 bolt and flat washer at the floor adapter and the 3 8 16x1 1 4 bolt and flat washer at the b pillar...

Page 15: ...wer is connected the ASENTO will beep to signify that it is ready to be programed PROGRAMMING ASENTO 14 Before the ASENTO can be used it will have to be programmed Once the control box is connected to...

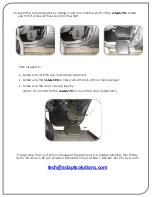
Page 16: ...all properly fastened Make sure that ASENTO works well with and without a passenger Make sure the door closes properly Note It is normal for the ASENTO to touch the door panel trim Please note that o...

Page 17: ...locate it in a spot where the sheet metal is doubled up to insure a better ground 4 Connect the power cable red and the ground cable black to the electronic module black box Place the electronic modu...

Page 18: ...ELECTRICAL BOX CONNECTIONS ASENTO...

Page 19: ...ASENTO WITH SPEEDY LIFT...

Page 20: ...warning decals NOTE The surface must be clean dry and at ambient temperature for the sticker to stick to the surface Start by locating a position to install the decals Clean the surface with the prov...

Page 21: ...ence strict liability or product liability All implied warranties including any warranty of merchantability or fitness for a particular purpose are limited in their duration to the length of the warra...

Reviews: