28
Configuring Your Wireless Router
4
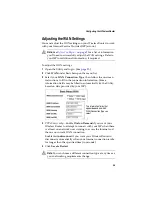
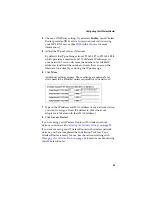
Choose a DNS Proxy setting. If you select
Enable
,
your Wireless
Router provides DNS service to your network stations using
your ISP’s DNS server. (See
in the
for more
information.)
5
Adjust the IP pool values, if desired.
By default, the IP pool ranges from 192.168.8.
17
to 192.168.8.
128
,
which provides a maximum of 112 different IP addresses to
your network. You can decrease the number of available IP
addresses (and limit the number of users that can access the
Internet at one time) by reducing the IP pool range.
6
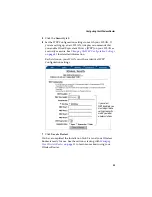
Click
More
.
Additional settings appear. These settings are optional and
don’t need to be adjusted unless required for your network.
7
Type in the IP address and MAC address of any network station
you want to assign a fixed IP address to. (Most network
adapters are labeled with their MAC address.)
8
Click
Save & Restart
.
If you are using your Wireless Router with wireless network
stations, continue with
Adjusting the Wireless Settings
If you are not using your Wireless Router with wireless network
stations, you have completed the Installation Task List. Your
Wireless Router is ready for use. See the sections starting with
to learn more about using
your Wireless Router.


