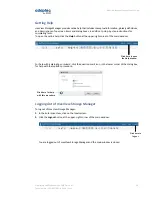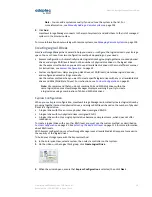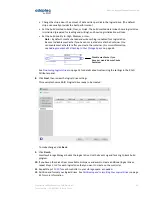
• Change the stripe size—the amount of data written per disk in the logical drive. (The default
stripe size usually provides the best performance.)
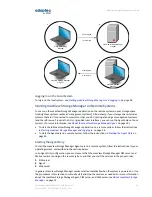
• Set the build method to Build, Clear, or Quick. The build method determines how a logical drive
is initialized (prepared for reading and writing), and how long initialization will take.
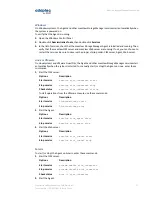
• Set the build priority to: High, Medium, or Low.
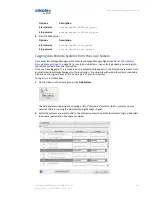
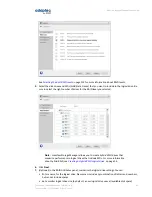
Note: By default, maxCache read and write caching is enabled for a logical drive.
Be sure to disable maxCache if you have not created a maxCache Container. (You
can enable maxCache later, after you create the container.) For more information,
see
Adding maxCache SSD Caching to Your Storage Space
on page 62.
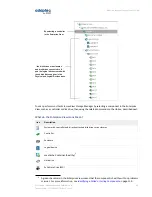
Disable maxCache if you
have not created a maxCache
Container
See
Fine-tuning Logical Drives
on page 55 for details about customizing the settings in the RAID
Attributes panel.
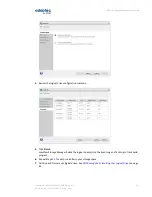
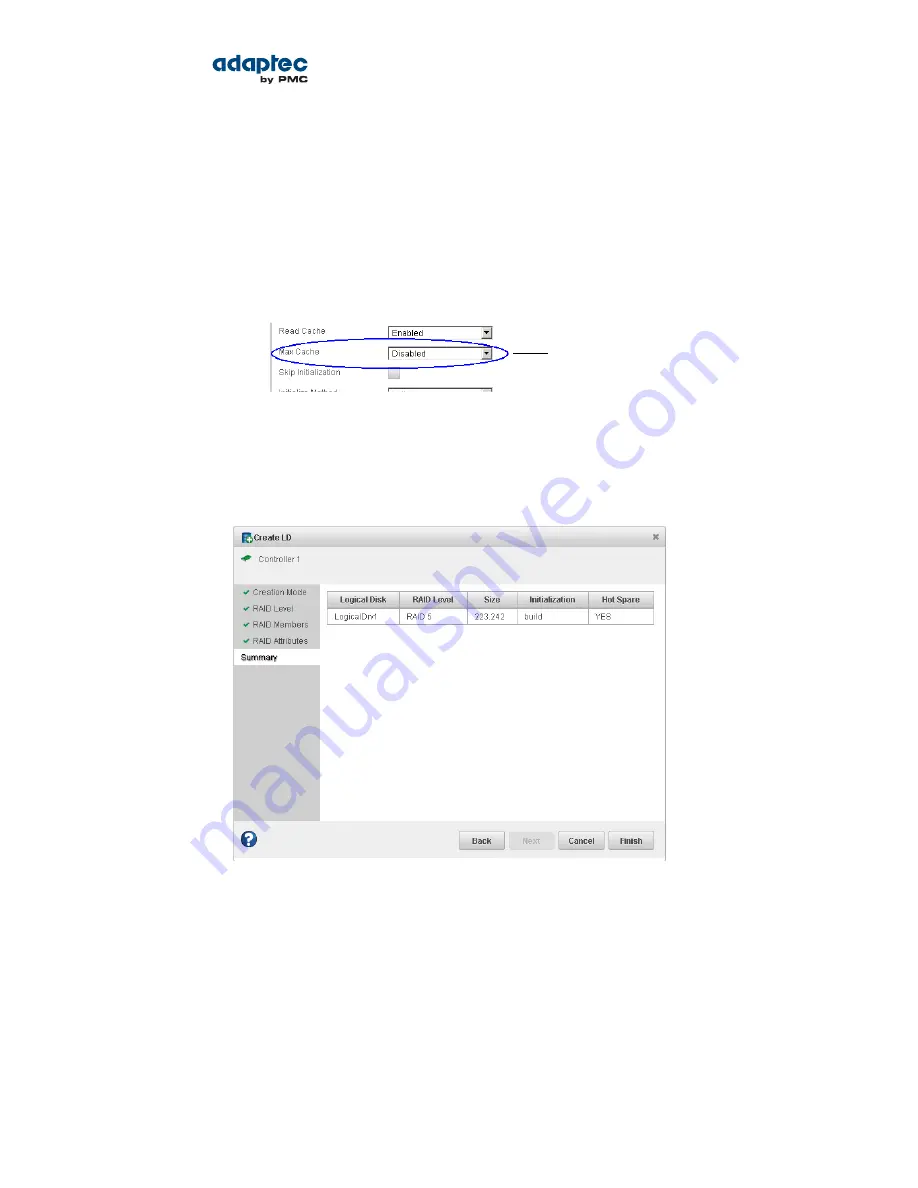
8. Click Next, then review the logical drive settings.
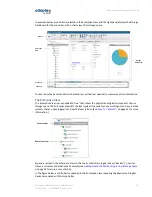
This example shows a RAID 5 logical drive ready to be created.
To make changes, click Back.
9. Click Finish.
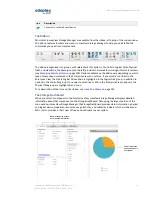
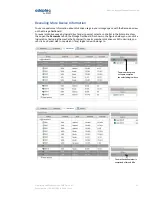
maxView Storage Manager builds the logical drive. Use the Event Log and Task Log to track build
progress.
10. If you have other disk drives or available disk space and want to create additional logical drives,
repeat Steps
2
to
9
for each logical drive that you want to create on the controller.
11. Repeat Steps
1
to
10
for each controller in your storage space, as needed.
12. Partition and format your logical drives. See
Partitioning and Formatting Your Logical Drives
on page
44 for more information.
43
Proprietary and Confidential to PMC-Sierra, Inc.
Document No.: CDP-00278-02-A Rev. A, Issue:
maxView Storage Manager User's Guide

