6.1. Before measurement:
Avoid eating and smoking as well as all forms of exertion directly before measurement. These factors
•
influence the measurement result. Find time to relax by sitting in an armchair in a quiet atmosphere for
about 5 minutes before taking a measurement.
Always measure on the same wrist (normally left).
•
Always compare measurements taken at the same time of day, since blood pressure changes during the
•
course of the day, as much as 20-40 mmHg.
6.2. Common sources of error:
NOTE:
Comparable blood pressure measurements always require the same conditions!
Conditions
should always be quiet.
All efforts by the user to support the arm can increase blood pressure. Make sure you are in a
•
comfortable, relaxed position and do not flex any of the muscles in the measurement arm during the
measurement. Use a cushion for support if necessary.
If the arm artery lies considerably lower or higher than the heart, an erroneously high or low blood
•
pressure will be measured! Each 15cm (6 inch) difference in height between your heart and the cuff
results in a measurement error of 10 mmHg!
A loose cuff or a sideways protruding air pocket causes false measurement values.
•
With repeated measurements, blood accumulates in the arm, which can lead to false results. Consecutive
•
blood pressure measurements should be repeated after a 1 minute pause or after your arm has been held
up in order to allow the accumulated blood to flow away. If you decide to take your Averaging Mode
measurement again, be sure to wait at least one minute beforehand.
6.3. Fitting the Cuff
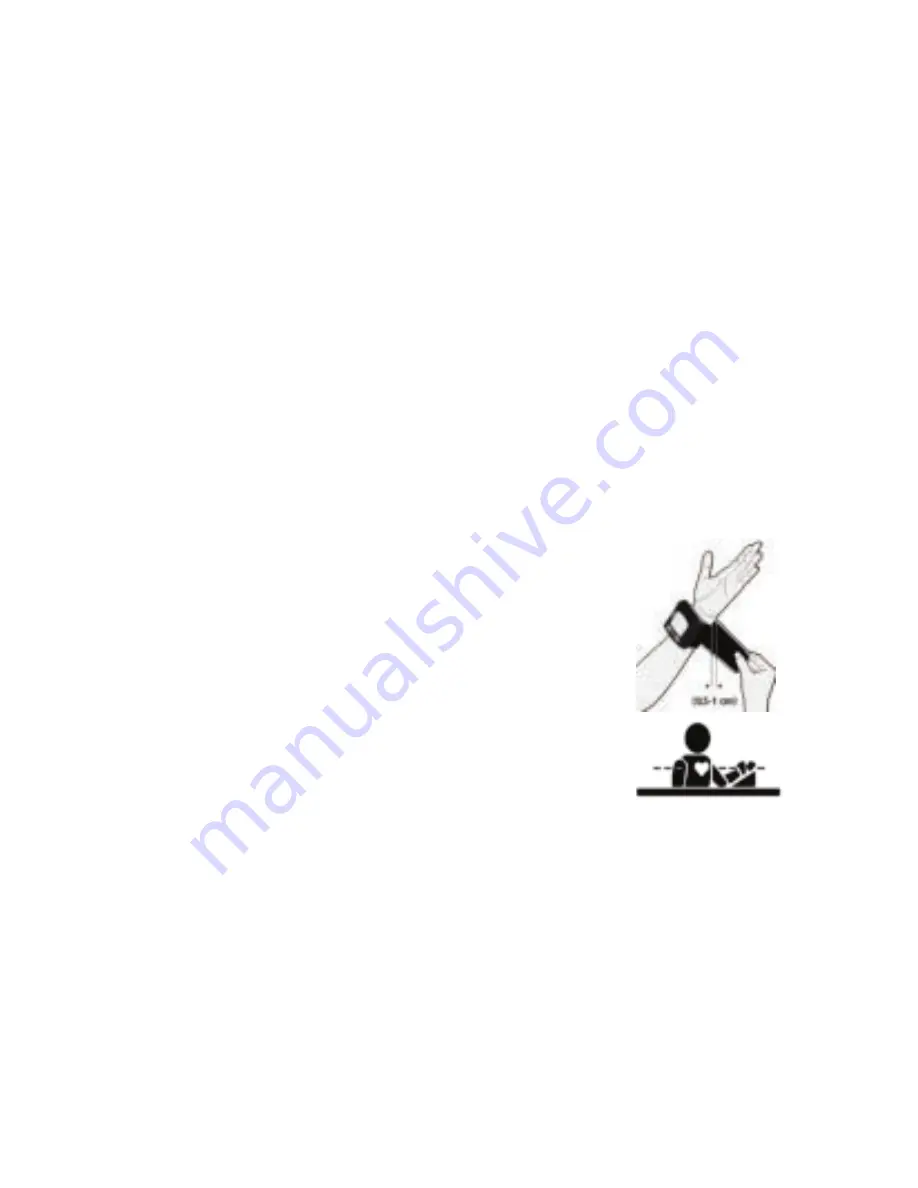
Remove all objects and jewelry (e.g. wristwatch) from the wrist in use. Put the
1.
cuff over the wrist with the monitor face on the inside of the wrist. The buttons
should be on the bottom.
The distance between the cuff and the hand should be approx. 10 mm (1/2").
2.
Secure the cuff with the hook and loop fastener, so that it lies comfortably and
3.
not too tight. No space should remain between the cuff and the wrist.
Lay your arm on a table, with the palm upwards. Support the arm a little with a
4.
cushion, so that the cuff rests at about the same height as the heart. Remain
still for 2 minutes, before beginning the measurement. You can also use the
storage case as a support.
6.4. Measurement Procedure
After the cuff has been appropriately positioned, the measurement can begin:
Press the «
ON/OFF
» button. The built-in pump begins to inflate the cuff. In the display, the increasing
1.
cuff pressure is continually displayed.
After a suitable inflation pressure has been reached, the pump stops and the pressure gradually falls,
2.
with cuff pressures being displayed. If that inflation pressure is not sufficient, the monitor automatically
re-inflates.
When the measurement has been completed, the systolic, and diastolic blood pressures and pulse rate
3.
now appear in the display.
The measurement readings remain on the display until you switch off the instrument. If no button is
4.
pressed for a period of 2 minutes the instrument switches itself off in order to preserve the batteries.
When the unit is set to the MAM setting, 3 separate measurements will take place in succession after
5.
which your result is calculated and displayed as a single, averaged measurement. There is a 15 second
resting time in-between each measurement. A countdown indicates the remaining time.


