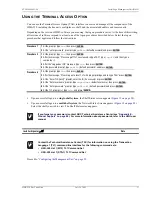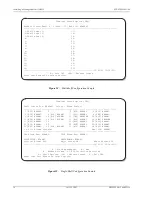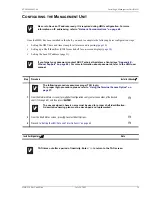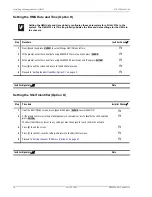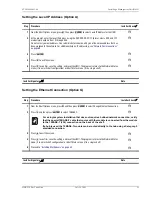
Setting up a 10BASE-2 Configuration
LTPH-SM-1052-04
24
July 14, 2002
HMS-358 List 5 and List 6
M
ANAGEMENT
O
VER
AN
X.25 N
ETWORK
The HMS-358 can be managed from a remote terminal over an X.25 network. For more information about X.25
networks, refer to the HMU-319 List 5A, List 7A, and List 7C user manuals. Once you have installed and
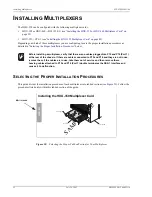
configured the HMU as described in the section
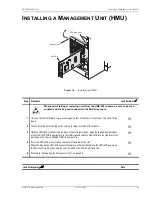
“Installing a Management Unit (HMU)” on page 25
, you can set
up an X.25 interface as described below:
Step
Procedure
Installer Check
ü
1
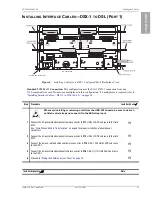
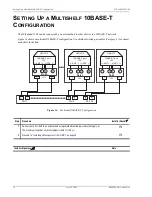
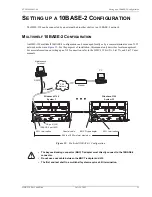
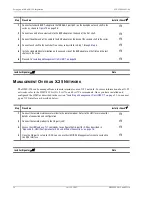
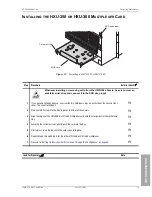
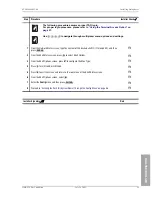
Connect a standard BNC T-adapter to the 10BASE-2 port (J32) on the backplane of each shelf in the
series as shown in
on page 26.
H
2
Connect one end of a coaxial cable to the BNC adapter on the back of the first shelf.
H
3
Connect the other end of the cable to the BNC adapter on the back of the second shelf in the series.
H
4
Connect each shelf to the next shelf in a series as described in
through
H
5
Install a standard 50
Ω
termination on the unused side of the BNC adapter on the first and the last
shelves in the series.
H
6
“Installing a Management Unit (HMU)” on page 25
.
H
Installer Signature
?
Date
Step
Procedure
Installer Check
ü
1
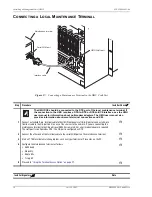
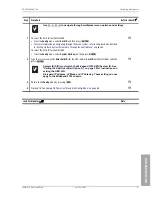
Connect the remote maintenance terminal to the remote modem. Refer to the HMU user manual for
details of connection and configuration.
H
2
Connect the remote modem to the OS port (J30).
H
3
Access the HMU and use TL1 commands to configure the OS port for X.25 as described in
“Appendix B - HMU Configuration for X.25 and Ethernet Connections” on page 76
H
4
Once the OS port is set up for X.25, you can use the HMU X.25 Management screen to customize
the X.25 interface.
H
Installer Signature
?
Date

