Service Instructions
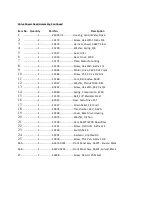
Power Head Replacement
1.
Unplug Power Head from electrical outlet.
2.
Remove the Power Head back cover.
3.
Remove black screw and silver washer at drive yoke on piston rod.
4.
Remove 2 silver timer mounting screws.
5.
Lift off entire Power Head assembly.
6.
Put new Power Head on top of control valve. Be sure drive pin on main gear engages slot in drive
yoke.
7.
Replace black screw and silver washer at drive yoke on piston rod.
8.
Replace the 2 silver Power Head mounting screws.
9.
Plug electrical cord into outlet.
10.
Set time of day and cycle the control valve through an immediate regeneration to assure proper
function.
11.
Replace the Power Head back cover.
Injector/Screen Replacement
1.
Move the integral stainless steel bypass to the bypass position.
2.
Relieve the water pressure in the Iron Genie by holding down the Extra Cycle button for 5 seconds.
Once in the “BW” cycle pressure will be relieved.
3.
Push extra cycle button to move control valve to “BD” cycle.
4.
Push extra cycle to return the control valve to the service position (time of day on display).
5.
Unplug Power Head from electrical outlet.
6.
Remove the two injector body mounting screws.
7.
Remove injector cap.
8.
Remove injector screen.
9.
Unscrew and remove injector nozzle and throat.
10.
Screw in new injector throat and nozzle.
11.
Install new screen.
12.
Insert screws through injector cap and injector body in to mating holes in the valve body. Tighten
screws.
13.
Return bypass to service position. Water pressure automatically builds in tank.
14.
Check for leaks.
15.
Plug electrical cord into outlet.
16.
Set time of day and cycle the control valve through an immediate regeneration to assure proper
function.
Summary of Contents for IRON GENIE1
Page 1: ...IRON GENIE Chemical Free Iron Sulfur Reduction...
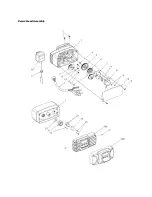
Page 10: ...Power Head Assembly...
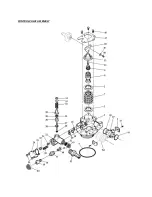
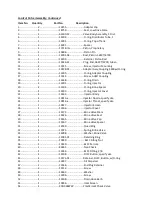
Page 12: ...CONTROL VALVE ASSEMBLY...


