SYSTEM INSTALL AND START-UP
1.
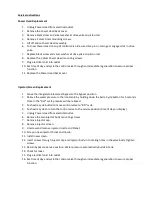
The Iron Genie will normally be installed after supply lines to the
outside(unless there is a reason to keep outside faucets iron-free) and after
neutralizing filter if needed(Calcite, Corosex)
2.
All plumbing should be done in accordance with local plumbing codes.
3.
Run piping from drain connection to an approved drain, following all local
codes. Secure the drain line! If distance is greater than 10’ increase to 1”
drain line.
4.
On the bypass, place in bypass position indicated by small pointer on
handle. Turn on main water supply.
5.
SLOWLY place the bypass in service position and let water flow into the
mineral tank.
6.
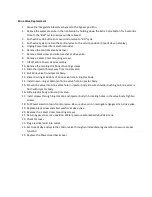
Open the nearest cold water faucet and allow water to run until the air is
purged from plumbing lines and discoloration is gone. Note: It is normal for
aerated water to appear effervescent.
7.
Plug power cord into electrical outlet. Be certain the outlet has continuous
electrical power.
8.
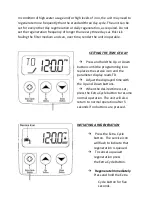
The display will light and show a time
9.
Use the up or down arrows on the display to set the current time of day
10.
Leave the unit in the service position. It is not necessary to run the unit
through the different cycle positions
Summary of Contents for IRON GENIE1
Page 1: ...IRON GENIE Chemical Free Iron Sulfur Reduction...
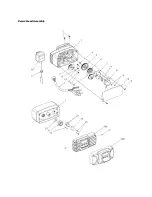
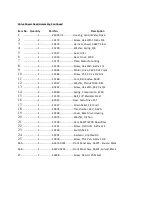
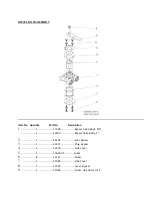
Page 10: ...Power Head Assembly...
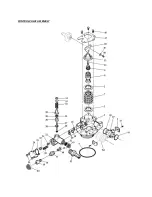
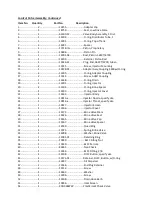
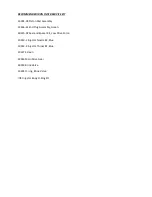
Page 12: ...CONTROL VALVE ASSEMBLY...


