www.adeept.com
63
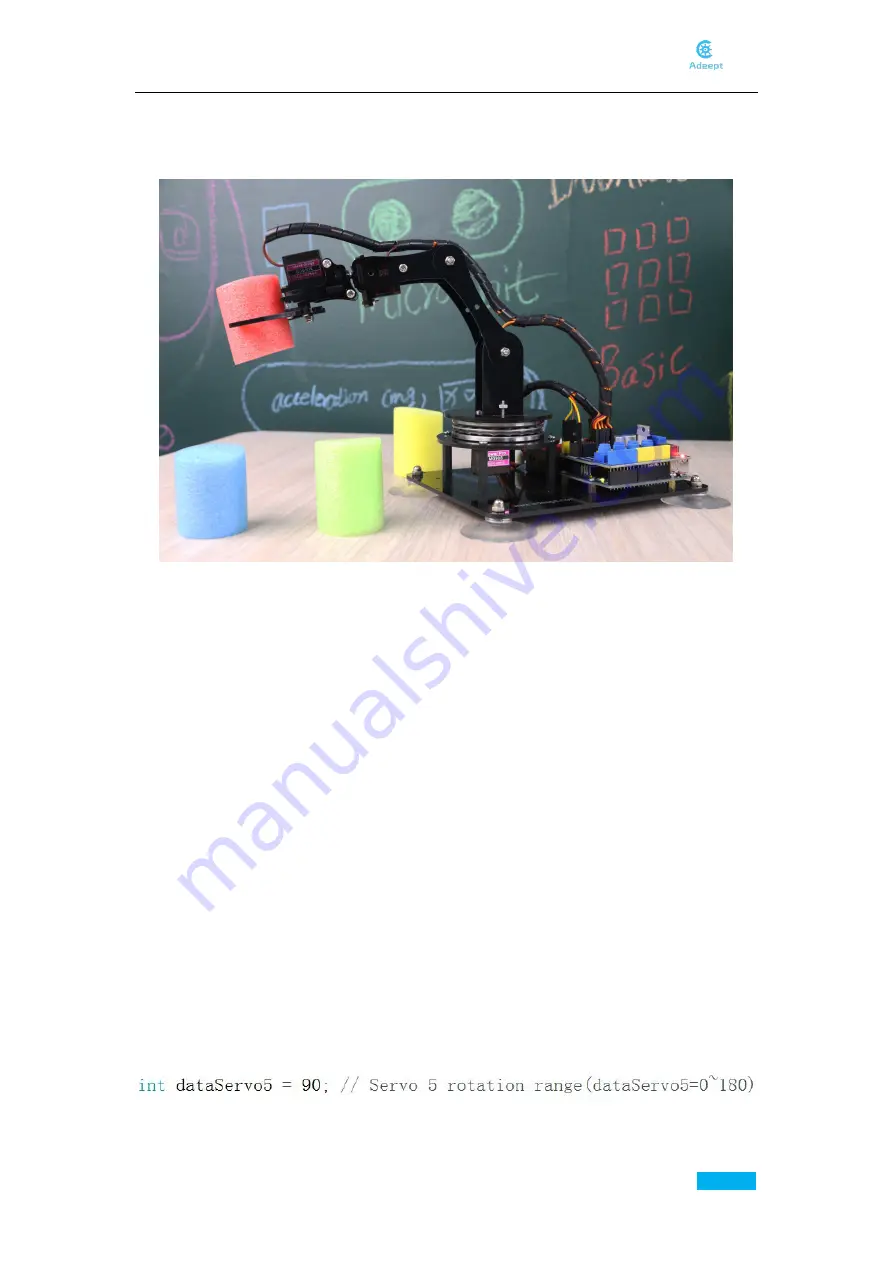
Gently support the robotic arm with your hand to prevent swinging arm. Turn on the power, and
then rotate the four potentiometers on the driver board to control the arm to clamp and carry
objects. The rotation angle of Servo5 is set in the code.
6.2.Learning mode
Function introduction
Rotate the potentiometer on the driver board to adjust the movement of the robotic arm. Use
the touch button to record the movement of the arm. It can record 200 motions in maximum and
write the recorded motions to EEPROM. After re-powering, press and hold the touch button for
more than 3 seconds, the robotic arm will automatically perform the previously recorded
motions.
Specific function descriptions.
The potentiometer A0 on the driver board controls the movement of servo 1, range from 0
to 180 degrees.
The potentiometer A1 on the driver board controls the movement of servo 2, range from 0
to 180 degrees.
The potentiometer A2 on the driver board controls the movement of servo 3, range from 0
to 180 degrees.
The potentiometer A3 on the driver board controls the movement of servo 4, range from 90
to 145 degrees.
The movement angle of servo 5 can be adjusted by modifying the value of dataServo5 in the
program.
Summary of Contents for ADA031
Page 1: ...www adeept com 1...
Page 13: ...www adeept com 9 Run the downloaded file Click I Agree Click Next...
Page 23: ...www adeept com 19 Click Run...
Page 24: ...www adeept com 20 Running effect is as follow...
Page 50: ...www adeept com 46 Effect diagram after assembling...
Page 71: ...www adeept com 67...
Page 77: ...www adeept com 73 Operating steps Open the file AdeeptArmRobot ino as shown below...
Page 84: ...www adeept com 80 Step 3 Click Upload to upload the code to UNO of the robotic arm...
Page 87: ...www adeept com 83 Next select the development board model and port as shown below...
Page 88: ...www adeept com 84...
Page 93: ...www adeept com 89...


