www.adeept.com
8
the right and the robot rotates to the right in suit. The rocker U1 moves forward and the robot
moves forward. Rocker U1 moves backwards, the robot moves backwards.
The rocker U2 shifts to the left, and the robot shifts to the left.
The rocker U2 shifts to the right, and the robot shifts to the right.
Button A: the robot enters the remote control mode, the LED2 lights up and the LED3 goes out.
Button B: the robot enters the automatic obstacle avoidance mode, LED2 goes out and LED3
lights up.
Button C: the robot enters the finding light mode. LED2 lights up and LED3 lights up
Button D: control the buzzer to beep
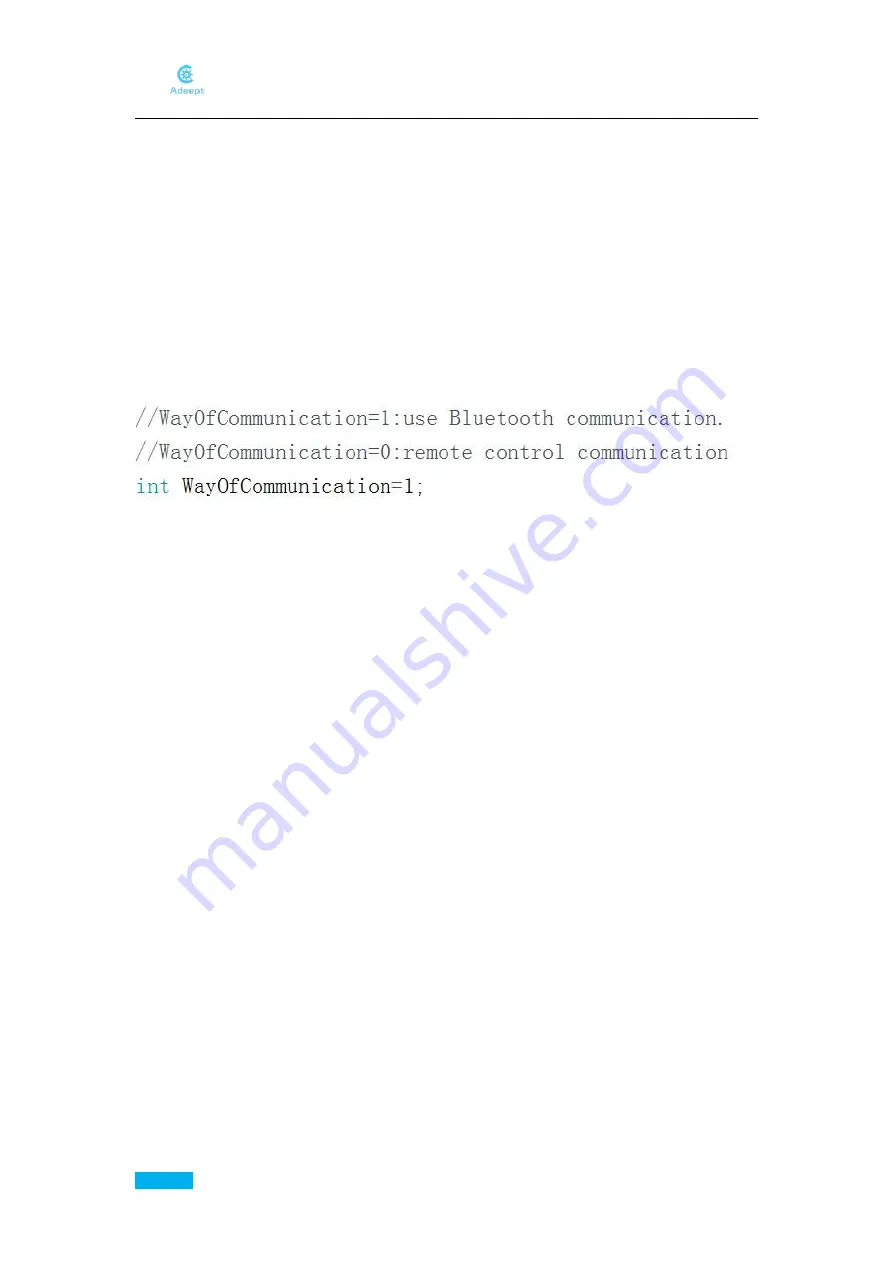
Notice: when we use Bluetooth communication we need to modify a parameter in the program,
as shown below:
By default, WayOfCommunication=0 in the program. When using remote control, the Bluetooth
module on the robot needs to be removed and replaced with NRF24L01 module. When using
Bluetooth communication, the NRF24L01 module on the robot needs to be removed and
replaced with Bluetooth module.
Summary of Contents for Hexapod 6 Legs Spider Robot
Page 1: ...www adeept com 1...
Page 40: ...www adeept com 36 The effect diagram after the assembly of three right feet...
Page 49: ...www adeept com 45 The effect diagram after the assembly of three left feet...
Page 63: ...www adeept com 59 C Connect Adeept Ultrasonic Module with Adeept 32 Channel PWM Drive...
Page 64: ...www adeept com 60 D Connect Adeept RGB LED Module with Adeept 32 Channel PWM Drive...
Page 65: ...www adeept com 61 E Connect Adeept Passive Buzzer Module with Adeept 32 Channel PWM Drive...
Page 66: ...www adeept com 62 F Connect 18650x2 Battery Holder with Adeept 32 Channel PWM Drive...
Page 67: ...www adeept com 63 G Connect 18650x2 Battery Holder with Adeept Remote Control Shield...
Page 75: ...www adeept com 71...
Page 77: ...www adeept com 73...
Page 79: ...www adeept com 75 Click the button to upload the sketch to the board...
Page 83: ...www adeept com 79...


