www.adeept.com
33
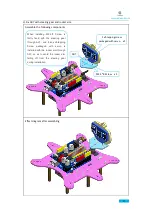
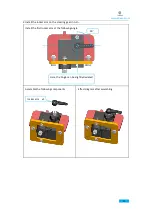
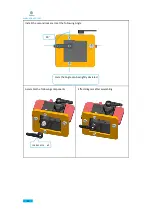
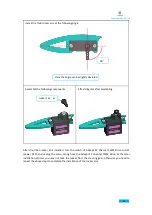
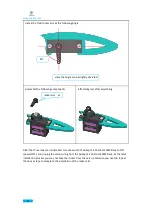
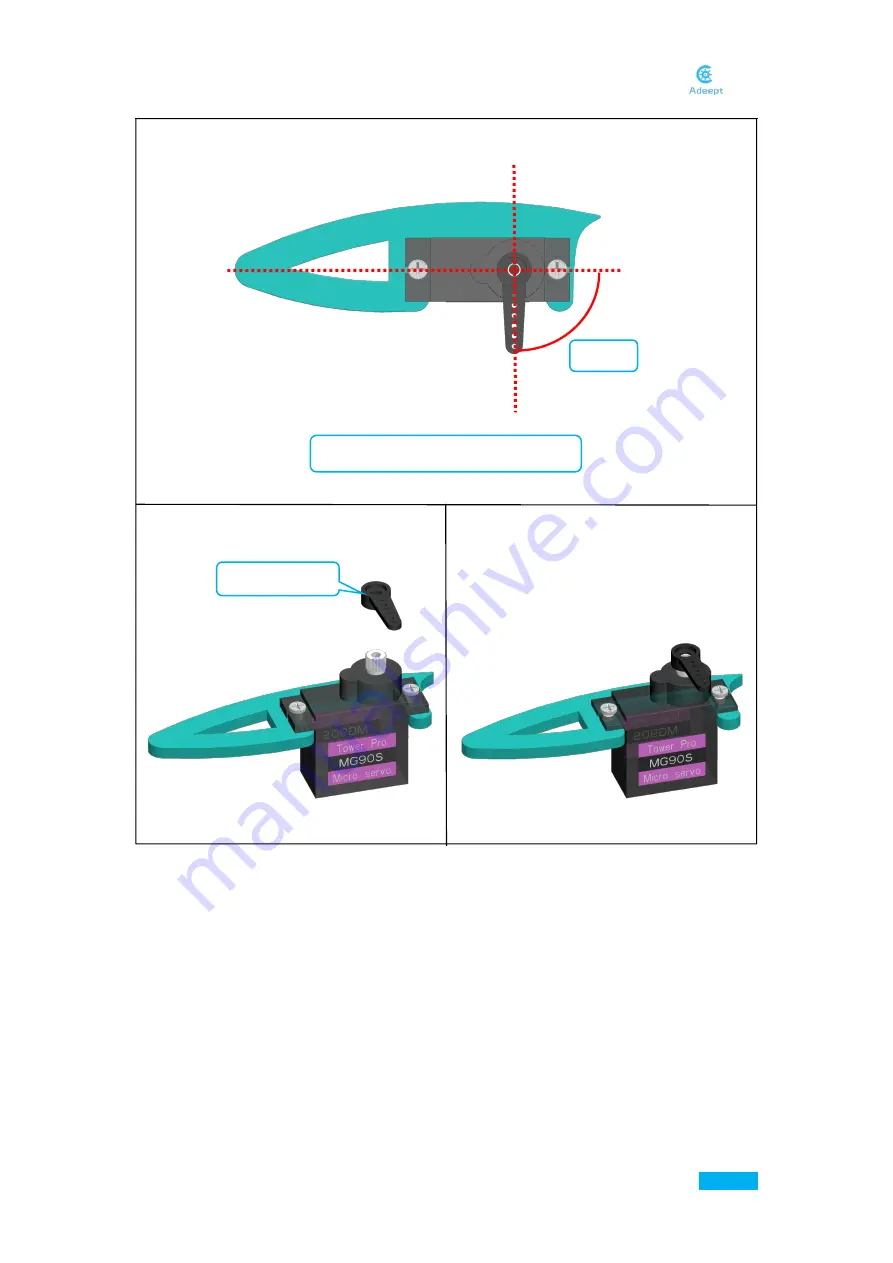
Install the third rocker arm at the following Angle
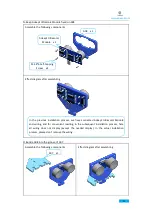
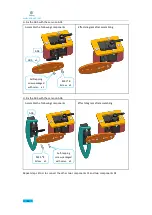
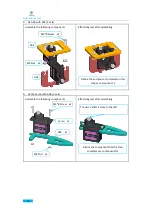
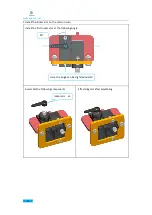
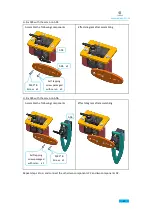
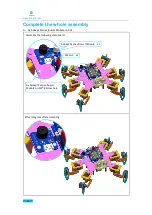
Assemble the following components
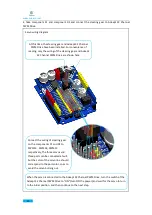
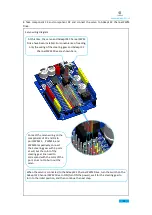
After the three rocker arm installed, turn the switch of Adeept 32 Channel PWM Drive to OFF
(power OFF), and unplug the servo wiring from the Adeept 32 Channel PWM Drive. At the later
installation process you may not take the rocker from the steering gear, otherwise you need to
repeat the above steps to complete the installation of the rocker arm.
90
°
Here the Angle can be slightly deviated
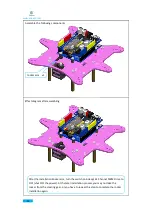
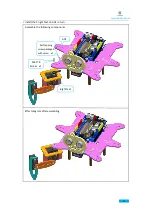
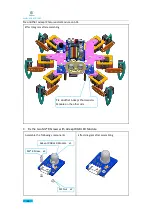
Effect diagram after assembling
rocker arm x1
Summary of Contents for Hexapod 6 Legs Spider Robot
Page 1: ...www adeept com 1...
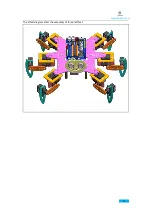
Page 40: ...www adeept com 36 The effect diagram after the assembly of three right feet...
Page 49: ...www adeept com 45 The effect diagram after the assembly of three left feet...
Page 63: ...www adeept com 59 C Connect Adeept Ultrasonic Module with Adeept 32 Channel PWM Drive...
Page 64: ...www adeept com 60 D Connect Adeept RGB LED Module with Adeept 32 Channel PWM Drive...
Page 65: ...www adeept com 61 E Connect Adeept Passive Buzzer Module with Adeept 32 Channel PWM Drive...
Page 66: ...www adeept com 62 F Connect 18650x2 Battery Holder with Adeept 32 Channel PWM Drive...
Page 67: ...www adeept com 63 G Connect 18650x2 Battery Holder with Adeept Remote Control Shield...
Page 75: ...www adeept com 71...
Page 77: ...www adeept com 73...
Page 79: ...www adeept com 75 Click the button to upload the sketch to the board...
Page 83: ...www adeept com 79...

