www.adeept.com
43
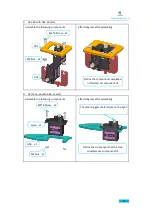
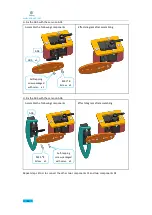
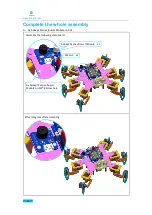
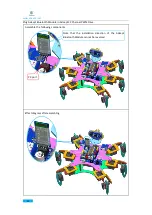
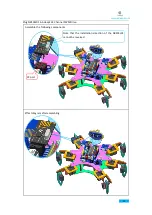
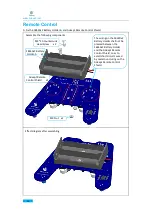
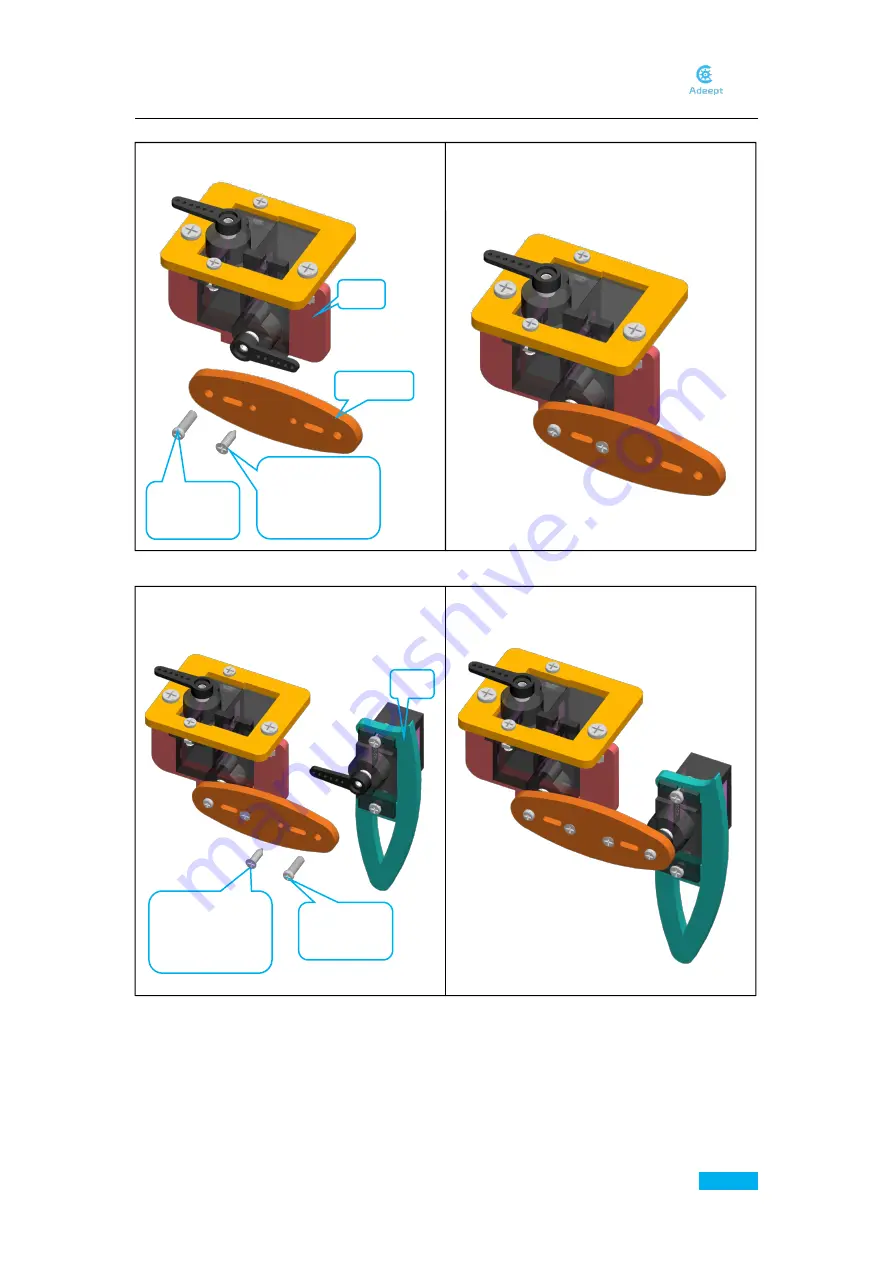
Effect diagram after assembling
Self-tapping
screw packaged
with servo
x1
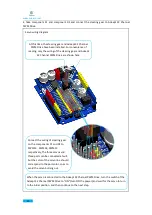
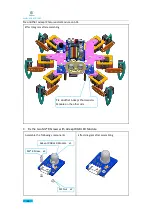
Effect diagram after assembling
Self-tapping
screw packaged
with servo
x1
G. Fix A05 with the servo on A04
H. Fix A05 with the servo on A06.
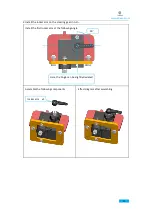
Repeat steps E to H and connect the other two components C2 and two components D2.
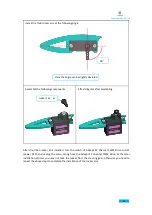
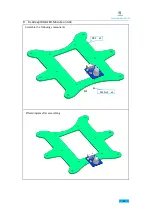
Assemble the following components
A04
A05 x1
M2.5*8
Screw x1
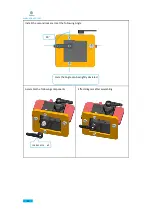
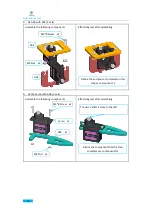
Assemble the following components
A06
M2.5*8
Screw x1
Summary of Contents for Hexapod 6 Legs Spider Robot
Page 1: ...www adeept com 1...
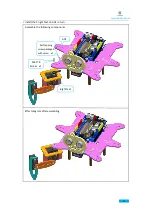
Page 40: ...www adeept com 36 The effect diagram after the assembly of three right feet...
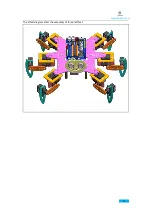
Page 49: ...www adeept com 45 The effect diagram after the assembly of three left feet...
Page 63: ...www adeept com 59 C Connect Adeept Ultrasonic Module with Adeept 32 Channel PWM Drive...
Page 64: ...www adeept com 60 D Connect Adeept RGB LED Module with Adeept 32 Channel PWM Drive...
Page 65: ...www adeept com 61 E Connect Adeept Passive Buzzer Module with Adeept 32 Channel PWM Drive...
Page 66: ...www adeept com 62 F Connect 18650x2 Battery Holder with Adeept 32 Channel PWM Drive...
Page 67: ...www adeept com 63 G Connect 18650x2 Battery Holder with Adeept Remote Control Shield...
Page 75: ...www adeept com 71...
Page 77: ...www adeept com 73...
Page 79: ...www adeept com 75 Click the button to upload the sketch to the board...
Page 83: ...www adeept com 79...

