125
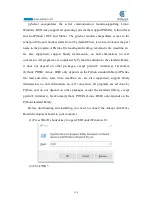
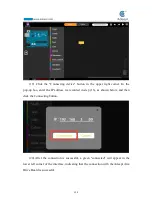
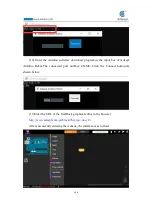
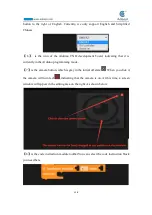
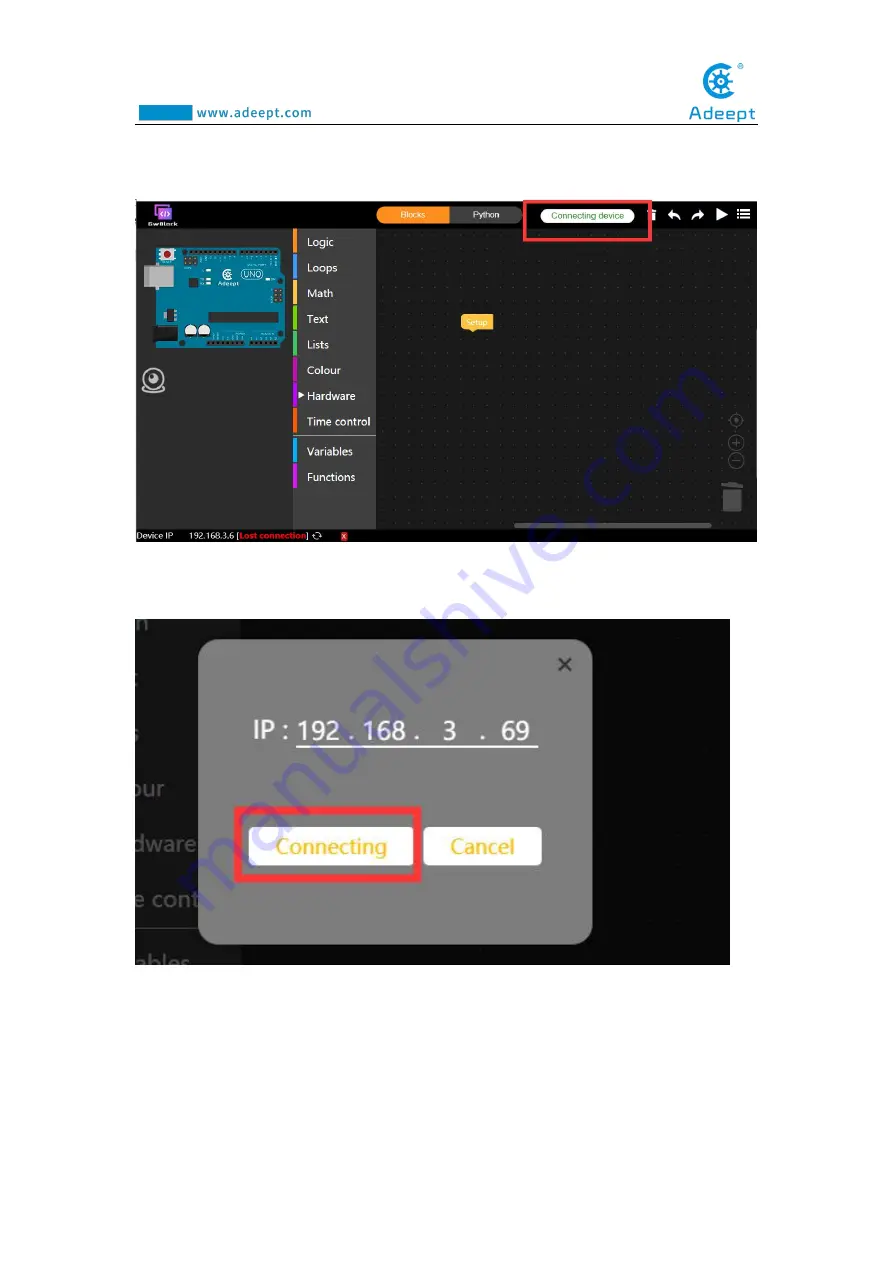
(12)Click the "Connecting device" button in the upper right corner. It will show
as below:
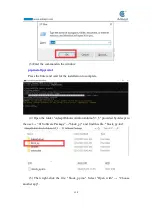
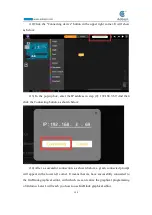
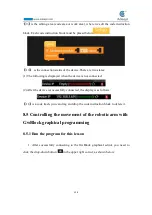
(13) In the pop-up box, enter the IP address in step (9): 192.168.3.69. And then
click the Connecting button, as shown below:
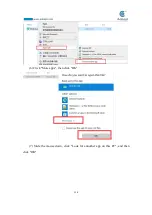
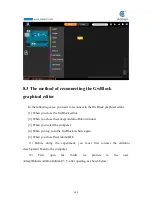
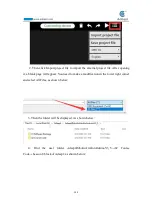
(14) After a successful connection, as shown below, a green connected prompt
will appear in the lower left corner. It means that we have successfully connected to
the GwBlock graphical editor, with which we can realize the graphical programming
of Arduino. Later I will teach you how to use GwBlock graphical editor.
Summary of Contents for Robotic Arm
Page 1: ...1...
Page 33: ...30 9 Running effect is as follow...
Page 74: ...71 SERVO of number 5 4 2 1 3...
Page 86: ...83 Effect diagram after assembling...
Page 95: ...92 40mm 60mm 66 5mm 65mm 13mm 70mm...
Page 99: ...96...
Page 111: ...108...
Page 137: ...134...
Page 154: ...151 7 the library file controlP5 needs to be added...
Page 156: ...153 9 Click Run 10 Running effect is as follow...
Page 164: ...161...
Page 181: ...178...
Page 182: ...179...

