169
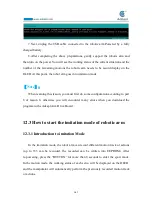
imitation mode, so you can continue to repeat step 1 to re-record other motion track or
actions.
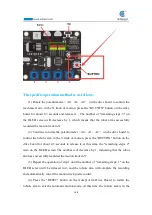
(5). After the robotic arm is re-powered or restarted, press the "BUTTON" button
for more than 8 seconds to enter the automatic motion mode, and the robotic arm will
automatically run the motion track or action recorded last time.
【
Note
】:
1.The robotic arm product we provide is used for learning and experimentation. It
cannot complete difficult imitation actions. It is recommended that you use it to
complete some simple imitations, such as drawing triangles and line segments.
Because everyone's abilities are different, errors will occur during operation. You
often practice it. After you are familiar with it, you will find it very interesting. The
important thing is that you can get other inspirations through the features of this
product.
2.Please use a fully charged battery.
3.If you turn any of the potentiometers, the corresponding servo does not work,
then you need to restart the robotic arm
12.3.2 How to modify the number of recorded exercise states
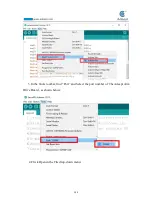
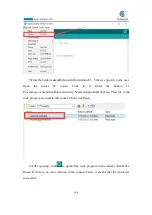
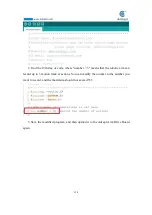
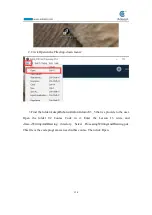
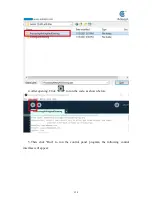
1.Use the Arduino IDE to open the program "AdeeptSimulation.ino" of this
lesson (in the folder "Lesson 12 Imitation_function"):
Summary of Contents for Robotic Arm
Page 1: ...1...
Page 33: ...30 9 Running effect is as follow...
Page 74: ...71 SERVO of number 5 4 2 1 3...
Page 86: ...83 Effect diagram after assembling...
Page 95: ...92 40mm 60mm 66 5mm 65mm 13mm 70mm...
Page 99: ...96...
Page 111: ...108...
Page 137: ...134...
Page 154: ...151 7 the library file controlP5 needs to be added...
Page 156: ...153 9 Click Run 10 Running effect is as follow...
Page 164: ...161...
Page 181: ...178...
Page 182: ...179...

