61
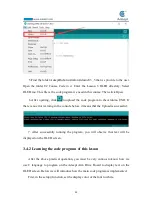
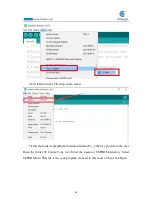
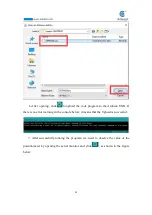
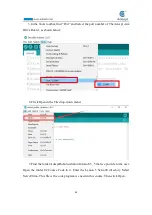
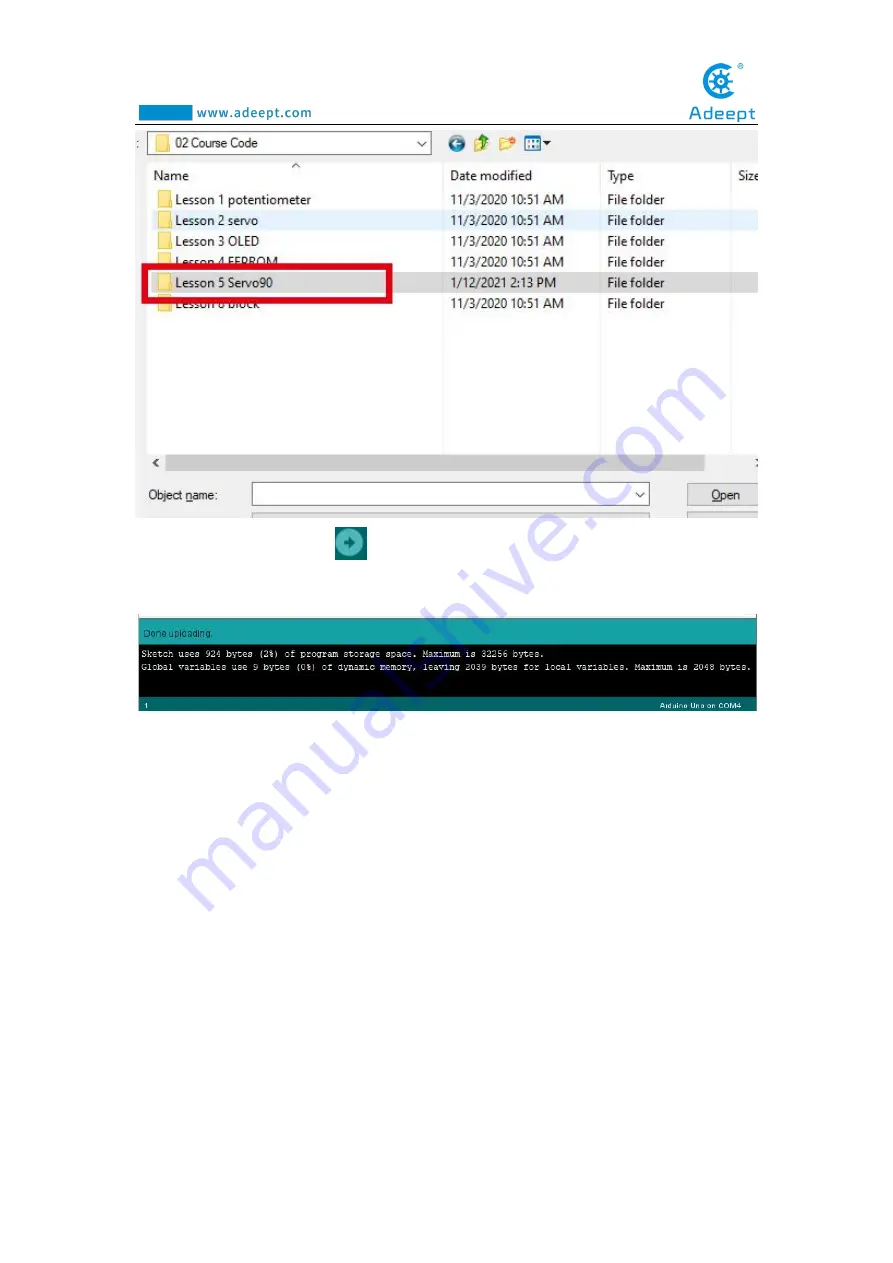
6.After opening, click
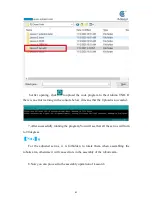
to upload the code program to the Arduino UNO. If
there is no error warning in the console below, it means that the Upload is successful.
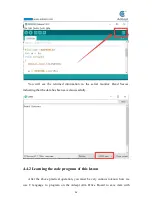
7.After successfully running the program, You will see that all the servos will turn
to 90 degrees.
【
Note
】:
For the adjusted servos, it is forbidden to rotate them when assembling the
robotic arm, otherwise it will cause errors in the assembly of the robotic arm.
8.Now you can proceed to the assembly operation of Lesson 6
Summary of Contents for Robotic Arm
Page 1: ...1...
Page 33: ...30 9 Running effect is as follow...
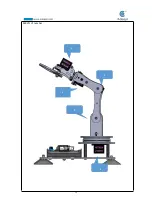
Page 74: ...71 SERVO of number 5 4 2 1 3...
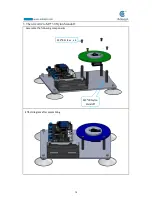
Page 86: ...83 Effect diagram after assembling...
Page 95: ...92 40mm 60mm 66 5mm 65mm 13mm 70mm...
Page 99: ...96...
Page 111: ...108...
Page 137: ...134...
Page 154: ...151 7 the library file controlP5 needs to be added...
Page 156: ...153 9 Click Run 10 Running effect is as follow...
Page 164: ...161...
Page 181: ...178...
Page 182: ...179...

