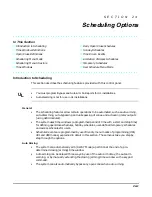
Section 24 – Scheduling Options
24-9
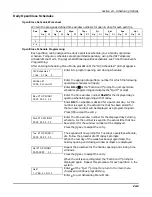
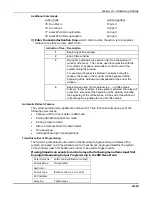
Daily Open/Close Schedules
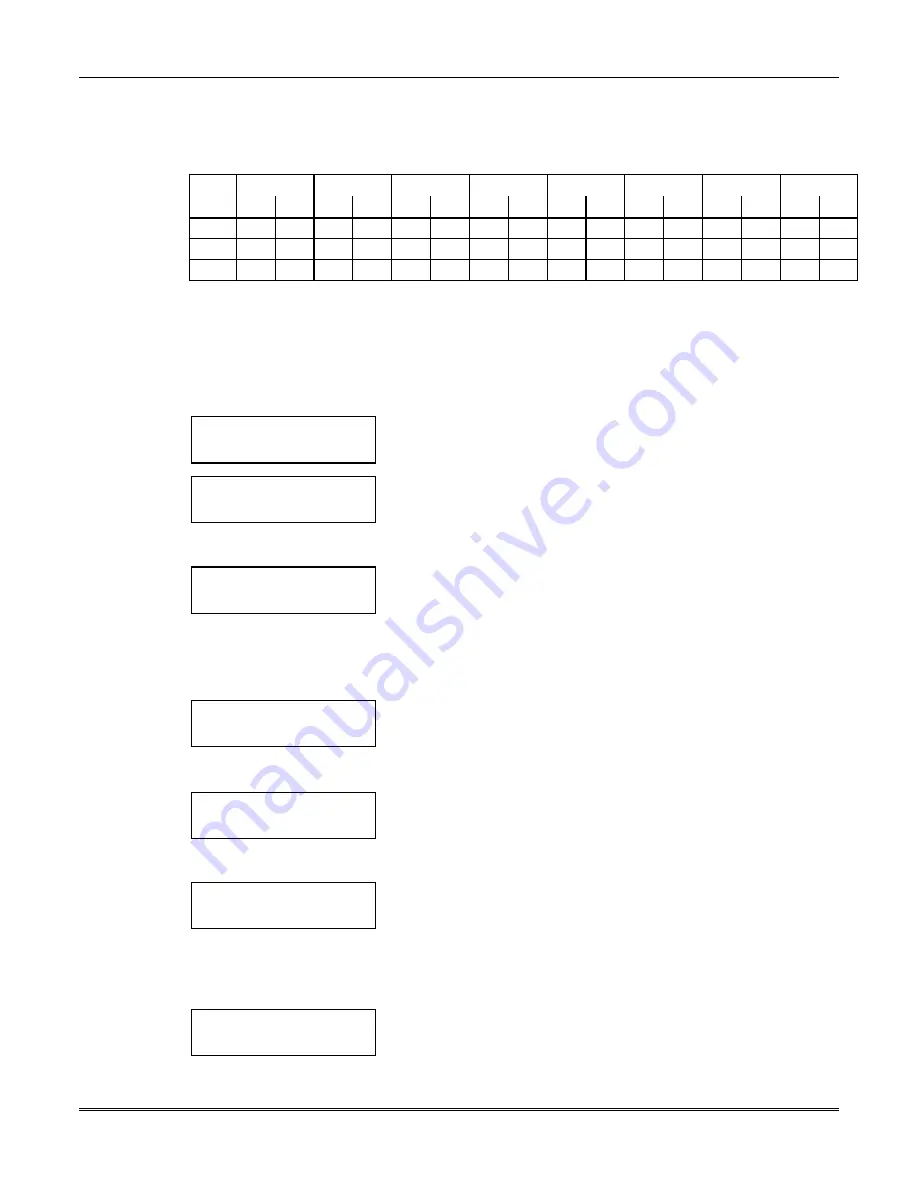
Open/Close Schedule Worksheet
Write in the previously defined time window numbers for open & close for each partition.
Part
Mon
Tues
Wed
Thur
Fri
Sat
Sun
Hol
Op
Cl
Op
Cl
Op
Cl
Op
Cl
Op
Cl
Op
Cl
Op
Cl
Op
Cl
1
2
3…8
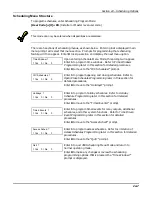
Open/Close Schedule Programming
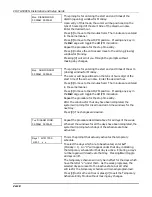
Each partition can be assigned one daily open/close schedule, plus a holiday open/close
schedule. Temporary schedules are programmed separately, using the #81 Temporary
Schedule Menu Mode. To program additional open/close schedules, see Time Driven Events
Programming.
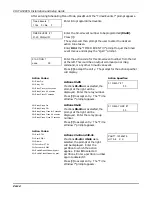
After entering Scheduling Menu Mode, press 0 until the “O/C Schedules?” prompt appears.
O/C Schedules ?
1 Yes 0 = No 0
Enter 1 to program opening and closing schedules.
Partition # ?
01-08, 00 = Quit 01
Enter the appropriate partition number for which the following
open/close schedules will apply.
Enter 00 + [
∗
] at the "Partition #?" prompt to quit open/close
schedules programming and display the “Quit ?” prompt.
Mon P1 OP WIND.?
00:00 00:00 00
Enter the time window number 01-20 for the displayed day's
opening schedule beginning with Monday.
Enter 00 if no schedule is desired for a particular day. As the
number is keyed in, the actual time that has been stored for
that window number will be displayed as a programming aid.
Press [
∗
] to accept the entry.
Mon P1 CL WIND.?
00:00 00:00 00
Enter the time window number for the displayed day's closing
schedule. As the number is keyed in, the actual time that has
been stored for the window number will be displayed.
Press the [
∗
] key to accept the entry.
Tue P1 OP WIND.?
00:00 00:00 00
The keypad will now prompt for Tuesday's open/close schedule,
etc. Follow the procedure for Monday’s prompts.
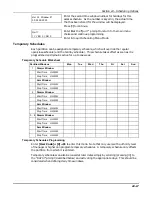
When the last day of the week has been programmed, the
holiday opening and closing window prompts are displayed.
Hol P1 OP WIND.?
00:00 00:00 00
Repeat the procedure for the holiday opening and closing time
windows.
Press the [
∗
] key to accept the entry.
When the entries are completed, the “Partition #?” prompt is
displayed again. Repeat this procedure for each partition in the
system.
Quit ?
1 = YES 0 = NO 0
Enter 0 at the “Quit ?” prompt to return to the main menu
choices and continue programming.
Enter 1 to quit Scheduling Menu Mode.
Summary of Contents for VISTA-50PEN
Page 2: ...ii...
Page 10: ...VISTA 50PEN Installation and Setup Guide x...
Page 26: ...VISTA 50PEN Installation and Setup Guide 3 4...
Page 42: ...VISTA 50PEN Installation and Setup Guide 6 6...
Page 56: ...VISTA 50PEN Installation and Setup Guide 8 8...
Page 82: ...VISTA 50PEN Installation and Setup Guide 13 4...
Page 110: ...VISTA 50PEN Installation and Setup Guide 18 8...
Page 118: ...VISTA 50PEN Installation and Setup Guide 20 4...
Page 138: ...VISTA 50PEN Installation and Setup Guide 22 18...
Page 166: ...VISTA 50PEN Installation and Setup Guide 25 6...
Page 172: ...VISTA 50PEN Installation and Setup Guide 27 2...
Page 186: ...VISTA 50PEN Installation and Setup Guide 29 8...
Page 192: ...VISTA 50PEN Installation and Setup Guide 30 6...
Page 197: ...B 1 A P P E N D I X B DIP Switch Tables...
Page 200: ...VISTA 50PEN Installation and Setup Guide B 4...
Page 214: ...l K3271 1BX 9 00 165 Eileen Way Syosset NY 11791 Copyright 2000 PITTWAY Corporation...


