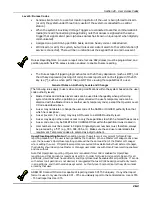
Section 28 - User Access Codes
28-5
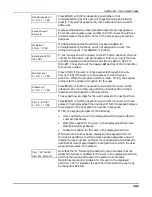
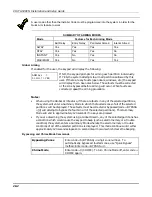
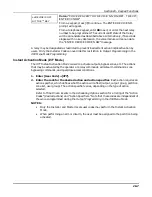
Open/Close Rep.?
0 = NO , 1 = YES
Press 0 (NO) or 1 (YES), depending on whether or not
arming/disarming by this user will trigger Opening and Closing
reports. This prompt appears only if the Installer Code is used to
add a user.
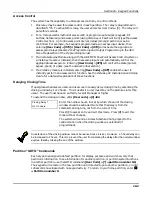
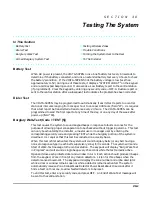
Access Group?
Enter 0-8
If access schedules have been programmed, this prompt appears.
Enter the user's access group number (1-8) if this user should have
limited access to the system. Enter 0 if no access group should be
assigned.
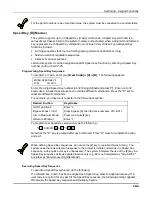
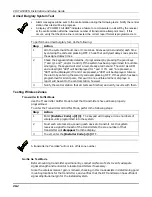
RF Button ?
0=NO , 1=YES
If a 5800 Series button transmitter has been enabled for
arming/disarming functions, and is not assigned to a user, this
prompt will appear. Press 0 (NO) or 1 (YES).
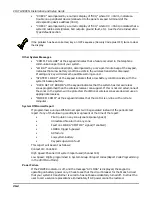
Enter Button ZN #
(001-087)
If “yes” was given as the answer to the RF button question, the zone
number for the button will be requested. Enter any one of the zone
numbers assigned to the button transmitter as AWAY, STAY or
DISARM. The system will then assign all buttons of the transmitter
to this user number.
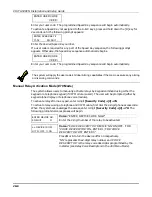
Multi-Access ?
0 = NO , 1 = YES
Press 0 (NO) if the user is to have access to this partition only.
Press 1 (YES) if the user is to have access to more than one
partition. If NO, the program exits this mode. If YES, the keypad
prompts for the Global Arm option for this user.
Global Arm ?
0 = NO , 1 = YES
Press 0 (NO) or 1 (YES), depending on whether this user will be
allowed to arm more than one partition via Global Arm prompts
(described in the Keypad Functions section).
The keypad now prompts for the user’s access to the next partition.
Part. 2 – SHOP ?
0 = NO , 1 = YES
Press 0 (NO) or 1 (YES), depending on whether this user will have
access to the displayed partition number. If NO, the keypad displays
this prompt for the next partition number in sequence.
If YES, the keypad prompts for the following:
•
User’s authority level in the displayed partition (see Authority
Level prompt above).
•
Open/Close option for this user in the displayed partition (see
Open/Close prompt above).
•
Global Arm option for this user in the displayed partition.
When all partitions have been displayed, the keypad will scroll
through all partitions to which access has been assigned, and will
display the user number, authority level, open/close and global arm
options that were programmed for each partition to which the user
was granted access. For example:
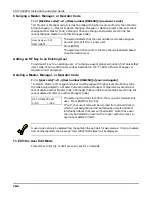
Part. 1 A0
*
WHSE
User 003 Auth=3G.
Note that the “G” following the authority level indicates that the
global arm feature is enabled for this user in the displayed partition,
and that the period at the end of the second line indicates
Open/Close reporting is enabled for this user in the displayed
partition. The "
✴
" indicates the partition from which the user may
be changed or deleted.
Summary of Contents for VISTA-50PEN
Page 2: ...ii...
Page 10: ...VISTA 50PEN Installation and Setup Guide x...
Page 26: ...VISTA 50PEN Installation and Setup Guide 3 4...
Page 42: ...VISTA 50PEN Installation and Setup Guide 6 6...
Page 56: ...VISTA 50PEN Installation and Setup Guide 8 8...
Page 82: ...VISTA 50PEN Installation and Setup Guide 13 4...
Page 110: ...VISTA 50PEN Installation and Setup Guide 18 8...
Page 118: ...VISTA 50PEN Installation and Setup Guide 20 4...
Page 138: ...VISTA 50PEN Installation and Setup Guide 22 18...
Page 166: ...VISTA 50PEN Installation and Setup Guide 25 6...
Page 172: ...VISTA 50PEN Installation and Setup Guide 27 2...
Page 186: ...VISTA 50PEN Installation and Setup Guide 29 8...
Page 192: ...VISTA 50PEN Installation and Setup Guide 30 6...
Page 197: ...B 1 A P P E N D I X B DIP Switch Tables...
Page 200: ...VISTA 50PEN Installation and Setup Guide B 4...
Page 214: ...l K3271 1BX 9 00 165 Eileen Way Syosset NY 11791 Copyright 2000 PITTWAY Corporation...

