Pioneer LX User's Guide, Rev. A
Page 100 of 125
Chapter 8: Maintenance
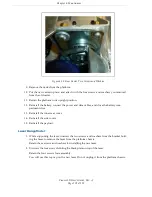
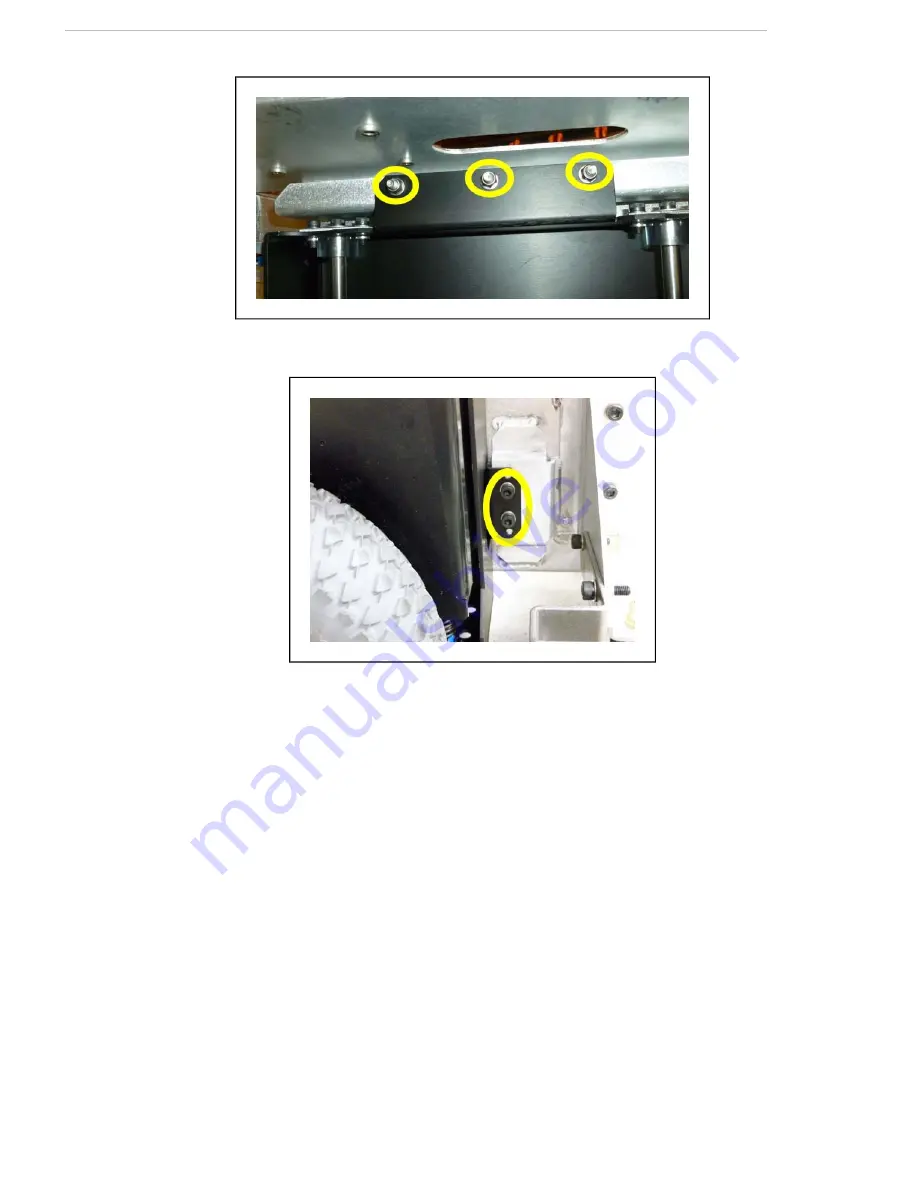
Figure 8-13. Mounting Studs and Nuts at top of Drive Assembly
Figure 8-14. Mounting Screws at Bottom-Right of Drive Assembly
8. Remove the drive assembly from the platform.
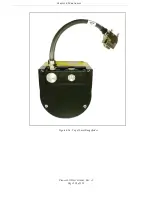
The motor cable to the Core will still be attached.
9. Disconnect the motor cable at the drive assembly.
Installation
1. Compress the springs of the new drive assembly by pushing the drive wheel up. When
it is in the up position, insert a Ø6 x 10 mm (Ø0.24 x 0.4 in.) pin into the rear hole on
the side of the assembly. There is a hole on each side.
NOTE
: Make sure that the pin is short enough so that you can pull it out
after the assembly is in place. An M5 x 10 screw works well for this.
2. Connect the motor cable to the new drive assembly.
3. Install the new drive assembly over the three studs at the top of its bracket.
Summary of Contents for Pioneer LX
Page 1: ...User s Guide Rev A November 2013...
Page 16: ......
Page 32: ......
Page 36: ......
Page 48: ......
Page 60: ......
Page 82: ......
Page 108: ......
Page 125: ...10 Colrumbia Drive Amherst NH 03450 USA Phone 1 603 881 7960 www mobilerobots com...


