


GB
GB
BEFORE USE
HANDLING OF THE PACKED MACHINE
The machine is supplied with suitable packing.
The total weight is 50 kg (max).
Packing dimensions:
without pallet:
Base:
80 cm x 43 cm
Height:
65 cm
with pallet:
Base:
80 cm x 43 cm
Height:
75 cm
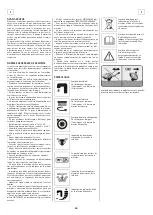
ATTENTION:
Do not stack more than 2 machines.
UNPACKING OF THE MACHINE
1. Remove the outer package.
2. Loosen the two nuts that fix the two brackets to
the machine.
3. Unscrew the screws that fix the brackets to the
pallet and remove the brackets.
4. Retighten the two nuts into their initial position
onto the machine, necessary for the tank blocking.
5. Bring the handle bar into working position (see
under “MOVEMENTS OF THE HANDLE BAR”) to lower
the machine from the pallet and pushing it forwards
by the wheels inclining the machine a little back-
wards to avoid heavy contacts to the mechanical
parts.
6. Keep the packaging for eventual transport needs.
MOVEMENTS OF THE HANDLE BAR
The handle bar in the package arrives in closed posi-
tion.
To rotate the handle bar into one of the different
working positions:
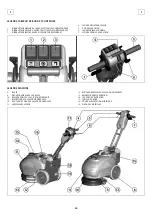
1. Pull up the release lever (7) near the handle bars.
2. Rotate the handle bar into the working position
while holding the release lever (7).
3. Let go of the release lever (7) to lock the handle
bar.
Use the same procedure for further height adjust-
ment of the handle bar in order to find the most
comfortable working position.
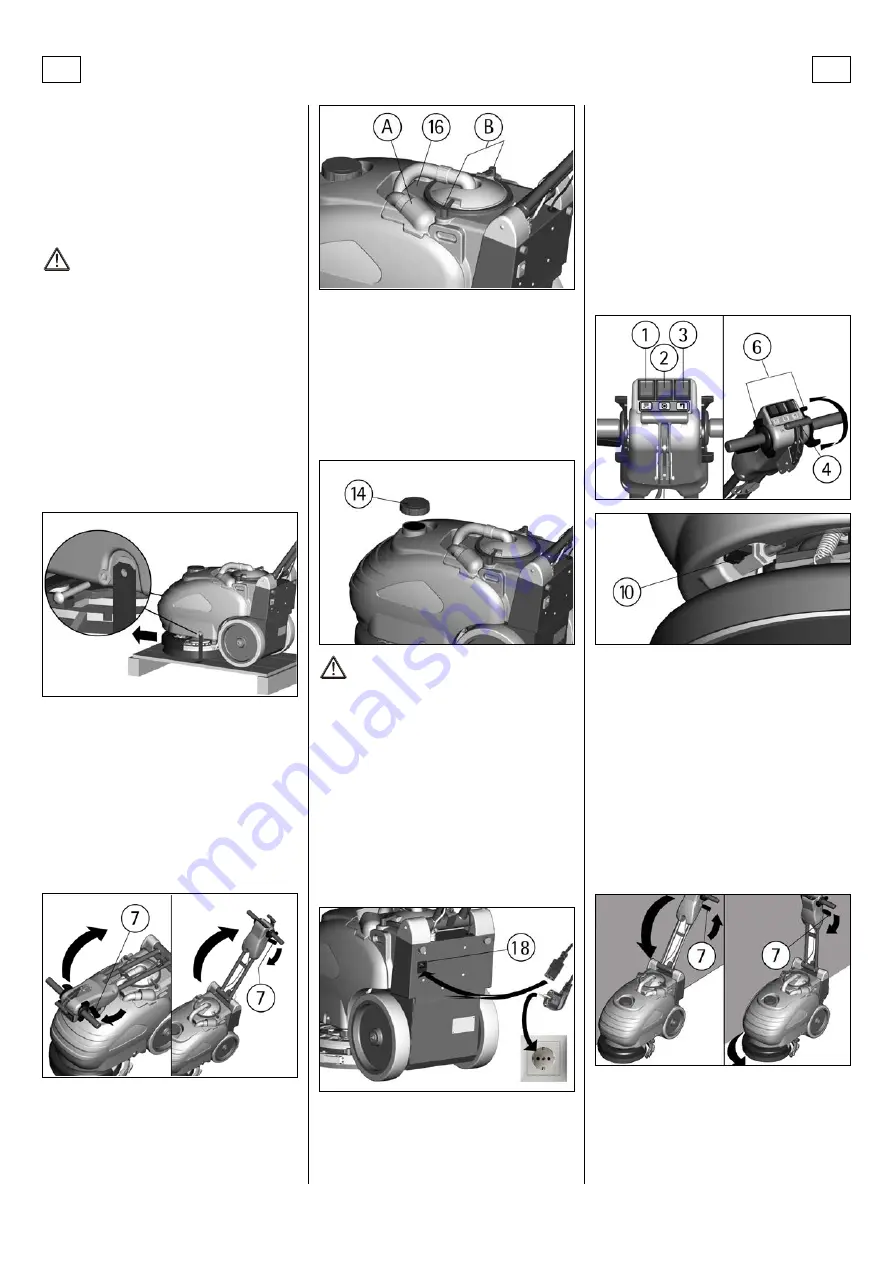
RECOVERY TANK
Check that the cover of the suction filter (16) is cor-
rectly secured, after rotating the levers (B). Further-
more, check that the squeegee hose is correctly seat-
ed in its seat (A).
SOLUTION TANK
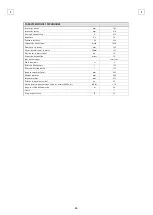
The capacity of the solution tank is indicated in the
technical data.
Open the screw plug (14) situated on top and fill the
solution tank with clean water at a maximum tem-
perature of 50°C. Add the liquid detergent in the
percentage recommended by the manufacturer. To
avoid excessive foaming, which could cause prob-
lems to the suction motor, use the minimum per-
centage of detergent. Screw down the plug to close
the tank.
ATTENTION:
Use always low foam detergent. To avoid excessive
foaming, before starting working operation, add into
the recovery tank a minimum quantity of anti-foam
product.
Never use acid.
FLOOR CLEANING
STARTING OF THE MACHINE
The machine is equipped with a mains cable com-
plete with a plug for the connection to the mains
system and with a socket connector to insert inside
the plug (20) situated behind the machine.
1. Insert the socket inside the machine plug (18).
2. Insert the plug into the appropriate mains socket.
3. Lower the squeegee by rotating downwards the
handle of the squeegee lifting lever (4) placed in the
centre of the handle bar.
4. Press the switch for the brush motor (1).
5. Press the switch for the suction motor (2).
6. Press the switch for the solenoid valve (3).
The machine is equipped with a solenoid valve,
which activates the solution flow automatically
when the scrub control levers (6) are engaged. Re-
leasing these levers will stop the flow automatically.
7. Activating the levers (6) the brush will start ro-
tating. The solution flow begins and the squeegee
will start drying the floor.
8. During the first few meters check that the solu-
tion flow is appropriate. The flow adjuster of the so-
lution is already adjusted at the factory to satisfy the
cleaning of most floors. If it is necessary to adjust
the quantity of solution onto the floor, adjust the
lever of the flow adjuster
(10).
9. When moving the machine backwards, make sure
that the squeegee is lifted.
HANDLE BAR ADJUSTMENT
When approaching obstacles or near walls, it is pos-
sible to simplify the handling of the machine by ad-
justing the handle bar more vertically with respect to
the machine.
To rotate the handle bar:
1. Pull up the release lever (7) near the handle bars.
2. Rotate the handle bar into the new working posi-
tion keeping the release lever (7) pulled.
3. Release the lever (7) to lock the handle bar in the
desired position.
Once the obstacle has been passed and the maneu-
ver completed repeat the operation to return to the
previous working position.
This operation is possible also with the machine in
motion maintaining pressed contemporarily the
handle bar levers (6) and the release lever (7).
OVERFILL PROTECTION
In order to avoid serious damages to the suction mo-
tor, the machine is equipped with a float that inter-
venes when the recovery tank is full, closing the suc-
tion hose and stopping the suction.
When this happens, it is necessary to empty the re-
covery tank.
17
Summary of Contents for Baby-e
Page 2: ......


