GB
GB
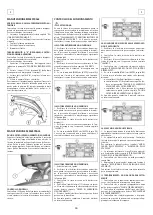
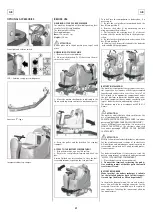
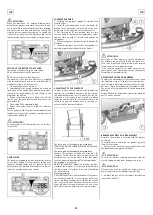
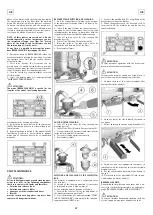
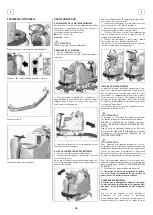
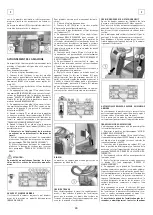
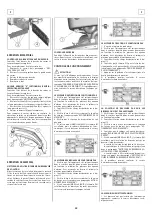
2. Unscrew the tie rods (1) on the terminals (2) of
the rubber holder blade and disengage the terminals.
3. Unscrew all wing nuts (6) and take off the rubber
holder blade (7).
4. Take off the rubber (8) and replace it.
To reassemble the squeegee repeat reverse the oper-
ations above mentioned, inserting first the rubber (8)
into its guides, then positioning the rubber holder
blade and finally screwing down all wing nuts and
the tie rods of the two terminals.
SIX-MONTHLY MAINTENANCE
CLEANING OF THE INNER FILTER SOLUTION TANK
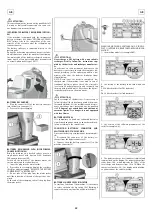
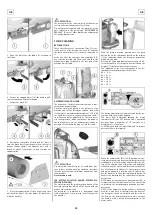
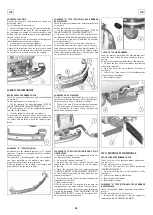
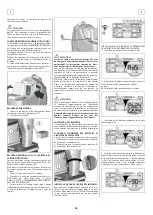
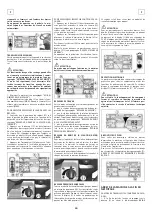
Empty the solution tank, remove the fitting (1) of
the water outlet by taking off the two screws that
fix it to the tank in the rear part of the machine.
Clean the inside filtrating part of the fitting from
eventual dirt. Pour some water into the tank to clean
it. Reassemble the fitting onto the solution tank.
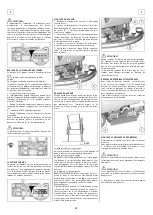
CHECK OF THE BRAKES
Check the braking efficacy of both rear wheels.
Should the braking be insufficient, please contact
the authorized technical assistance.
TROUBLESHOOTING GUIDE
ATTENTION:
If with the key switch positioned clockwise to switch
on the machine the display and other functions are
not activated, it is necessary to check the batteries'
connection to the machine (see under paragraph
“CONNECTION BATTERIES' CONNECTION AND
SWITCHING ON OF THE MACHINE”). If the problem
persists, please contact the authorized technical as-
sistance.
THE SUCTION MOTOR DOES NOT WORK
1. Verify that the key switch is positioned clockwise
to switch on the machine. In presence of alarm sig-
nals it is necessary to switch off and on again the
machine to restore the functionality.
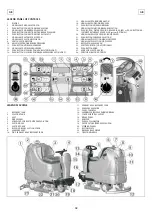
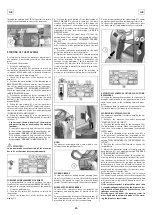
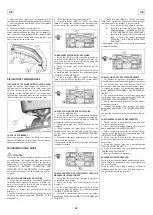
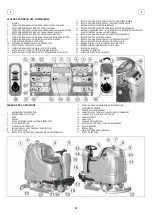
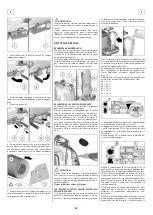
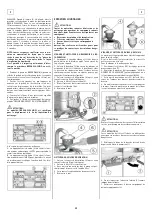
2. Check the charge level of the batteries on the
display (1).
3. Verify of having activated correctly the function
of drying (see under paragraph “STARTING OF THE
MACHINE”).
4. Check that the recovery tank is not full.
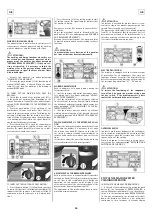
5. If, both in mode (MAN) as (AUTO), the signal
lamp (8) is on but the suction system does not work,
please contact the authorized technical assistance.
THE BRUSHES MOTOR DOES NOT WORK
1. Verify that the key switch is positioned clockwise
to switch on the machine. In presence of alarm sig-
nals it is necessary to switch off and on again the
machine to restore the functionality.
2. Check the charge level of the batteries on the
display (1).
3. Verify of having activated correctly the function
of washing with the brushes (see under paragraph
“STARTING OF THE MACHINE”).
4. If, both in mode (MAN) as (AUTO), the signal
lamp (18) is on but the brushes do not turn, please
contact the authorized technical assistance.
THE TRACTION MOTOR DOES NOT WORK
1. Sit on the guiding place.
2. Verify that the key switch is positioned clockwise
to switch on the machine. In presence of alarm sig-
nals it is necessary to switch off and on again the
machine to restore the functionality.
3. Check the charge level of the batteries on the
display (1).
4. Check through the signal lamp (15) that the
parking brake is not inserted and eventually release
it (see under paragraph “EMERGENCY-PARKING
BRAKE”).
5. Press the accelerator pedal placed on the right
side to start the machine.
If the problem persists, please contact the authorized
technical assistance.
THE WATER DOES NOT COME DOWN ONTO THE
BRUSHES OR IS INSUFFICIENT
1. Verify that the key switch is positioned clockwise
to switch on the machine.
2. Check the charge level of the batteries on the
display (1).
3. Verify of having activated correctly the function
of washing with the brushes (see under paragraph
“STARTING OF THE MACHINE”).
4. Check that the solution valve is open (see under
paragraph “FLOW ADJUSTMENT OF THE DETERGENT
SOLUTION”).
5. If, both in mode (MAN) as (AUTO), the signal
lamp (20) is on but the detergent solution does not
come down onto the brushes, it is necessary to:
a.
check the level of the liquid in the tank.
b.
check that the solution filter is clean (see
under paragraph “CLEANING OF THE SO-
LUTION TANK AND OF THE OUTER FILTER”).
c.
check that the inner filter of the solution
tank is clean (see under paragraph
“CLEANING OF THE INNER FILTER SOLU-
TION TANK”).
If the problem persists, please contact the authorized
technical assistance.
THE MACHINE DOES NOT CLEAN PROPERLY
1. The brushes do not have the suitable bristle di-
mension: contact the authorized technical assistance.
2. The brushes have got worn bristles. Check the
brushes wear condition and eventually replace them.
To replace the brushes, see instructions under para-
graph “BRUSHES DISASSEMBLY” and “BRUSHES AS-
SEMBLY”.
3. The detergent solution is insufficient: open more
the solution valve (see under paragraph “FLOW AD-
JUSTMENT OF THE DETERGENT SOLUTION”).
4. Check that the liquid detergent is in the recom-
mended percentage.
5. Increase the brushes base pressure (see under
paragraph "ADJUSTMENT OF THE BRUSHES PRES-
SURE").
Contact the authorized technical assistance for ad-
vice.
THE SQUEEGEE DOES NOT DRY PERFECTLY
1.
Check that the suction function is on and that
the recovery tank is not full.
2.
Check that the squeegee rubbers are clean (see
under paragraph “SQUEEGEE CLEANING”).
3.
Check the adjustment of the height and the in-
clination of the squeegee (see under paragraph “AD-
JUSTMENT OF THE SQUEEGEE”).
4.
Check that the suction and the squeegee hoses
are correctly inserted in their proper seats on the re-
covery tank.
5.
Clean the suction filter (see under paragraph
“SUCTION FILTER CLEANING”).
6.
Clean the squeegee hose (see under paragraph
“SQUEEGEE HOSE CLEANING”).
7.
Replace the rubbers if worn out.
EXCESSIVE FOAM PRODUCTION
Check that low foam detergent has been used. Even-
tually add small quantities of anti foam liquid into
the recovery tank.
Please be aware that a bigger quantity of foam is
produced when the floor is not very dirty. In this ca-
se please dilute detergent solution.
29
Summary of Contents for coral 70s
Page 2: ......

