User Manual MKA 500 / MKA 800
Conforms to
Issue 21.02.2023_01 Page 13
3.2.1 Sequence of the characters:
Numbers:
' '
'0'
'1'
'2'
'3'
'4'
'5'
'6'
'7'
'8'
9'
Letters:
'A'
'B'
'C'
'D'
'E'
'F'
'G'
'H'
'I'
'J'
'K'
'L'
'M'
'N'
'O'
'P'
'Q'
'R'
'S'
'T'
'U'
'V'
'W'
'X'
'Y'
'Z'
'a'
'b'
'c'
'd'
'e'
'f'
'g'
'h'
'i'
'j'
'k'
'l'
'm'
'n'
'o'
'p'
'q'
'r'
's'
't'
'u'
'v'
'w'
'x'
'y'
'z'
Special characters:
'.'
',‘
':'
';'
'!'
' " '
'$'
'%'
'&'
'/'
'('
')'
'{'
'}'
'['
']'
'='
'?'
'+'
'-'
'*'
'_'
'#'
'@'
'~'
Table 5:
Table of characters
3.2.2 Deleting a character:
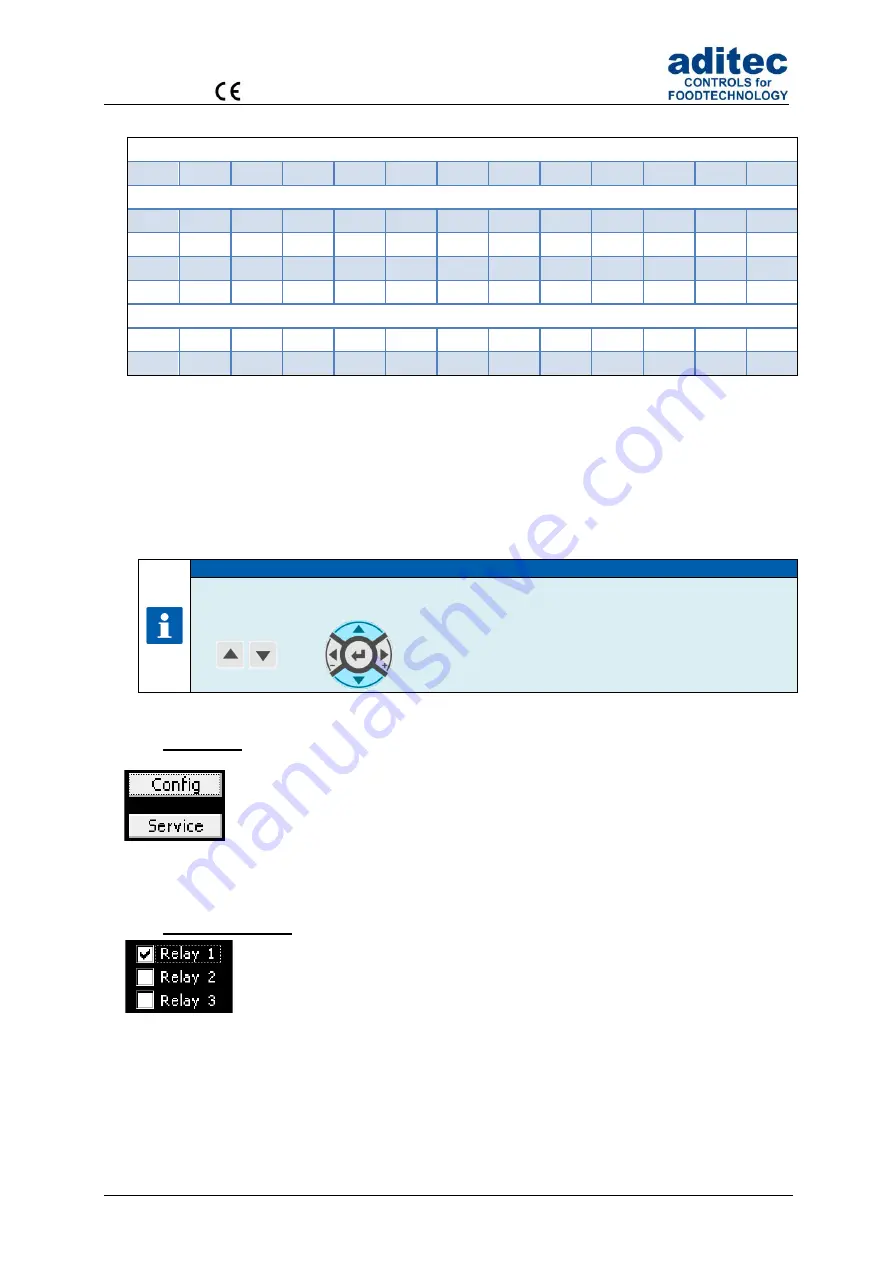
If you want to
overwrite a character
use the arrow buttons
‚left’ and ‚right’ to take the cursor to the
required position and enter the new character in this position.
If you want
to delete a character,
take the cursor to the right of the position you want to delete.
Press the „Temp“ button to backspace and the character is deleted
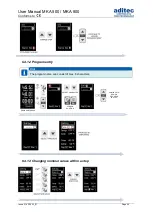
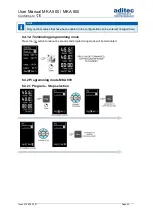
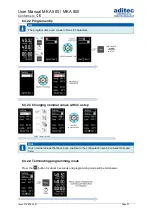
Hint
Scrolling through the characters:
MKA 500
MKA 800
Use the arrow buttons „up“ / „down“ (keep pressed) to
scroll a character.
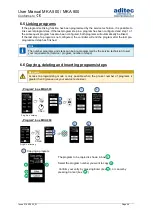
3.3 Buttons
The button allows the user to trigger an assigned function.
When the button is focussed
(frame around the info text),
it can be activated by
using the
‚Line‘ button. If several buttons exist, you can use the arrow buttons “up”
or “down”, respectively, to focus the subsequent or previous button.
3.4 Check boxes
Check boxes allow you to set e.g. a status. When a check box is focussed
(frame
around the info text)
you can change its status from
selected (Relay 1)
to
not
selected (Relay 2,3)
by using the ‚Line‘ button. If several check boxes exist you
can use the
arrow buttons “up” or “down” respectively to focus the subsequent or
previous check box
Figure 6:
Check box
Figure 5:
Button


