DREAMWEAVER CS3
User Guide
686
Note:
This enhancement is available only if you have access to a computer running ColdFusion MX 7 or later.
1
Create a ColdFusion form that includes at least one input field and one Submit button. Ensure that every
ColdFusion field that you want to validate has a unique name.
2
Select a field in the form that you want to validate.
3
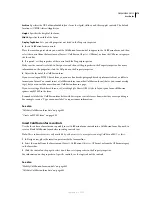
In the Property inspector, specify how you want to validate the field.
The lower part of each input Property inspector contains controls to help you define the specific validation rule. For
example, you might want to specify that a text field should contain a telephone number. To do this, select Telephone
from the Value pop-up menu in the Property inspector. You can also specify when to validate from the Validate At
pop-up menu.
Building ASP.NET forms
Add ASP.NET form controls to a page
You can use the visual design environment in Dreamweaver to add ASP.NET form controls to your page.
1
Open an ASP.NET page in Design view (View > Design).
2
Position the insertion point where you want the form control to appear on the page.
Form controls must be inserted inside a form that has an
runat='server'
attribute in its tag. If your page does not
have a form, Dreamweaver automatically creates one with a
runat='server'
attribute when you insert the first
ASP.NET form control. If your page contains an HTML form, Dreamweaver automatically adds the
runat='server'
attribute to the existing form tag when you insert the first form control.
3
Do one of the following:
•
Select Insert > ASP.NET Objects; then select the form control from the submenu.
•
In the ASP.NET category of the Insert bar, select the form control’s icon.
4
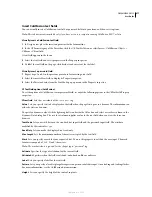
Set the form control’s options in the dialog box that appears, and click OK.
For more information on the properties of each control, see the documentation on the Microsoft website at
http://msdn.microsoft.com/library/en-us/cpgenref/html/cpconaspsyntaxforwebcontrols.asp
.
For each control, make sure you specify an ID attribute, such as txtCity for a TextBox control or lbxCountry for a
ListBox control.
See also
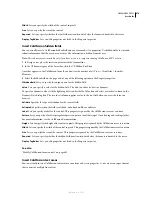
“Create a dynamic ASP.NET menu” on page 687
“Insert an ASP.NET CheckBoxList control” on page 689
“Insert an ASP.NET RadioButtonList control” on page 690
Modify the properties or events of ASP.NET form controls
1
In Design view, select the form control on the page.
2
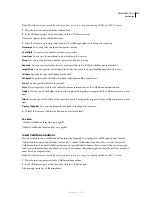
Modify the control’s properties in the Property inspector.
September 4, 2007

