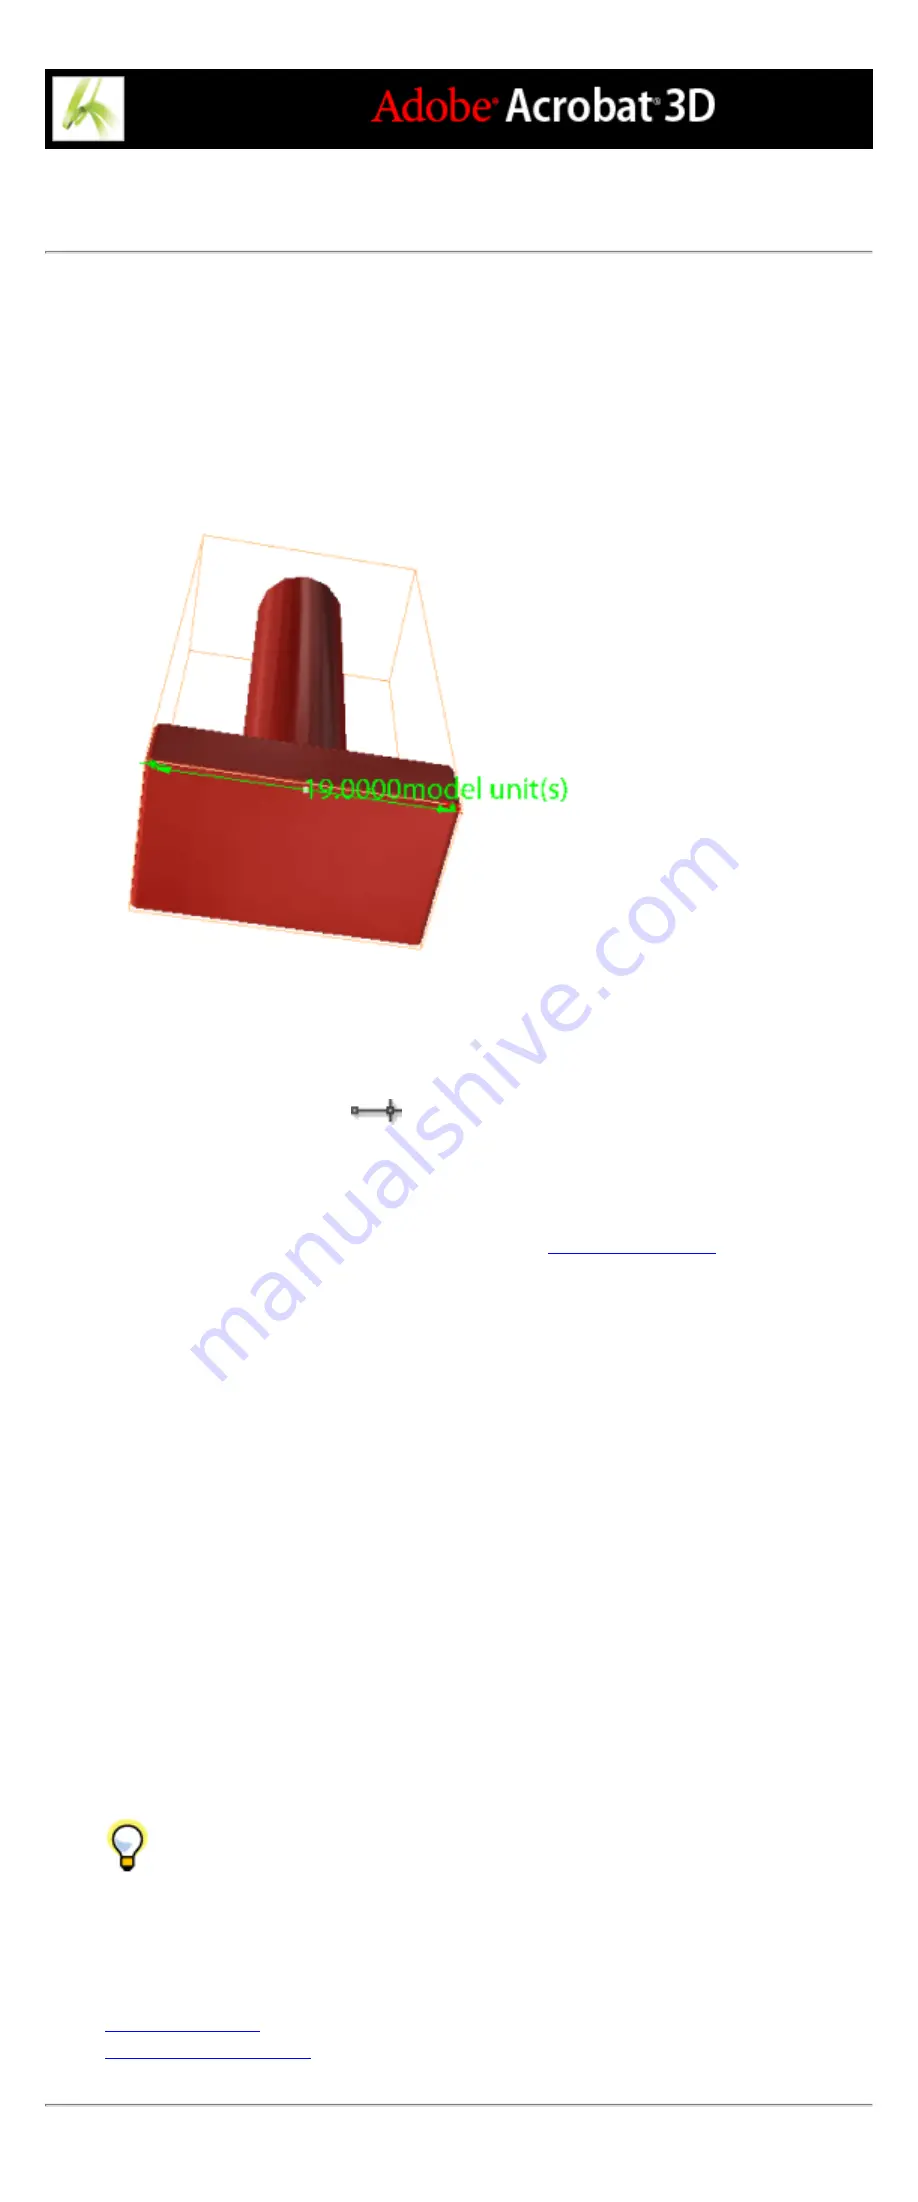
Measuring 3D objects
Use the Distance Tool to measure 3D models. You can create measurements between
combinations of points or edges of the 3D model. As you move the pointer over the 3D
model, specific points and edges are highlighted. The Distance Tool supports four types of
measurements: perpendicular distance between two straight edges, linear distance between
two points, the radius of circular edges, and the angle between two edges (or three points).
You can determine the type of measurement by selecting different measurement types.
You can also display annotations while taking measurements. However, these annotations
(also called measurement markups) are not preserved after the document is closed.
Measuring a 3D object
To measure 3D objects:
1. Click a 3D model in a PDF document to enable it.
2. Click the Distance Tool icon
on the 3D toolbar, or choose Tools > Measuring >
Distance Tool. The 3D Measurement Tool palette appears when you move the pointer
over the 3D model.
3. In the 3D Measurement Tool palette, do any of the following:
●
Choose an option from the 3D Measure Type menu to determine what kind of data is
measured in the 3D Measurement Tool palette. (See
●
To change the scaling ratio (such as 3:2) on the drawing areas, specify the appropriate
numbers in the 3D Measurement Tool palette. If desired, change the unit of measurement
next to this ratio.
●
Select Measurement Markup in the tool palette if you want the lines you draw to appear as
an annotation. If desired, type the annotation text that will appear in the comment. Unless
Measurement Markup is selected, the object you draw will disappear when you measure
another object or select another tool.
●
To ensure precise measurements, make sure that Options > Snap To 3D Content is
selected.
4. Measure the 3D model:
●
As you drag the pointer over other points and edges, Acrobat 3D displays the
measurement between the initial selection and the current position.
●
If Measurement Markup is turned on, the first two clicks determine the measurement, and
the third click determines the location of the markup. For example, to measure a radius,
move the pointer over a circular shape. When a circle appears, double-click the circle,
drag the pointer where you want the markup to appear, and click again. To measure a
distance, click the first point, then click the second point, and then move the pointer where
you want the markup to appear and click again.
●
If you begin a measurement and change your mind, right-click (Windows) or Control-
click (Mac OS) and choose Cancel Measurement.
●
To delete a measurement markup, select it using the Distance Tool, and then press Delete.
While you measure, hold down Alt (Windows) or Command (Mac OS) to rotate.
Hold down Shift to pan. Hold down Alt+Shift (Windows) or Shift to zoom.
Hold down Ctrl to disable snap.
Related Subtopics:
Summary of Contents for ACROBAT 3D
Page 1: ......
Page 37: ...What s New in Adobe Acrobat 3D New features ...
Page 95: ...Finding Adobe PDF Files Using Organizer Using the Organizer window ...
Page 184: ...FORMS About Adobe PDF forms Setting Forms preferences ...
Page 241: ...Collecting Data from Submitted Forms Collecting form data by email ...
Page 316: ...SECURITY About security Viewing the security settings of an open Adobe PDF document ...
Page 423: ......
Page 508: ...Optimizing Adobe PDF Documents Using PDF Optimizer ...
Page 571: ...SEARCH AND INDEX About searching Adobe PDF documents ...
Page 602: ...PRINT PRODUCTION About print production in Acrobat ...
Page 729: ...SPECIAL FEATURES About document metadata About JavaScript in Acrobat About Digital Editions ...
Page 738: ...Working with JavaScript Working with JavaScript in Acrobat ...
Page 762: ...ADOBE VERSION CUE About Adobe Version Cue Getting help Key features of Adobe Version Cue ...
Page 809: ...Tutorial Version Cue Getting started with Version Cue ...
Page 821: ...Legal Notices Copyright ...


