Using Help
|
Contents
|
Index
Back
393
Adobe InDesign Help
Printing
Using Help
|
Contents
|
Index
Back
393
The largest custom paper size you can specify depends on the maximum imageable
area of your imagesetter. For more information, consult the documentation for your
specific printer.
Note:
Custom paper size options for non-PostScript printing won’t be accessible from the
InDesign Print dialog box. To set those printer-specific features, click Setup (Windows),
Printer (Mac OS), or Page Setup (Mac OS) in the InDesign Print dialog box. Check the
documentation for your non-PostScript printer driver for details.
To specify a custom paper size:
1
Select a PPD (PostScript printers) or printer driver (non-PostScript printers) that
supports custom paper sizes. You can use the PostScript File option to set up the PPD.
For more information, see
“Setting up a PPD” on page 386
.
2
In the Setup panel of the Print dialog box, choose Custom in the Paper Size menu.
3
To specify width and height, do one of the following:
•
To let InDesign determine the smallest paper size needed for your document’s
contents, printer’s marks, and bleeds, select Auto for Width and Height. Auto, the
default option, is also useful if you have different sized pages in a book and you’re
printing on continuous media, such as a roll of film or photosensitive paper
•
To specify a paper size larger than the default, enter new dimensions in the Width and
Height text boxes. Be sure to increase the values; decreasing the default values may clip
your document.
4
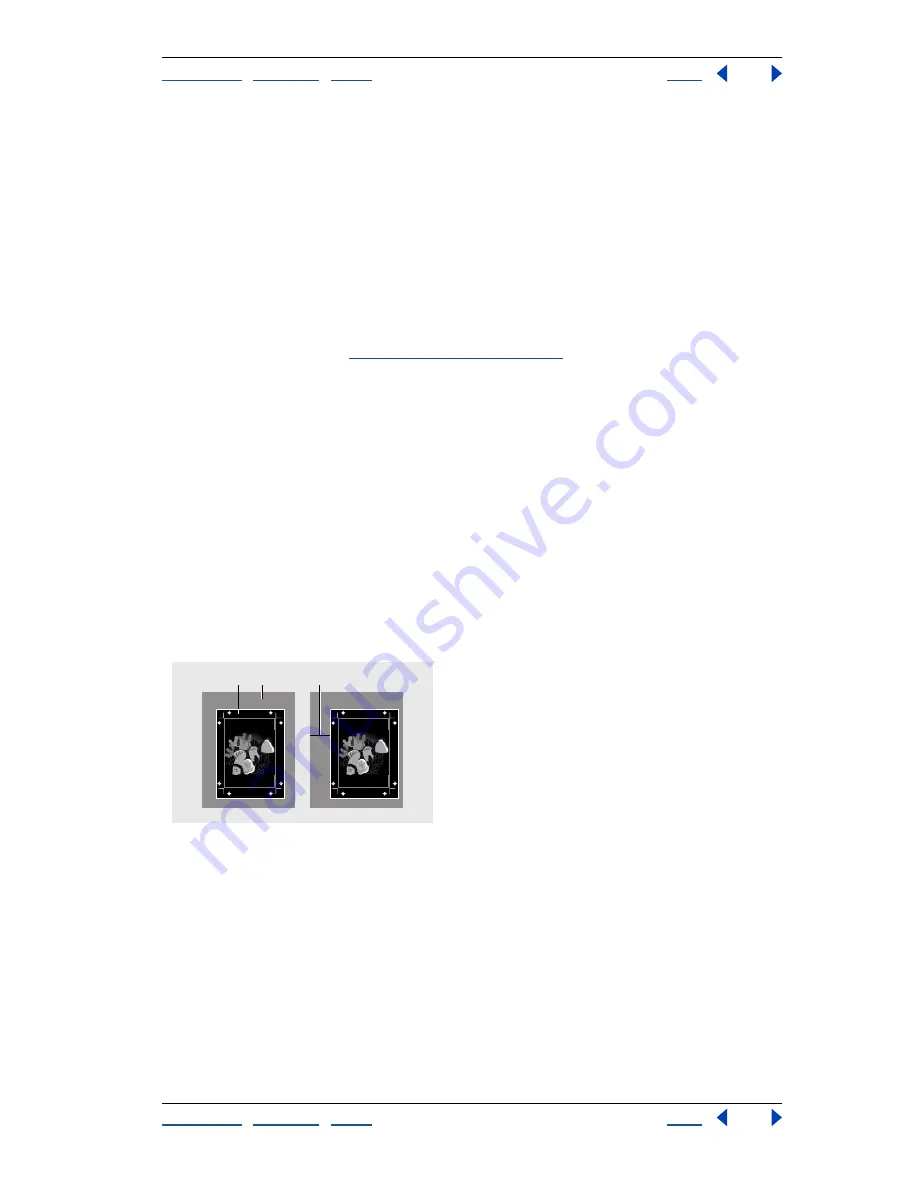
To change the placement of the page on the film, enter a value for Offset.
The Offset value specifies the amount of space along the left side of the imageable area.
For example, entering a value of 30 points in the Offset option shifts your page 30 points
to the right.
Page without offset (left), and same page with offset applied (right):
A.
Page
B.
Film
C.
Offset
5
To rotate both media and page contents, select Transverse and click OK.
B
A
C


