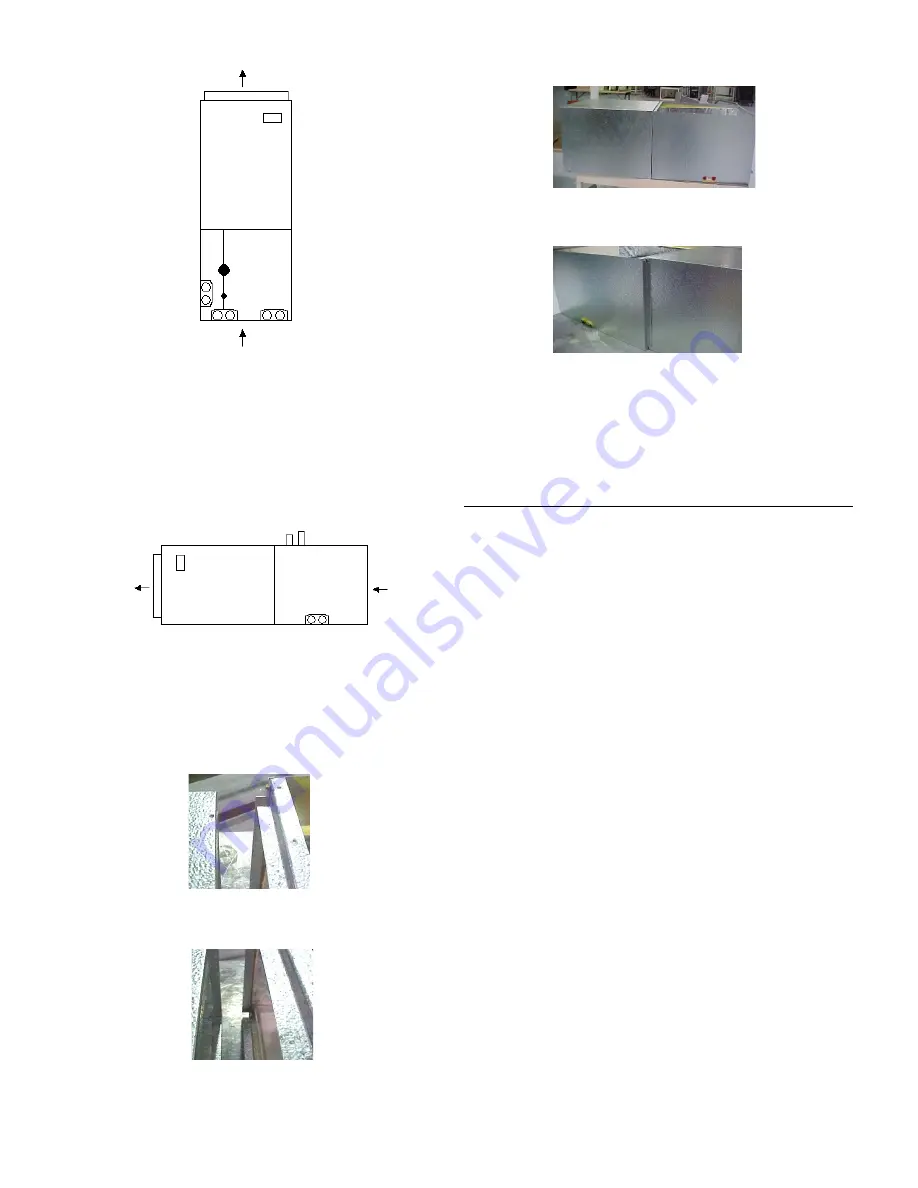
Upflow configuration
5. To secure the MX Series Air Handler fasten the duct
flanges of coil with screws to the duct flanges of the
blower section.
Horizontal Configuration With
Dedicated Horizontal “A” (HD) Coil
1. Ensure the proper blower section matches the coil.
MX Series Air Handler and HD Coil
2. The bottom of the blower section contains a ½” gasket.
Check to make sure gasket is attached to the bottom of
the blower section.
3. Cut a ¾” slot on the top and bottom flange of the coil.
Bend flange on the coil down 90 degrees or you can
cut off the flange.
Blower Section (left) and top of coil (right) with ¾” slot.
Blower Section (left) and bottom of coil (right) with ¾” slot.
4. Position the blower section up against the coil opening.
Front of blower (left) connected to a HD coil (right).
Back of HD coil (left) connected to a blower (right).
5. Fasten duct flanges of coil to duct flanges of blower
section with screws to secure MX Series Air Handler.
Install Ductwork
IMPORTANT:
•
Install ductwork in accordance with NFPA 90B and any
local codes.
•
Connect supply air duct to the flange on top of the
blower section of the MX Series Air Handler. If an
isolation connector is used, it must be nonflammable.
•
Duct connections for the MX Series Air Handler with
hot water heat must allow room for water piping
connections to be made in upflow and downflow
configurations.
•
A return air duct system is recommended. If the unit is
installed in a confined space or closet, a return
connection must be run, full size, to a location outside
the closet.
6
Summary of Contents for MX Series
Page 20: ......

