Install Interior Assembly
STEP 9
STEP 8
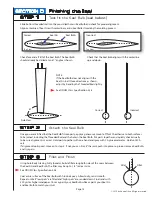
Install Compression Struts
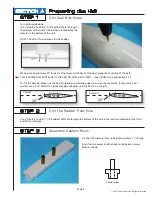
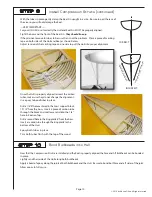
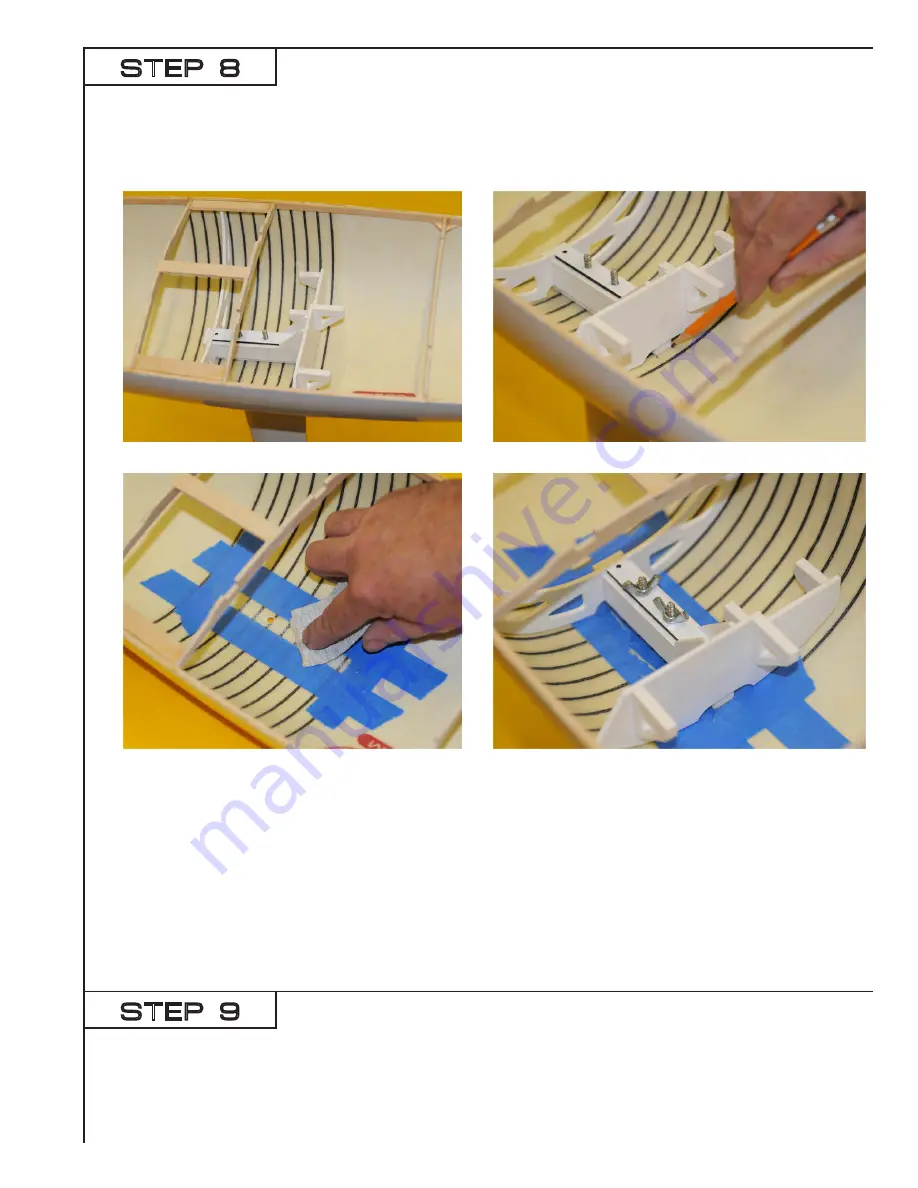
Insert interior assembly into Hull and test fit Keel. Make
sure assembly is straight and that the Main Bulkhead is
square to the centerline of the Hull.
NOTE: The carbon fiber in the Hull may not be square.
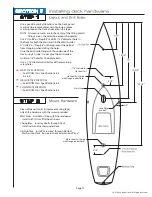
Next, mark the Hull where the four corners of the
Keelson make contact.
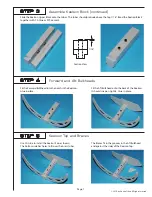
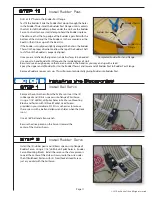
Remove the interior assembly. Use masking tape to
mask around the area indicated by the pencil marks.
Use 80 grit paper to abrade the area inside the tape
and the bottom of the Keelson.
IMPORTANT
(IF YOU EVER WANT TO REMOVE YOUR KEEL) - As the epoxy begins to set up (but before it cures hard),
remove the nuts and make sure the Keel can be removed. If necessary, clean any epoxy from the bolts or inside the
brass tubes. Repack threads with wax, and reinstall Keel Fin and nuts. Allow epoxy to fully cure.
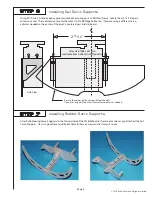
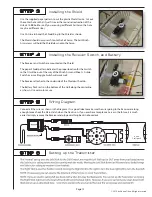
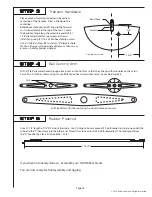
Pack the threads of the Keel Bolts with wax to help prevent
the epoxy from bonding to the Keel Bolts.
Use epoxy to
bond Keelson into Hull. Remove any excess epoxy and
remove masking tape.
Tip: Use #10-24 wingnuts to clamp Keelson to Hull.
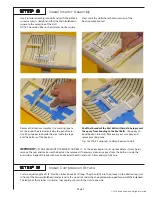
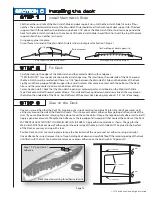
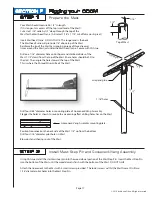
Cut two equal lengths of 1/8”Ø carbon tubes about 4 3/4” long. They should fit into the grooves in the Keelson top (just
in front of the Forward Bulkhead) and extend to the wood rail under the chainplate backup pad forward of the Bulkhead.
The length of these tubes is critical as they could push (or tilt) the Hull to one side.
Page 9
© 2010 by Adrian Olson. All rights reserved.


