Page 7 of 12 Using GarageBand with Instant Music
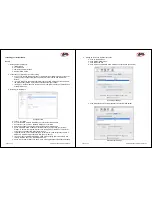
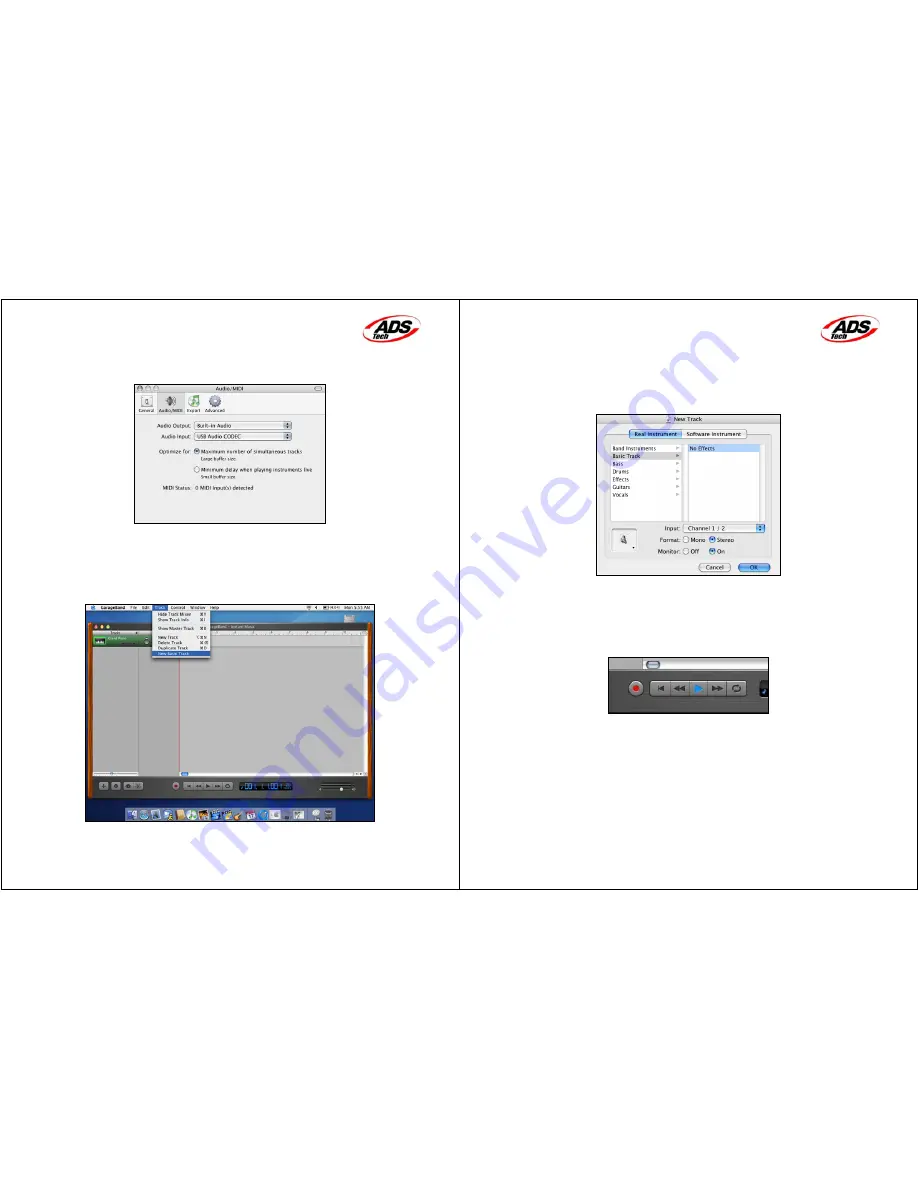
c. Click Audio/MIDI and set the following configuration:
Audio Output: Built-in Audio
Audio Input: USB Audio CODEC (see fig. below)
Audio Output/Input Setup
d. Close the Audio/MIDI window interface
3. Start a New Track
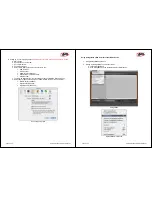
a. Click Track on the tool bar
b. Click New Track
New Basic Track
c. Click Real Instrument
Page 8 of 12 Using GarageBand with Instant Music
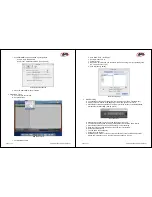
d. Click Basic Track – No Effects
e. Set Input: Channel 1 / 2
f. Format:
Stereo
g. Monitor On, this will allow you to listen to the music coming from your Sound System
(LP, Tape or other source)
h. Click OK (see fig. below)
New Track Settings
4. Start Recording:
a. You should hear the music playing from your Audio Source (Tape, Turntable, etc.).
b. Adjust your Audio Source to the beginning of the music you want to record.
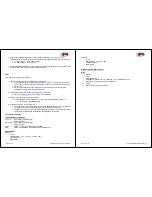
c. Press the Record button (located on the lower part of the screen) of the GarageBand
interface to start Recording. (See fig. below)
Record button
d. Start playing the Audio Source from the beginning of the song.
e. You are now capturing and recording your Audio Source into AIFF audio format.
f. Press the Record button at the end of the song to stop recording.
g. Save your Track by using the name of the song you just recorded.
h. Click File and then Save.
i. Trim the audio file if necessary.
j. Click File on the tool bar.
k. Select Export to iTunes to convert your audio file (AIFF format) to MP3 audio format.
Please see instruction on how to set up Importing options in iTunes.


